This article is about painting walls in an apartment. Perhaps you want to freshen up the look of your home, or you want to radically change the interior to better suit your tastes ... Take a roller, brushes and go. This procedure is quite simple, but we will nevertheless tell you in our step-by-step instructions on how to do this correctly. If you follow our advice, the result of your work will not be worse than that of a professional.
Content:
Wall Painting Recommendations
1. You must carefully measure the surface area you want to paint in order to know the exact amount of paint you need. Having decided on the color, go to the local building materials store. Carefully read the label on the can of paint to know exactly the area of coverage and drying time.
2. Prepare the surface before painting. It is necessary to remove the previous layers of paint with a scraper and sandpaper, degrease the surface and, if necessary, seal the chipped and dented areas with putty. Apply several coats of acrylic primer to improve the adhesion of the paint to the wall material. Do not skip this step, otherwise the paint will not lie flat and reliably bond with the base.
3. After you have painted the walls, it is necessary to replace the sockets and switches that you removed before starting work. Then clean the floor and remove the covers that protect the furniture from dust. Move the furniture into place, being careful not to scratch the floor.
Materials:
- paint;
- primer,
- 120 grit sandpaper;
- masking tape;
- polyethylene film.
Tools:
- protective gloves and glasses;
- brush;
- 5 cm wide roller (for corners);
- large roller;
- paint tray;
- vacuum cleaner, bucket.
Tips:
- put on old clothes that you no longer wear and will not wear anymore, since you will probably be smeared with paint;
- before painting, eliminate all irregularities in the walls;
- apply a primer coat, especially if you are painting walls in a new building;
- apply a second coat of paint after the first has completely dried.
Preparing a room for painting walls
In the figure below you can see the tools that you will need to paint the walls. You need rollers of different sizes and bumps (to create different textures), an emery bar for manual grinding and paper masking tape designed to protect various elements from paint contamination. In addition, you can not do without a paint tray.
Remove the curtains. Move the furniture to the middle of the room and cover it with plastic wrap or special covers.
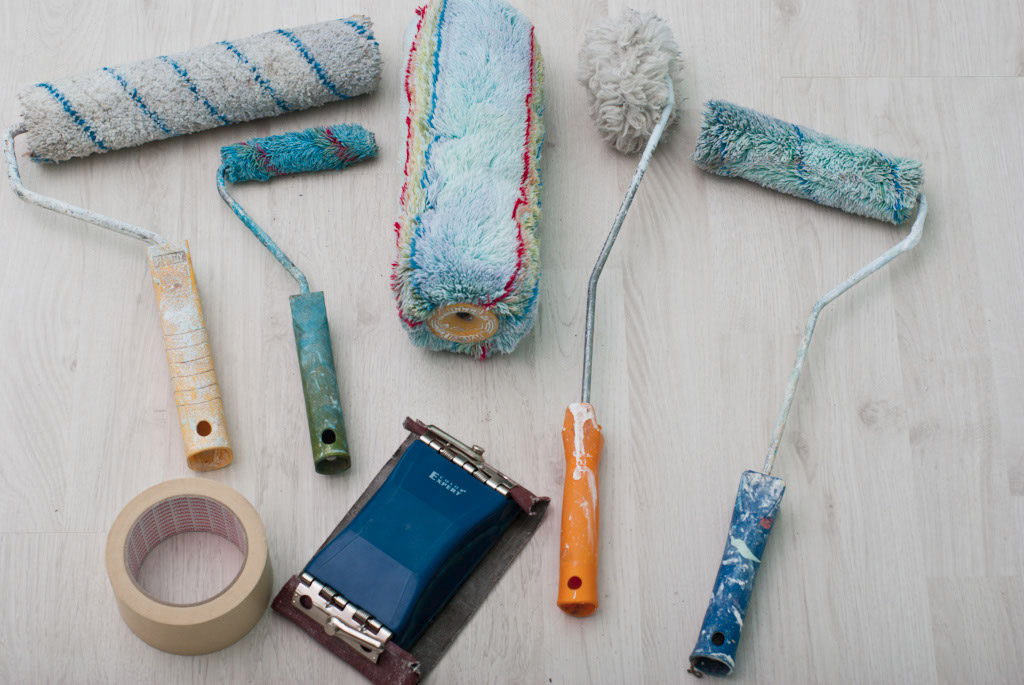
Tools for painting.
The next step is to protect against possible smudges and drops of paint of the baseboard and other interior elements. To do this, you will need masking tape - a cheap but very useful material.
Tip: Cover the windows, doors and floor with plastic wrap, which can be fixed with the same masking tape. Otherwise, you will have to remove paint droplets from all these surfaces, which is sometimes not so easy to do.
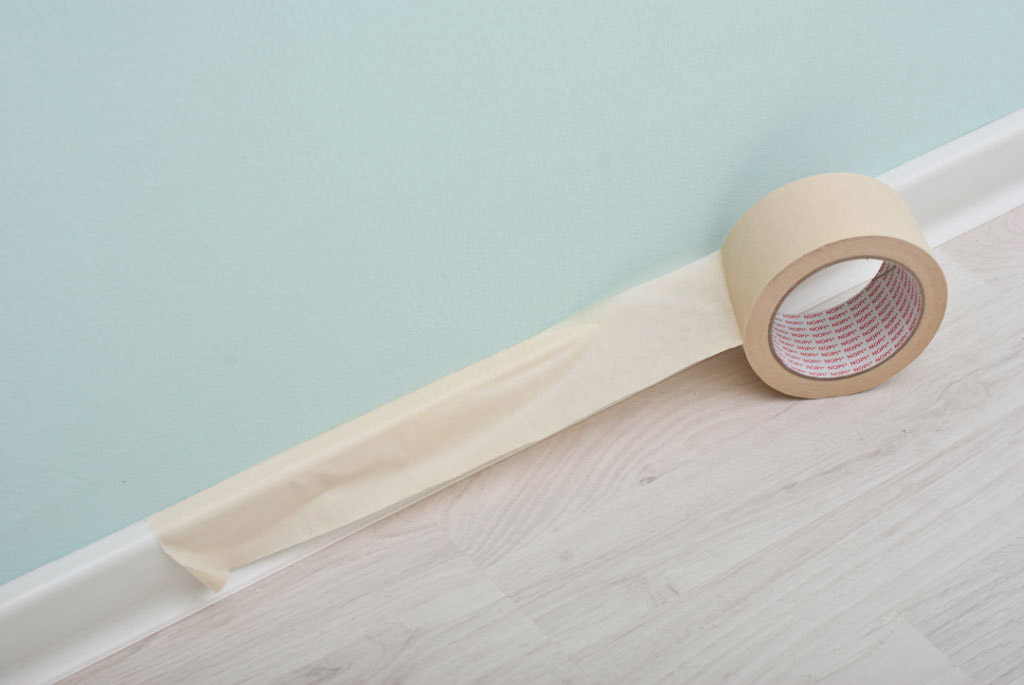
Skirting protection with masking tape.
Preparing walls for painting is a great opportunity to level their surface and eliminate various defects. In addition, you have to fill the potholes and cracks with gypsum or putty using a small flat spatula. When the material dries, smooth the surface with 120 grit sandpaper. Remove dust and dirt from the walls with a sponge or a clean cloth with a suitable detergent. Vacuum the floor in the finale.
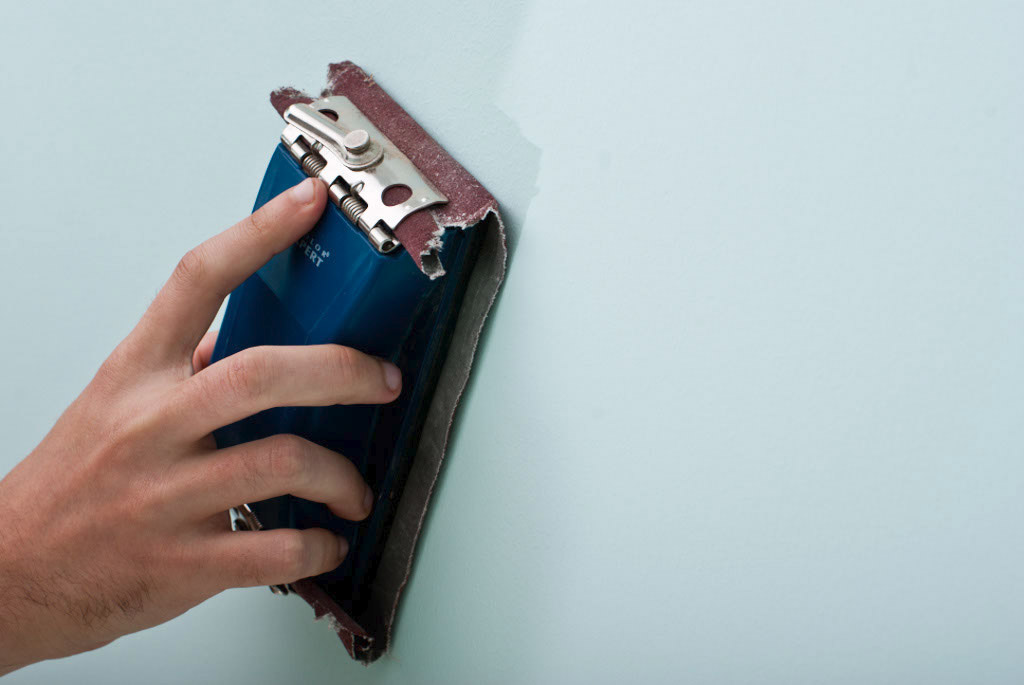
Sanding the walls before painting
Next, you must turn off the power and remove the covers of sockets and switches in order to qualitatively paint the walls near and not paint the electrical equipment.
Tip: Cover the inside of sockets and switches with molar tape to protect them from dirt and paint droplets. Work patiently as the preparatory phase is drawing to a close.
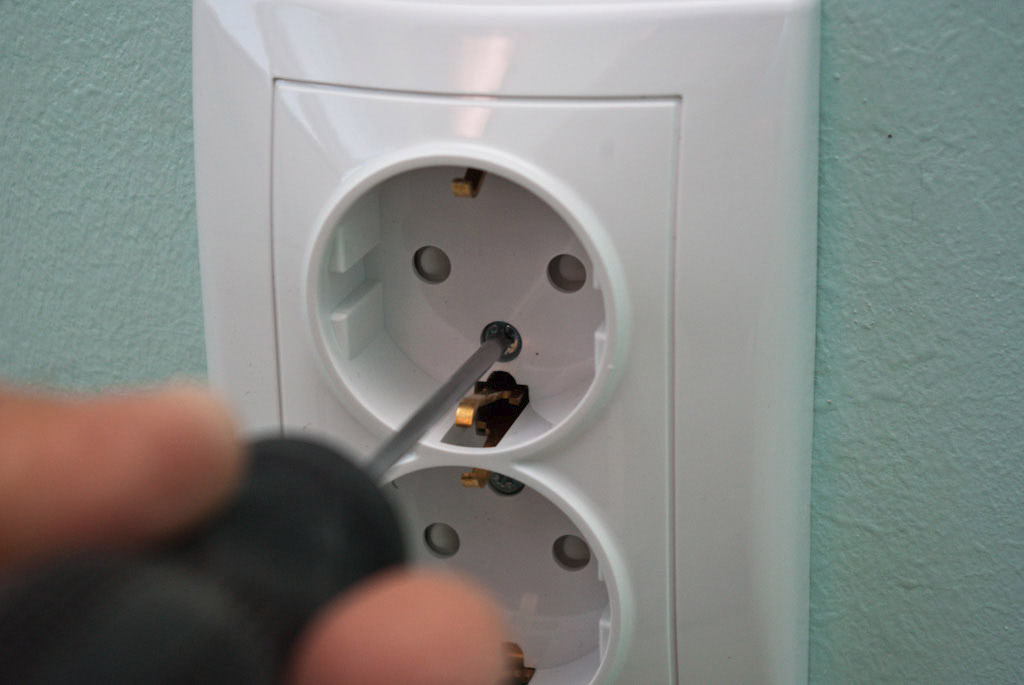
Removing outlet covers.
It is also necessary to temporarily remove the heating radiators in order to be able to paint the surface of the wall behind them. To do this, you must first close the valves. Then place the pan in the pipe inlet to prevent water from entering the floor. Unscrew the union nuts connecting the radiator to the pipes and drain the water. When the water stops flowing, remove the radiator from the brackets holding it and pour out the remaining liquid in it.
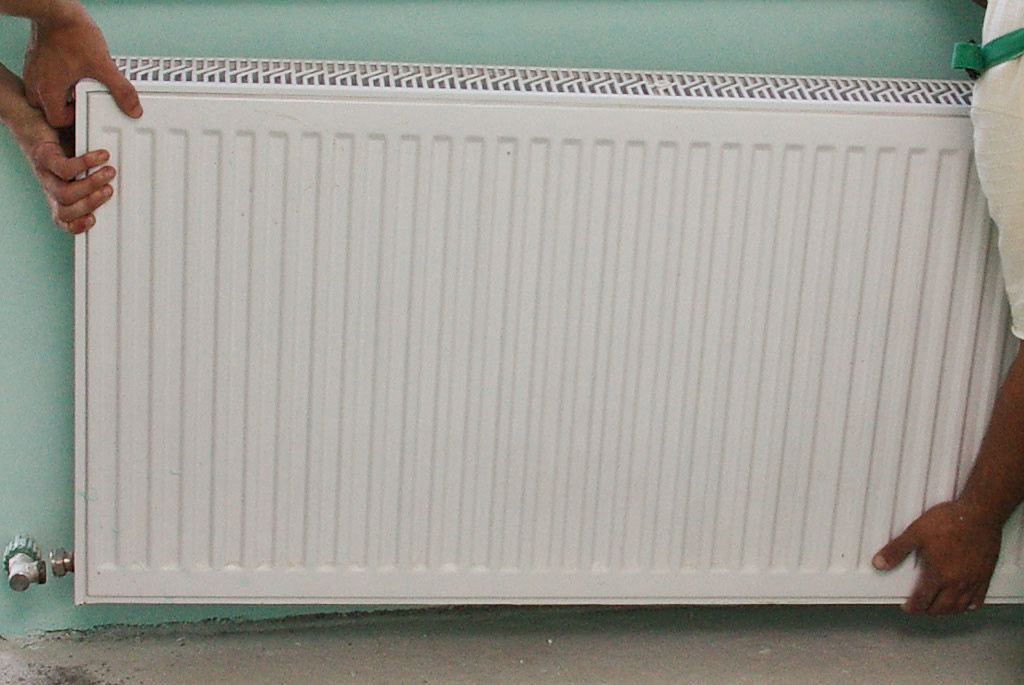
Removing radiators.
Getting down to painting the walls
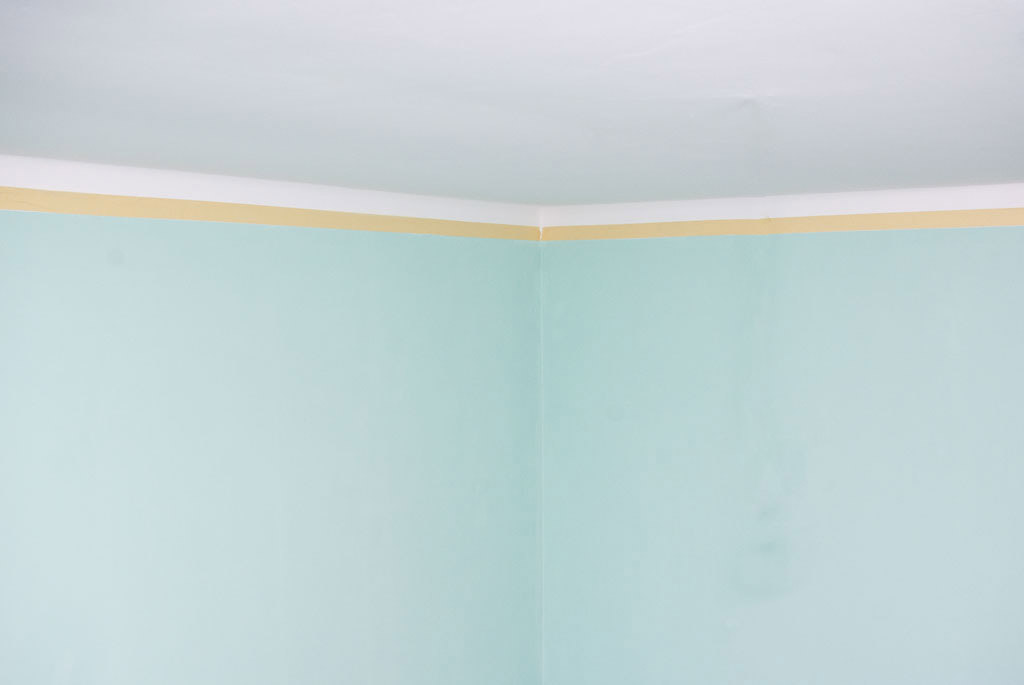
If you want to paint only part of the wall, make a border using masking tape. Adherents of traditional design should stick paper tape along the ceiling.
Tip: Make sure the tape is pasted on the same level. To do this, you will need a laser or alcohol level.

Sticker masking tape before painting
You can choose the height at which you want to place masking tape. It does not even have to be a horizontal line - the choice of location and shape depends on your tastes and needs.
Tip: For a good adhesive tape sticker, gently press it with your hands. You must be sure that there are no uncoated areas and, therefore, paint will not leak under the adhesive tape, otherwise the dividing line will not turn out perfectly smooth.
Use masking tape to create various areas of paint.
Wall painting should be started from the areas around the door frames. To do this, you need a small roller specifically designed for narrow surfaces.
Tip: In order not to smear the tree with paint, in the immediate vicinity of the jambs, use a small brush (2-5 cm wide). Try not to touch the jambs, or pre-glue them with masking tape.
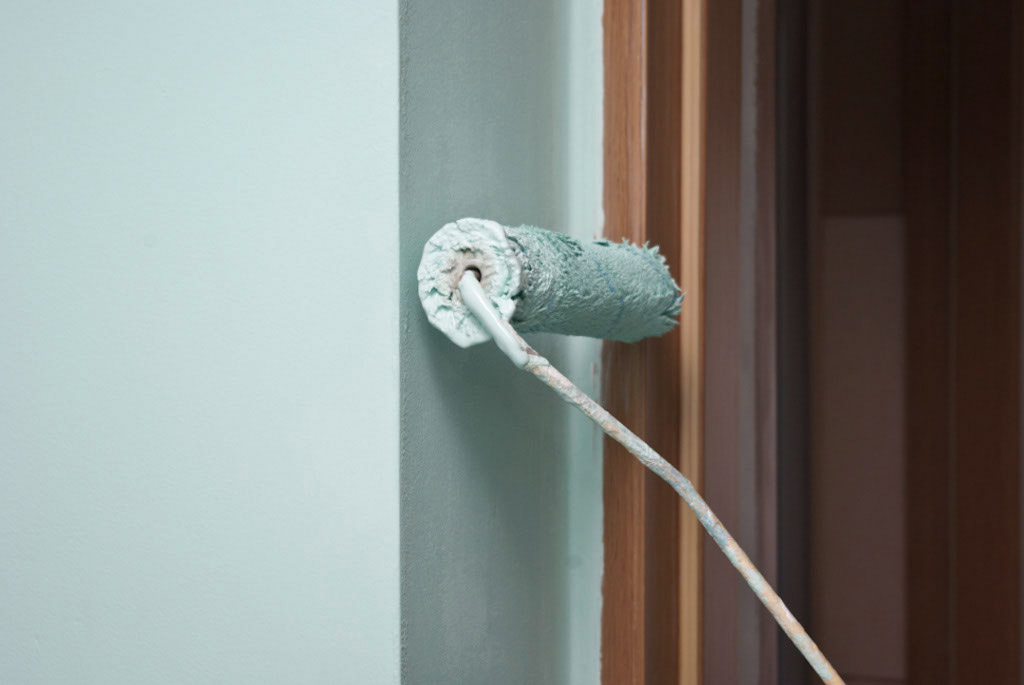
Paint roller walls around the door jamb.
Now it’s the turn of the corners of the room, the areas around the windows, along the ceiling and baseboards, around the switches and sockets. To paint the walls in these places it is more convenient to use a small brush, as it allows you to better control the situation. Strive to get straight lines.
Do not apply too much paint at a time and roll out all the drops and smudges before moving on to the next section. Try to apply the paint as evenly as possible.
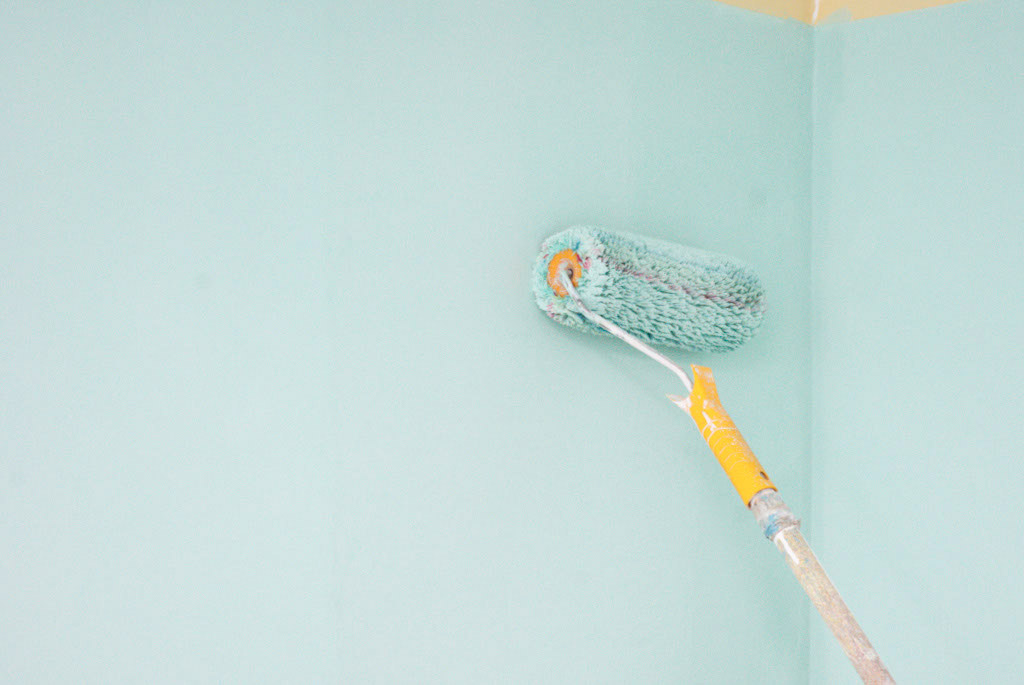
Painting the corners of the room.
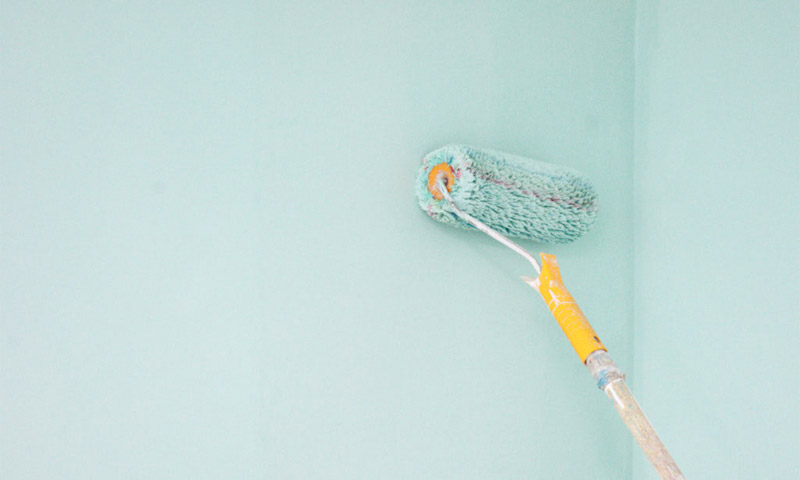
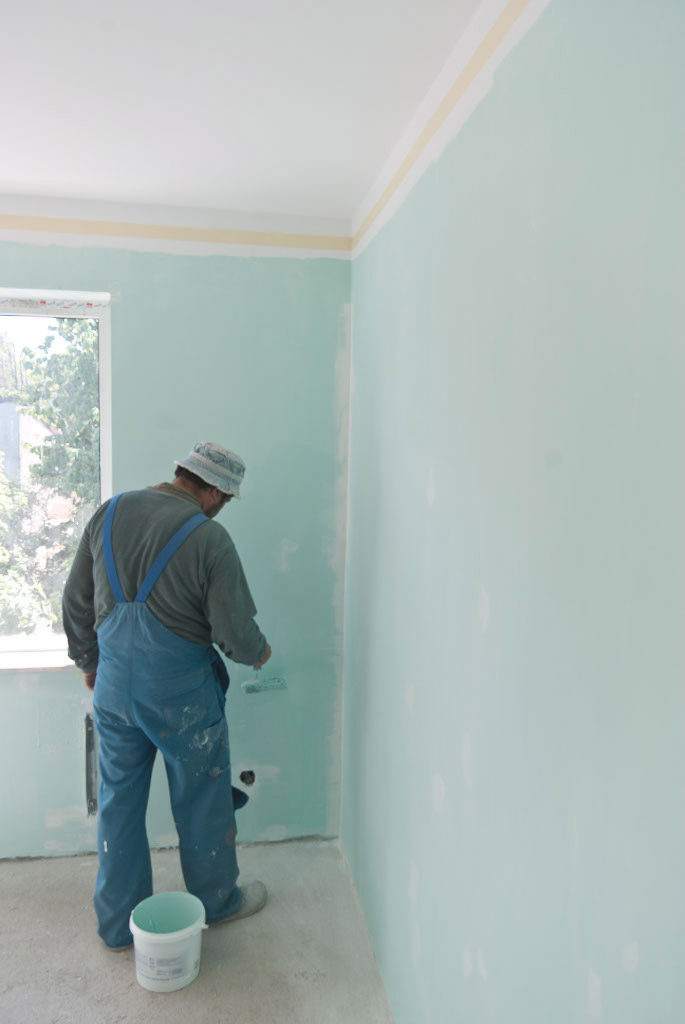
After you have finished painting in the corners, along the ceiling and skirting boards, you can start applying a coat of paint on the remaining surfaces. Using a large roller, apply paint to the wall in vertical movements. Strive for uniform coverage. No need to approach the ceiling and baseboards, as you have already painted these areas.
As a rule, a single coat of paint is not enough, so you have to apply at least two layers to get the coating of the proper quality. Before applying a new layer, wait until the previous one has completely dried.
Tip: If the strokes become heterogeneous, it is time to update the roller. Be careful not to get dust and other small particles in the room - they can damage the finish.
Paint the walls with a roller.
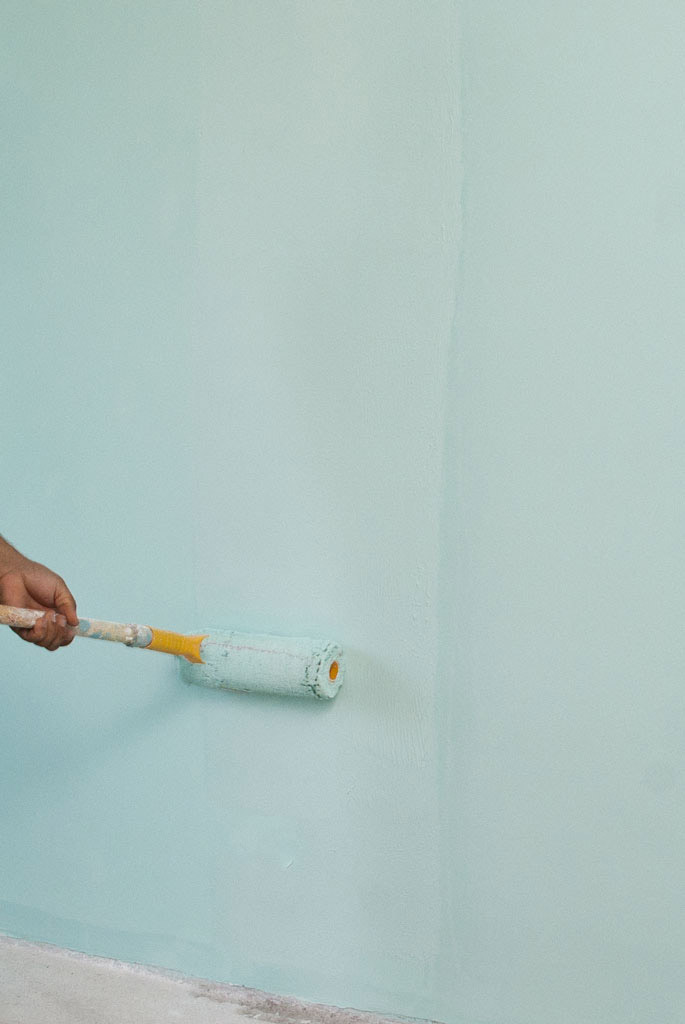
To speed things up, we recommend that you use a large roller and paint tray. Do not overfill the tray with paint (it should be filled about a third of the volume), otherwise it will be difficult to dip the roller into it. Roll the roller several times back and forth through the paint, and then along the top of the tray so that the paint is evenly distributed across the roller.
Apply paint to the wall with vertical movements of the roller.The paint dries quickly enough, so try not to delay the process too much, otherwise the neighboring areas will have time to dry, and as a result, the layer will not be applied evenly.
Tip: When you only apply paint to the area, move the roller in one direction (up or down) to get an even layer over the entire surface, without visible traces.
How to paint the walls with a roller.
After you have finished painting the walls in the room, you should again make sure that there are no areas of uneven application of a layer of paint, drops, smudges and other blemishes. If necessary, correct the defect with a roller.
If you think that the walls are painted over perfectly, you can proceed to the last step - removing the paper tape. This must be done before the paint dries. Try to remove the tape carefully so as not to damage the edges of the freshly applied coating.
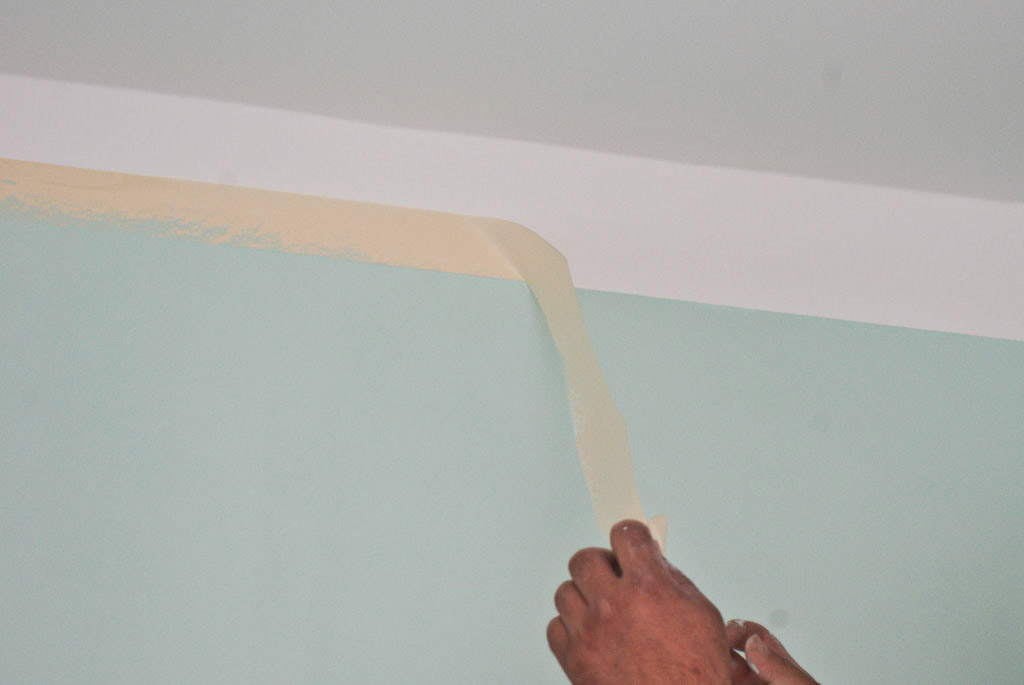
Removing masking tape.
As a rule, it takes about a day to completely dry the paint (the time depends on the room temperature and the type of paint used). During this period, it is advisable to carefully ventilate the room, trying to avoid street dust from entering the room. Any small particles (dust, dirt, etc.) can damage the finish, so pay attention to this aspect.
Now you know how to properly paint the walls with water-based paint. It is this type of paint that is most often used today for interior decoration and we used it in our project. However, if you suddenly want to paint the walls with oil or some other paint, the knowledge gained here will be useful to you, since the basic principles of working with paint depend little on its composition.
DIY painted room.