Laminate is resistant to wear, but sooner or later various defects can appear on it - scratches, chips, cracks, swellings. The likelihood of such problems increases if the technology of laying the floor covering or the basic rules for its operation are violated. In this article we will tell you how to repair a laminate with your own hands. Following our instructions, you can restore your attractive appearance to your flooring and protect it from further destruction.
Content:
How to fix scratches on a laminate
Whether you moved furniture without using special substrates or dropped a heavy object on the floor, and scratches immediately appear on your laminate. Sooner or later, this can happen even with the most seemingly careful handling of the floor covering. There is nothing fatal in this - you can easily restore the appearance of the laminate if you carefully read our step-by-step instructions on how to remove scratches on the laminate. However, if the scratches are too deep, the only right solution may be to replace damaged boards.
If you want to avoid scratches on the laminate, you must put special “mats” under the legs of the furniture when moving it. In addition, before going around the house wearing shoes, make sure that it is perfectly clean, since grains of sand and dirt adhering to the sole can cause a lot of small but unsightly scratches. Clean the laminate regularly, using only products recommended by the manufacturer for this purpose.
Before buying a laminate repair kit, you must ensure that you are able to repair scratches using these products. Carefully evaluate the damaged area to be sure that repair is possible, otherwise you should consider replacing the damaged board with a new one. The easiest way to eliminate scratches on a laminate is to use wax crayons (for small scratches) or special putty (for deeper scratches). You will also need the latter when repairing laminate chips.
To mask scratches on a laminate floor, the following is required:
| Materials: | Tools: |
|---|---|
| Laminate repair kit. | Putty knife. |
| A vacuum cleaner. |
Tips:
- Make sure the repair kit matches the color of your flooring.
- If the scratches are too deep, you will have to replace the damaged laminate boards.
Time:
- 15 minutes to repair a few scratches.
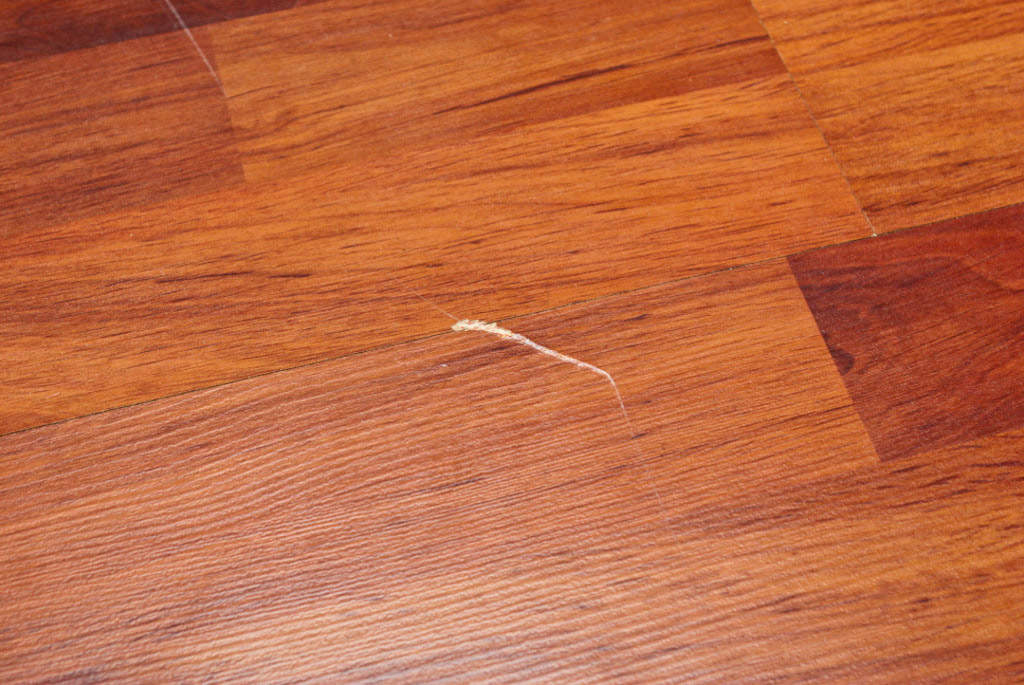
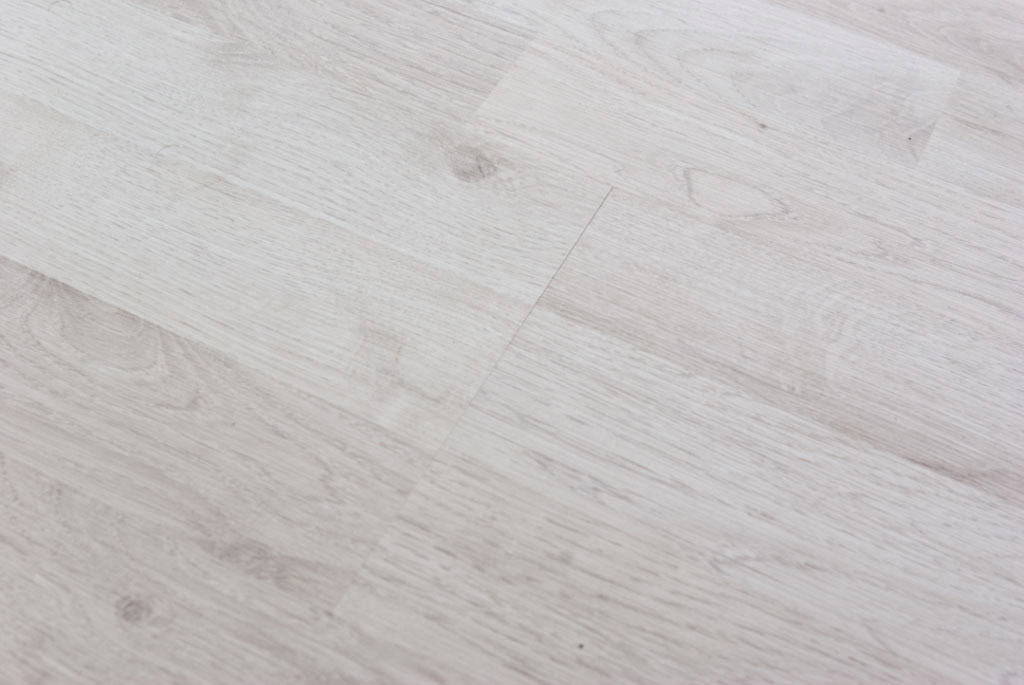
Photo 1. Scratched laminate.
Sealing scratches with wax crayons
Step 1. Buy a wax crayon whose color is close to the color of your laminate. There are many types of wax crayons on the market (at a local hardware store or in a specialized online store), so it’s easy for you to find one that suits your needs and tastes. If you do not know what wax crayons are, contact the store seller with the question “How can I fix scratches on the laminate?” - it will easily solve your problem and help you choose the right one for color.
Step 2 Clean the scratches with a vacuum cleaner and paint them with wax chalk. Then, using a dry cloth, remove excess wax around the scratch and polish the repair site. If you are not satisfied with the result (the scratch is deep enough), you can try filling it with putty.
Sealing scratches with special putty
Step 1. Take a piece of your laminate as a sample and head to your local hardware store to buy a repair kit that best suits your color. Do not save on quality, especially if the scratches are deep.
Step 2 Use a spatula to fill the paste with scratches on the laminate. We recommend that you practice unnecessary trim on the laminate before attempting to do this on the floor to ensure that the paste matches the color of your laminate. Remove excess paste with a clean cloth and allow the restored area to dry for a couple of hours.
How to replace a laminate board
In some cases, it is impossible to solve the problems of the laminate in the form of chips, scratches or water damage with the repair kit, there is only one way out - replacing the laminate board. This is easy to do if you use the right tools and methods. In our step-by-step instructions, we will explain how to replace one laminate board.
There are several ways to replace a damaged laminate. A simpler, but at the same time longer way is to dismantle the laminate. Start with the wall closest to the damaged board. Remove the skirting board and disassemble the floor covering until you reach the problem area. After replacing a damaged board, you must restore the disassembled cover and fix the baseboard in its place.
If for some reason you can’t remove the skirting board or if the damaged laminate boards are in the middle of the room, you can try to replace them without thoroughly disassembling the floor covering. This technique is more complicated, but if you carry out repair and construction work with your own hands for you the usual thing, you can easily cope with this task.
To replace a laminate board, you will need the following:
| Materials: | Tools: |
|---|---|
| New laminate board. | A circular saw. |
| Joiner's glue. | Drill. |
| Cutter. | |
| Rubber mallet. | |
| Roulette. | |
| A vacuum cleaner. | |
| Protective glasses. |
Tips:
- Before laying new laminate boards, be sure to clean the surface with a vacuum cleaner.
- New laminate boards should be of the same brand as the existing ones. Do not stack boards of a different brand.
- Wear safety glasses when cutting laminate.
Time:
- 2 hours on one board.
Replacing laminate flooring
Carefully remove the baseboard from the wall closest to the damaged board. Work with great care so as not to damage it, otherwise you will not be able to reuse the baseboard after the project is completed.
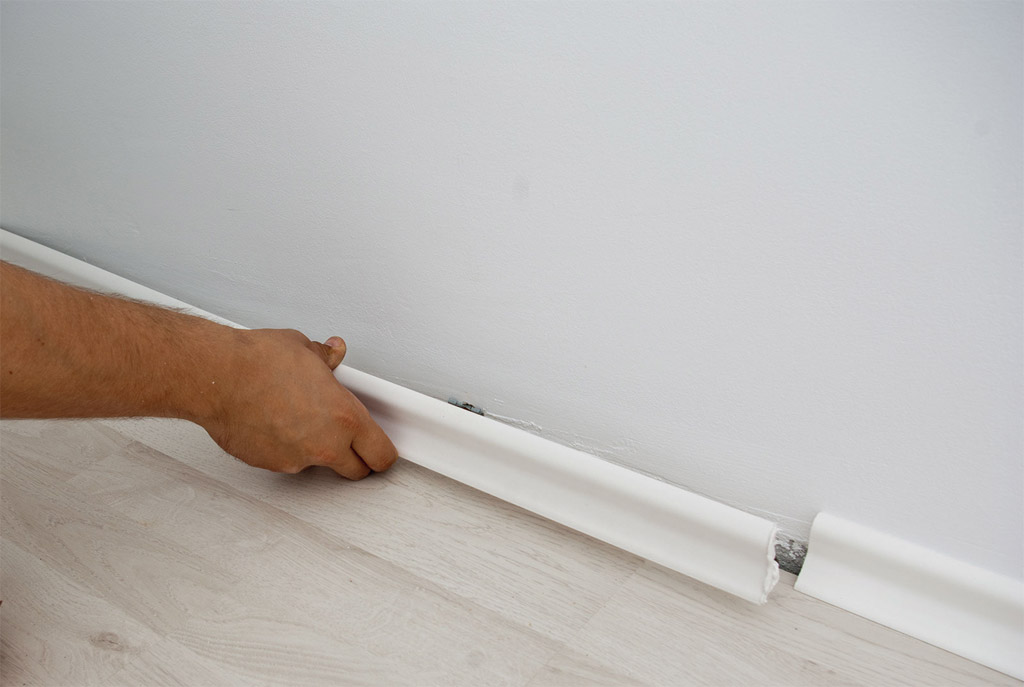
Dismantling the baseboard.
After you removed the skirting board, it is necessary to dismantle the laminate, board at the board, until you reach the damaged area. To disconnect the boards, you should raise each of them by 45 ° until their ends are released from the grooves.
Laminate disassembly.
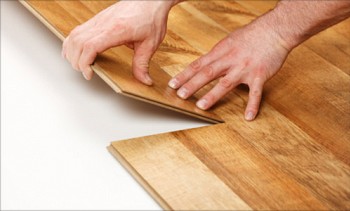
When you get to the problem area, you will have to replace the damaged boards with new ones. Work with great care when laying new boards, try to avoid gaps between them. Continue laying the rest of the laminate and install the baseboard in its original place.
Replacing a laminate with a circular saw
Step 1. Drill holes in each corner of the damaged board at a distance of 1-1.5 cm from its edges to avoid damage to adjacent boards. Then make holes along the long sides of the laminate board every 25 cm, as shown.
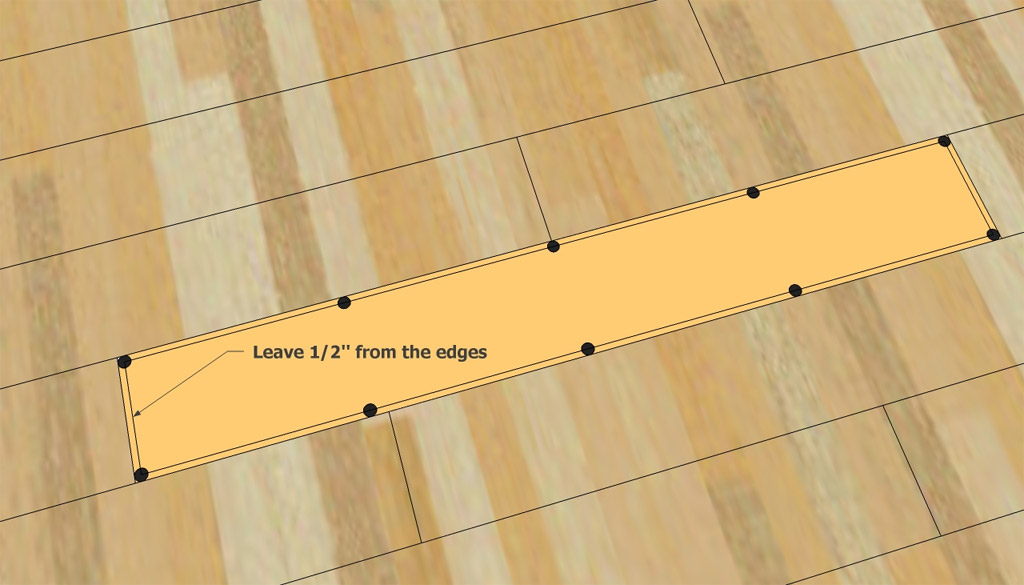
Preparing to dismantle a damaged laminate board.
Step 2 Use a pencil to draw a line connecting the holes. Adjust the cutting depth of the circular saw so that it matches the thickness of the laminate, otherwise you will damage the base of the floor.
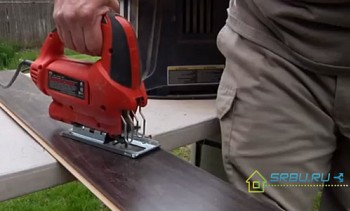
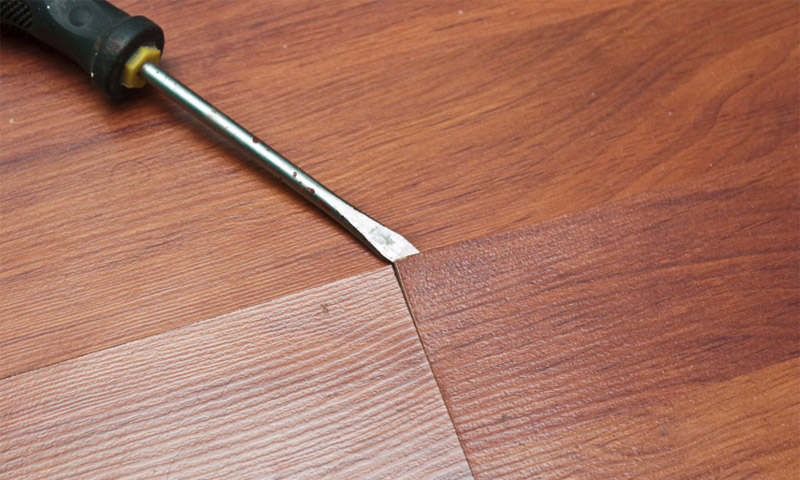
Step 3 Make a cut along the drawn line, starting from the middle. Use a knife to cut the short sides of the laminate board. Remove the inside of the old board.
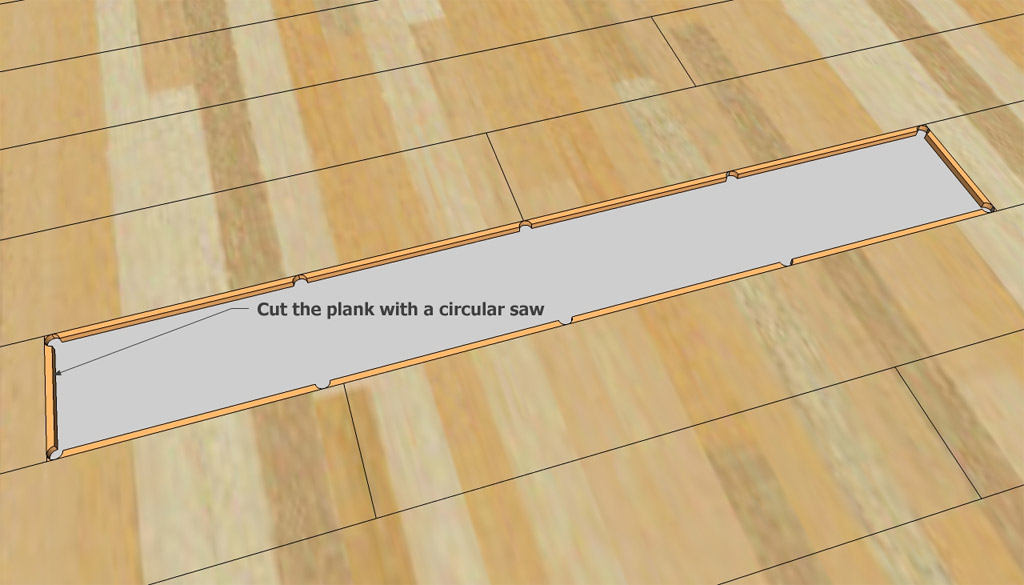
Laminate cutting.
Step 4 Remove the remains of the damaged laminate and thoroughly vacuum the area. Make sure that the neighboring boards are in good condition, otherwise you will have to remove them too.
Step 5 Using a sharp knife, cut off the bottom of the lock at the new laminate board, both on the long and short sides.
Step 6 Apply wood glue around the perimeter of the laminate board and lay it in place. Use a clean cloth to wipe off any excess glue and place a weight on top to lock the board in this position.
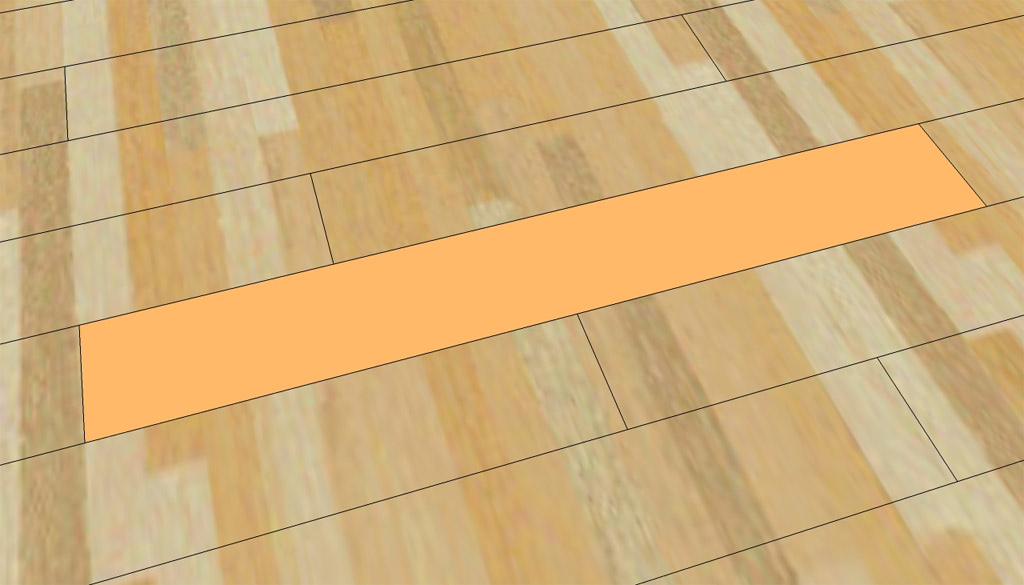
Replacing a laminate board.
How to eliminate the gaps between the joints of the laminate
Sometimes, either due to poor installation, or due to changes in temperature and humidity, the laminate boards move relative to their original position or change their volume. As a result, gaps form between them. In addition to the fact that such gaps greatly affect the appearance of the floor covering, over time they can lead to delamination or cracking of the laminate. To avoid such problems, we recommend that you follow our recommendations when preparing the floor surface and laying the laminate. Our tips will help you avoid mistakes during the installation process, which means that such unattractive gaps will not appear on your laminate.
Firstly, the acclimatization of the laminate before installation is of great importance. Non-compliance with this requirement is one of the main reasons for the appearance of gaps between the boards. We recommend that you bring laminate packaging into the room at least 48 hours before installation. Many "craftsmen" who undertake this work neglect preparatory steps, and ultimately get similar problems.
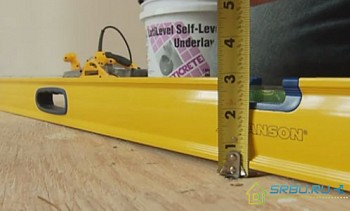
Secondly, the base of the floor must be perfectly flat. Laminate manufacturers guarantee proper flooring quality only if this requirement is met. We advise you to use the spirit level to check the evenness of the surface and, if necessary, pour a self-leveling screed. In addition, it is necessary to eliminate all microroughnesses of the floor in advance.
If the gaps between the laminate boards still appear, you have two options for solving the problem:
- fill the gaps with a special composition with wood filler or dismantle the flooring;
- partially or in whole, prepare the surface properly and re-lay the laminate.
Repair of the laminate without dismantling is permissible only if the gaps formed in it are very small. To disassemble the laminate flooring, you must start by dismantling the baseboard. After that, remove the laminate boards, one after the other, until you reach the problem area.
Dismantling the baseboard.
Remove the problem boards and check their condition. Pay particular attention to grooves and ridges. If the boards are in good condition, you can reuse them. If they are damaged, you should replace them with new ones, otherwise in the long run you will face the same problems.
Re-laying the laminate.
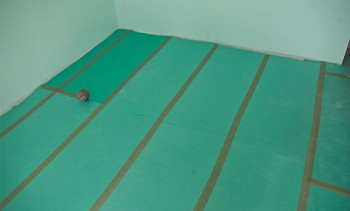
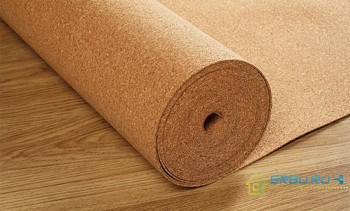
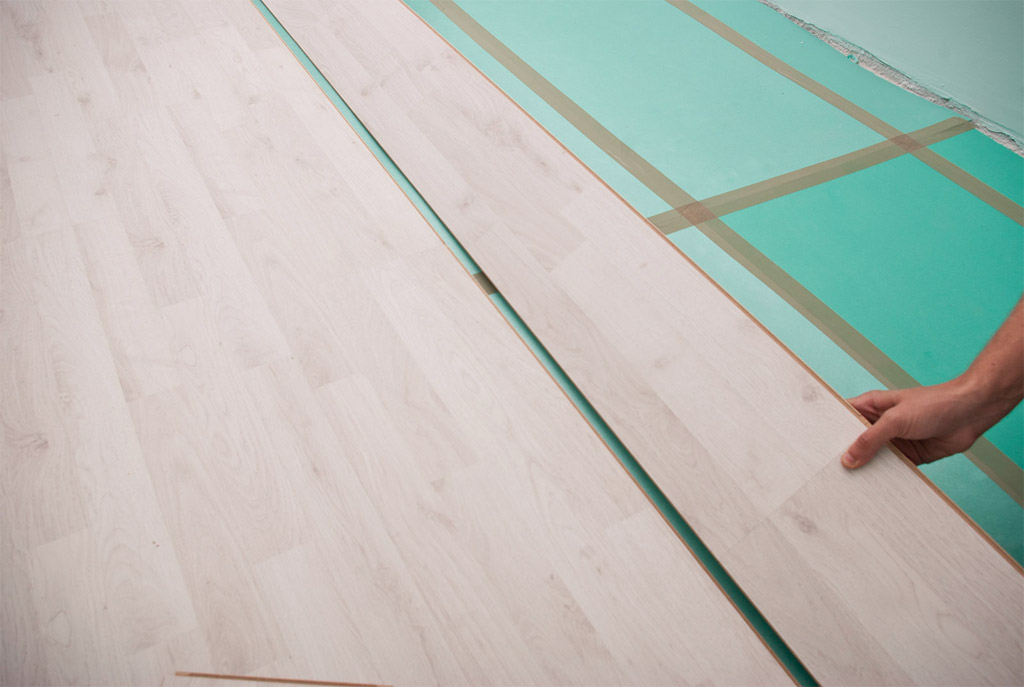
To protect the room from heat loss, smooth the roughness of the subfloor and reduce sound permeability, it is necessary to use a special substrate for laminate flooring when laying the laminate. The substrate is available both in rolls and in sheets of various thicknesses, you can easily find the material that suits your needs.
It is important during installation to correctly connect the laminate boards, otherwise, very soon cracks will appear between their joints. Clean the ridges and grooves of all laminated boards, removing dust and possible particulate matter. Make sure you lay the laminate in a perfect straight line. Stop if you notice the slightest displacement, as it will only increase as you continue to work. Do not use boards with defects - cracks, distortions, etc.
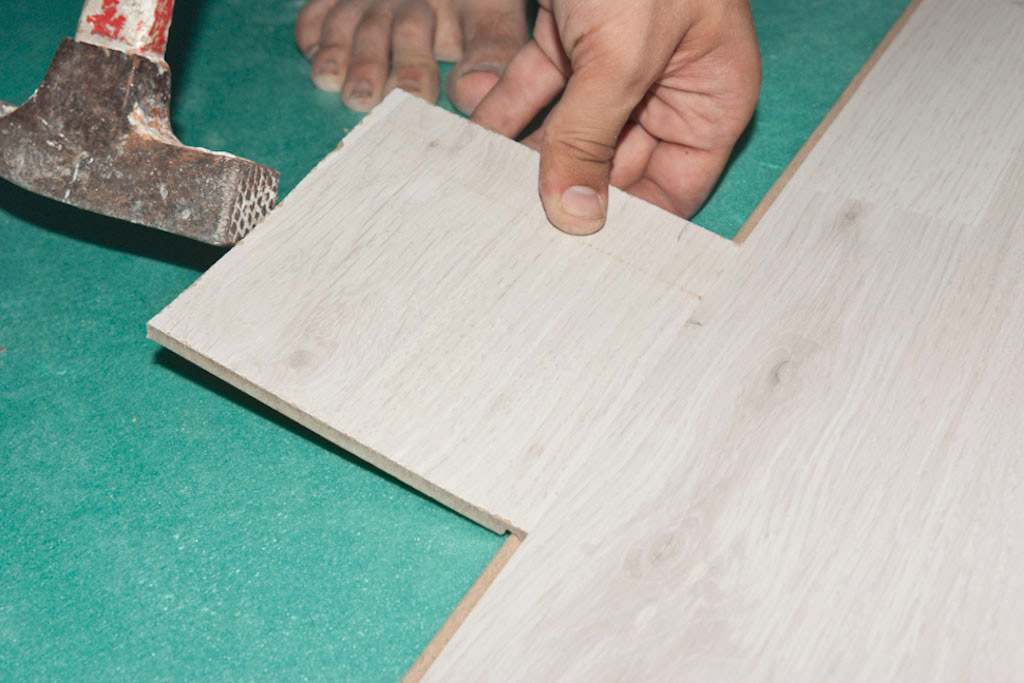
Knocking laminate boards to eliminate the gap.
If the gaps are greater than 2.5 mm, then there may be problems with air humidity.Laminate is sensitive to changes in temperature and humidity, so you must acclimatize it before installation and maintain constant humidity in the room after.
To eliminate the gaps, you can fasten the laminate boards together by applying glue into the grooves. In this case, you need to be sure that you have not glued the laminate to the base of the floor. However, it should be remembered that, using this method, you will not be able to disassemble the laminate if necessary without damaging it.
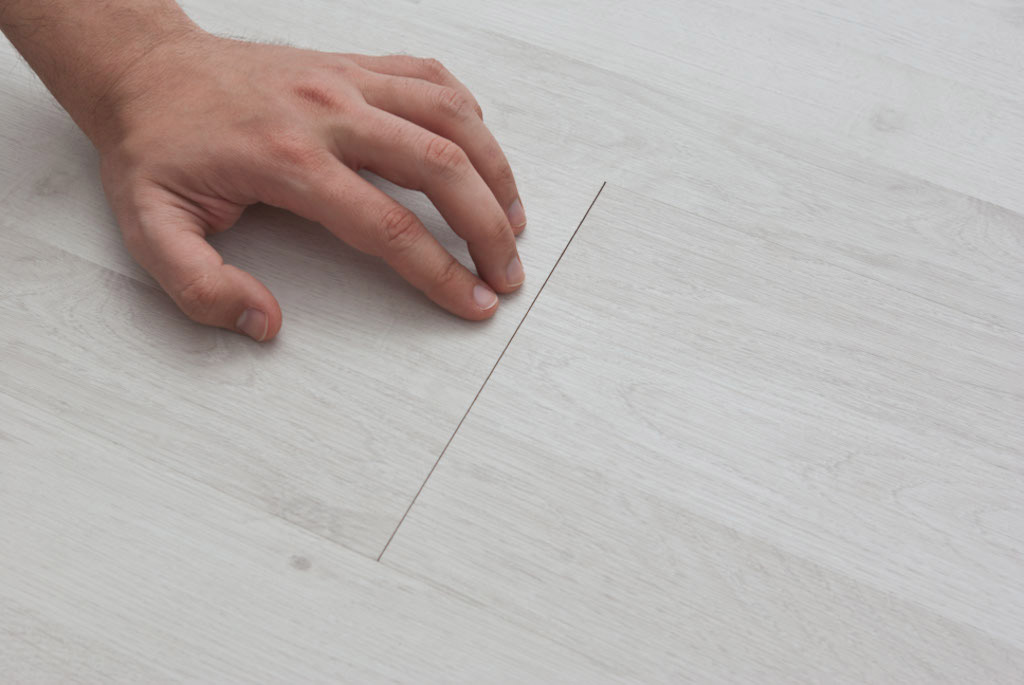
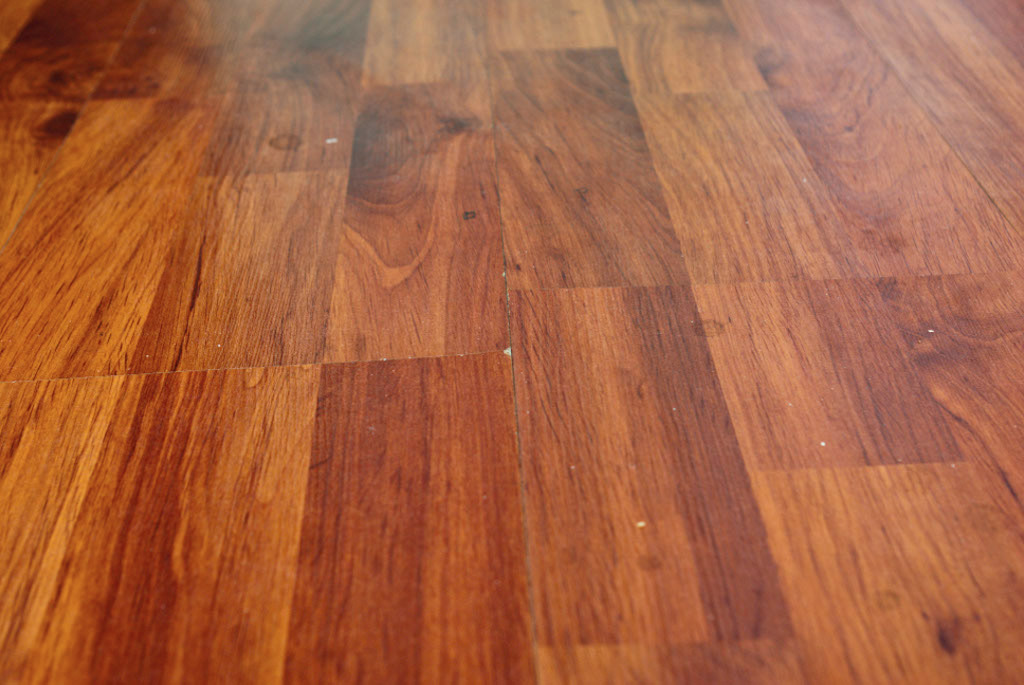
The gap between the laminate boards.
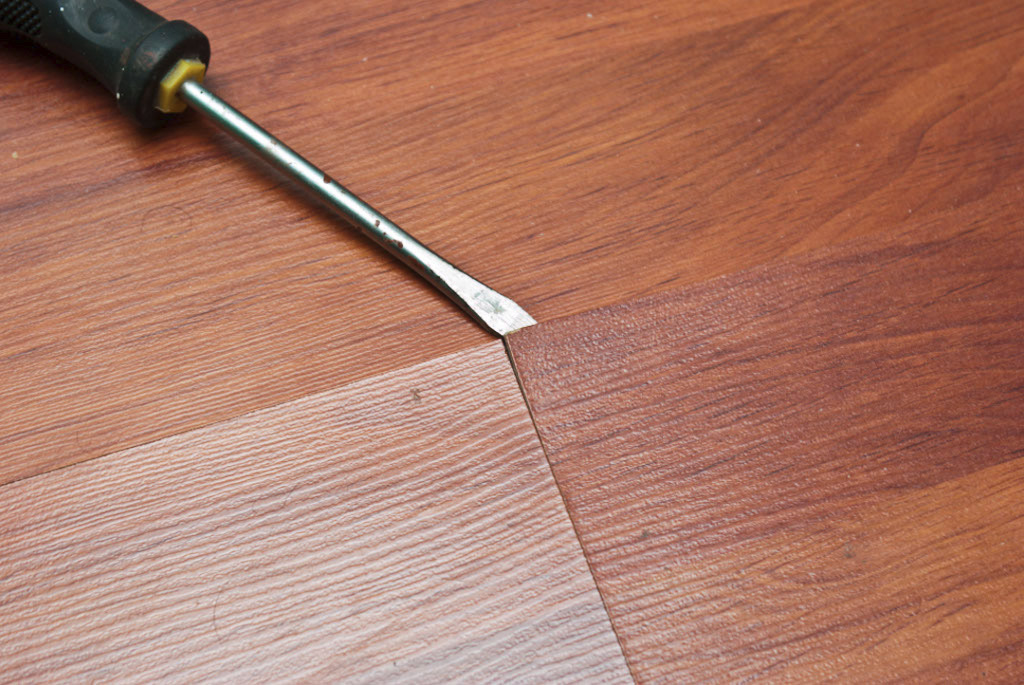
One of the easiest solutions to this problem is to mechanically “close” the gap. Try to hide it by hitting the board several times in the direction of the slit with a rubber-soled boot. If the gap is not reduced, you have no choice but to fill the slots with colored paste (using a syringe) or remake the laminate after leveling the base.
Tip: Do not apply too much force, otherwise you may damage the laminate. Also, wash your shoes thoroughly before attempting to fix flooring problems.
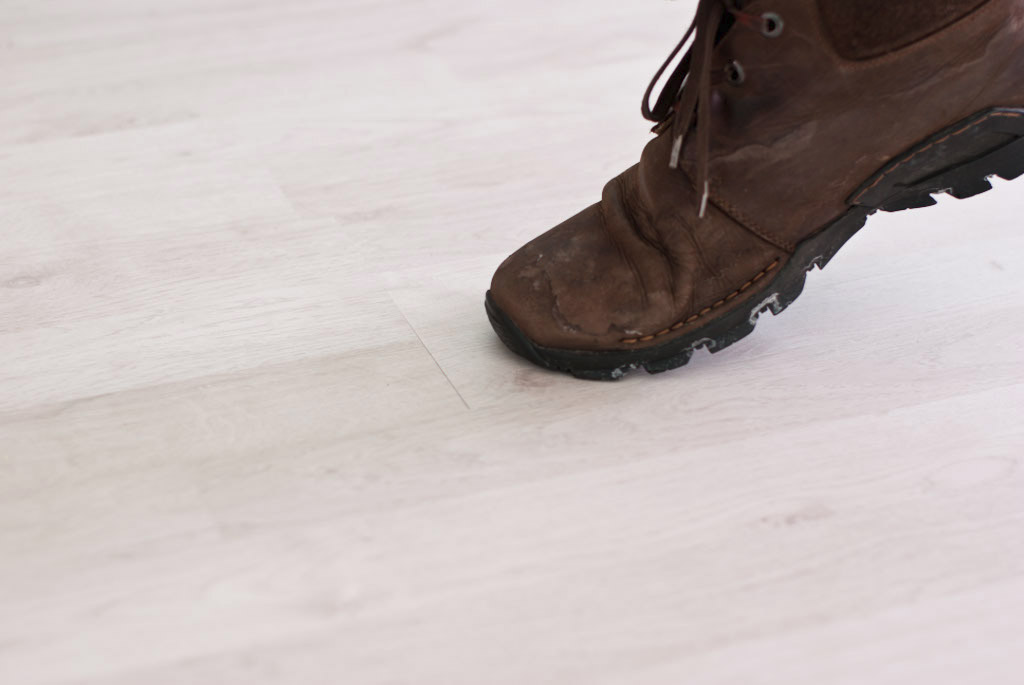
Closing the gap by force.
In our case, this method was successful, since the problem was caused not by poor laying of the laminate, but by a change in air humidity. Since there are many situations in which we cannot control the humidity and temperature of the air in the room, each owner of a laminate flooring needs to take note of this way to easily solve the problem.
Cleared gap between the laminate boards.
Laminate swelling elimination
Bloating is one of the most common laminate problems caused by improper installation. A similar problem occurs when the laminate boards “push” each other, as a result of which the joint acquires a V-shape.
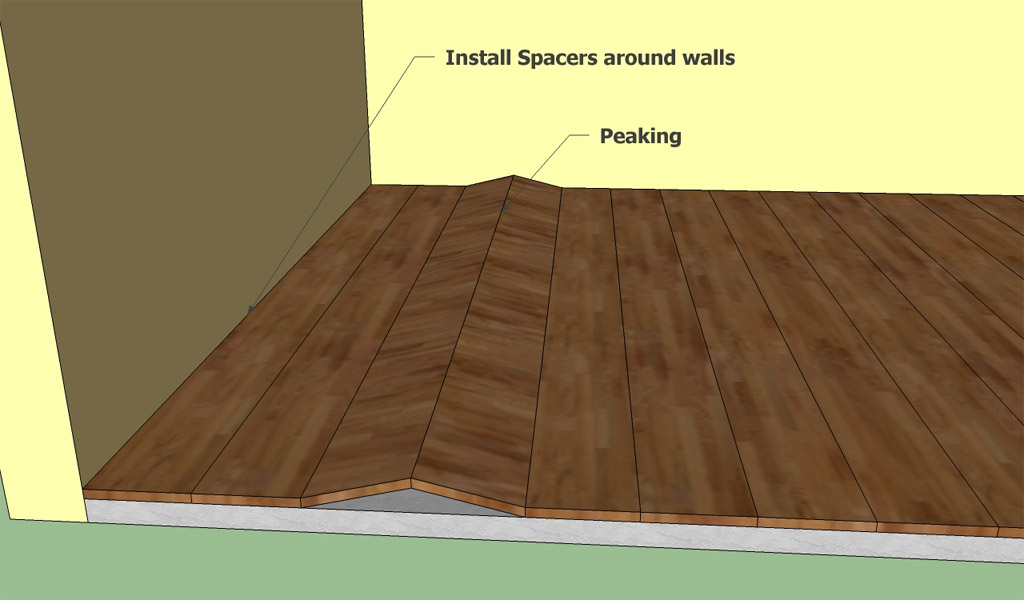
Laminate swelling.
In the photo you can see how the swollen floor does not look aesthetically pleasing. In addition, he creaks every time you step on him.
There are many reasons that can lead to bloating. The main thing is that when laying the laminate there is no gap between the floor covering and the wall, as a result of which the boards do not have enough space for expansion. Repairing the laminate in this case is simple: you must dismantle the board adjacent to the wall and saw it in the longitudinal direction (1-5 cm, depending on the height of the swelling). If the swelling does not disappear, place heavy objects on the surface and leave them for a day.
Swelling of the laminate.
The laminate will not be able to expand even if the baseboard is attached to the floor. It should be remembered that the laminate is a floating floor, so it should not be fixed to the base or baseboards.
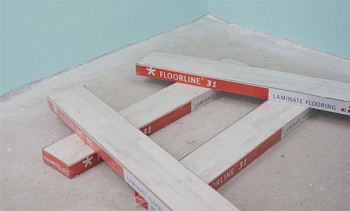
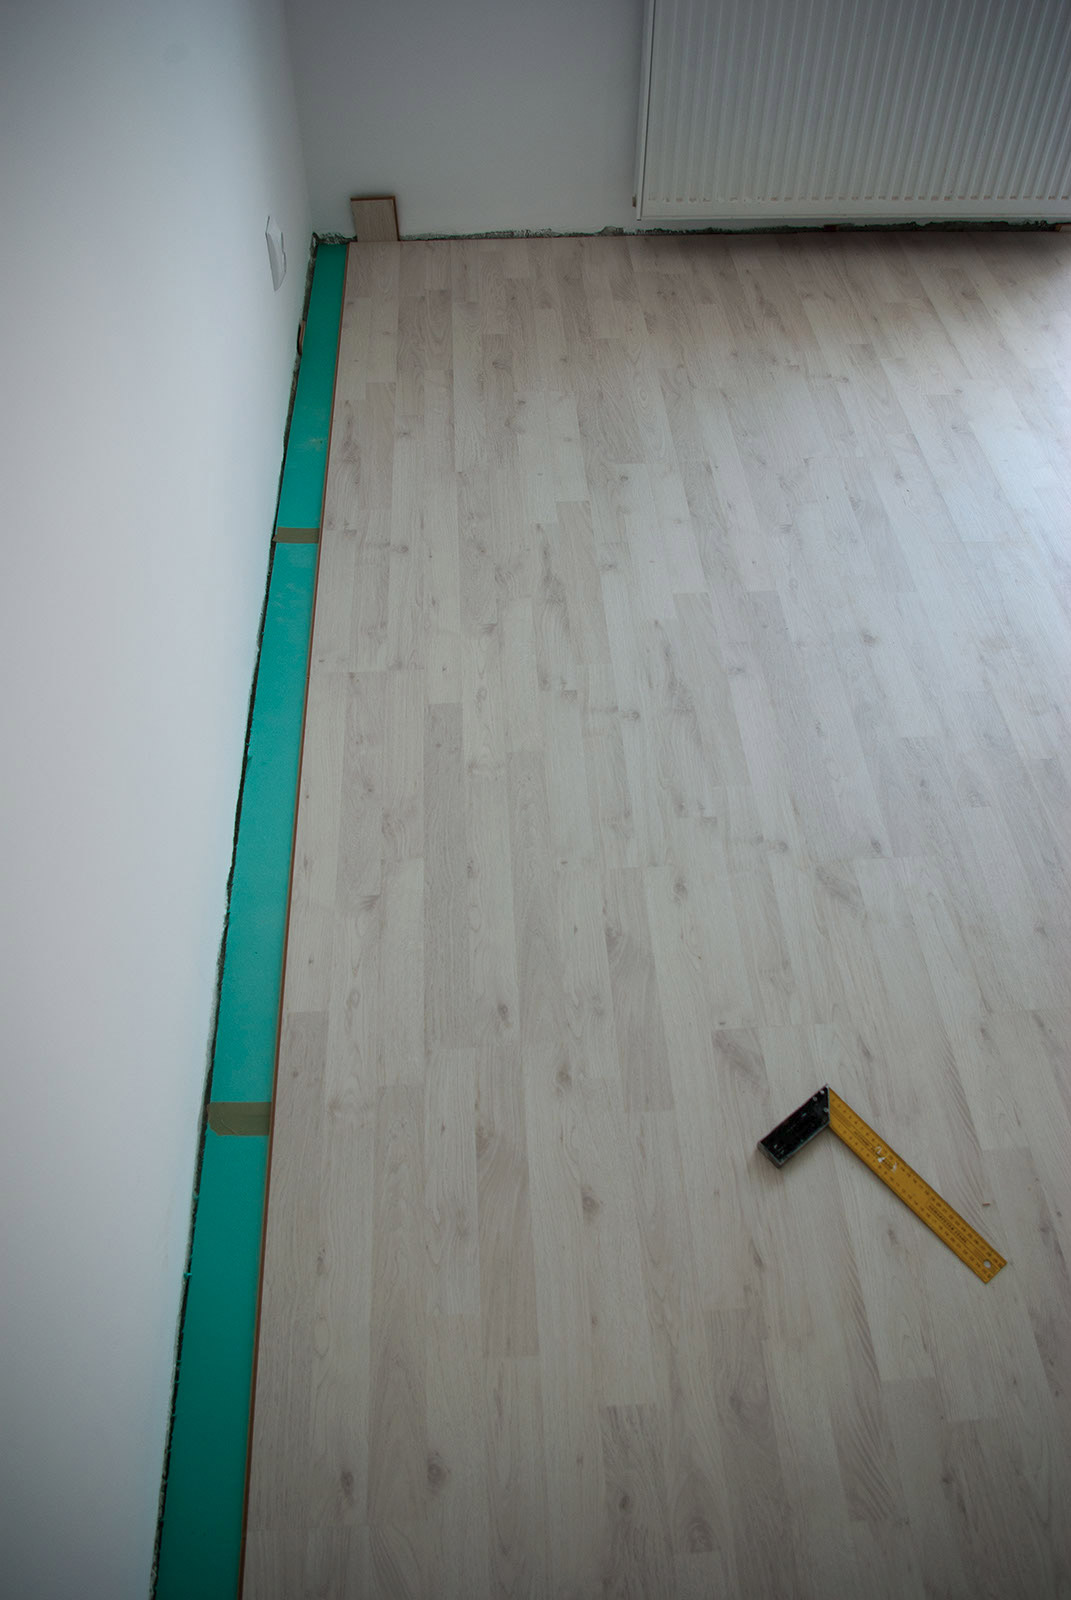
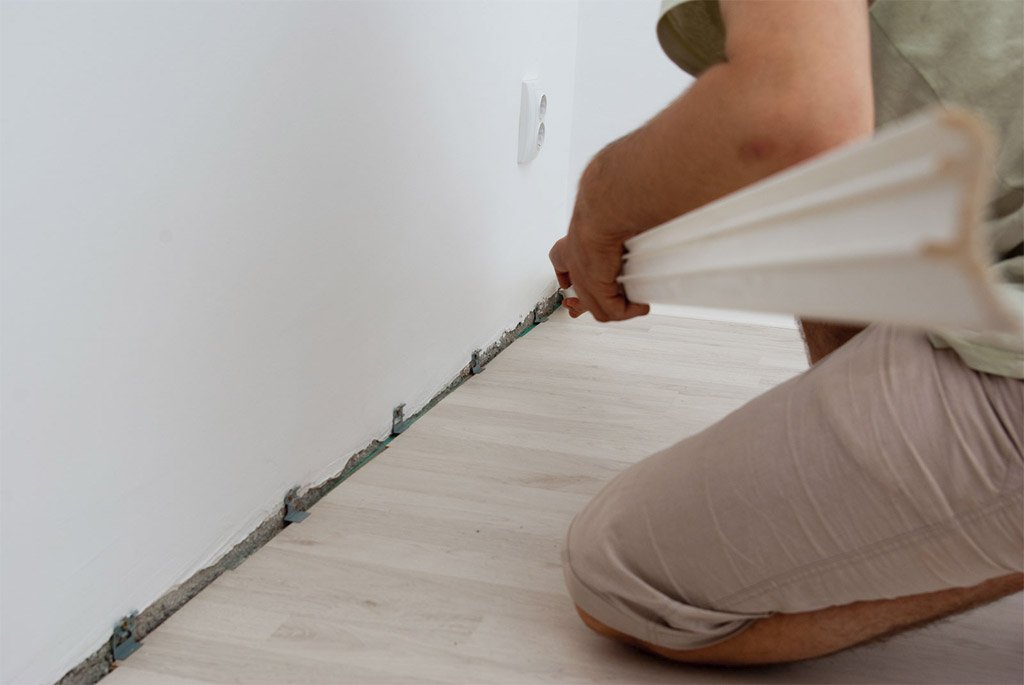
To avoid this problem, when laying the laminate, you must place spacer wedges along all walls. These spacers will allow you to maintain a gap between the walls and the laminate during installation. Laminate flooring can expand over time, and a gap left in all directions is necessary to avoid bloating.
Tip: If you do not have professional struts, you can take a few pieces of laminate and place them along the walls.
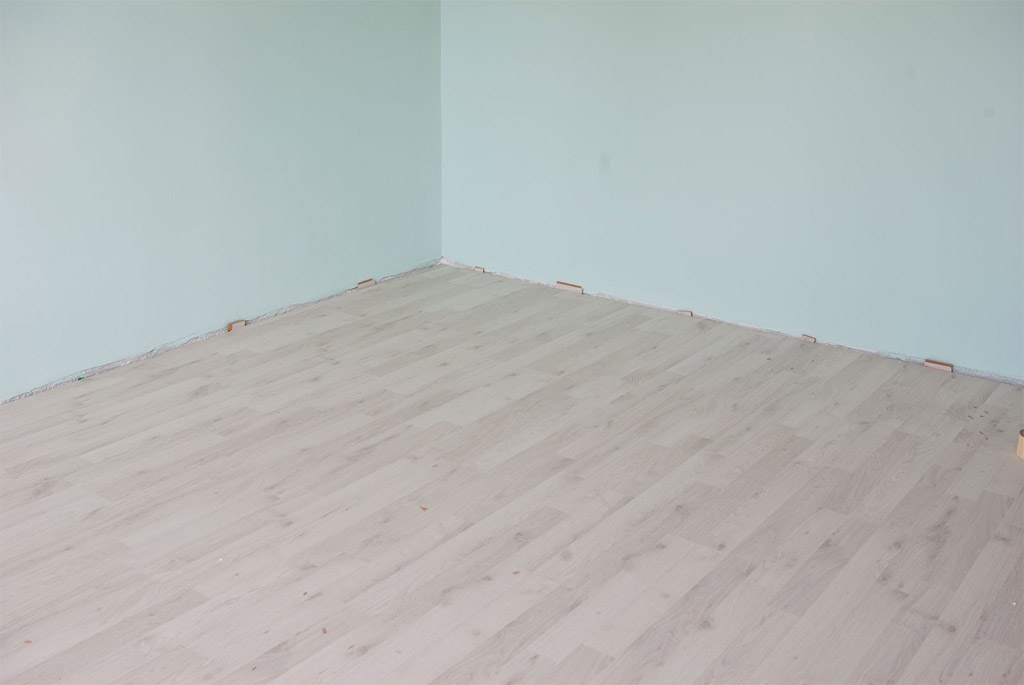
Spacers along the walls.
Laminate Peeling
To avoid delamination of the laminate, it is not recommended to wash the floor with water or a soap solution. Get a product specially created for these purposes - a laminate cleaner. The composition must be applied to the floor covering and wipe the surface with a dry non-abrasive cloth.
Water accidentally spilled onto the laminate should be wiped with a dry cloth as soon as possible. Every minute of delay increases the risk of delamination of the laminate. In the worst case, you will have to replace damaged boards.
Now you know how to restore the laminate from scratches and chips, eliminate the gaps between the boards, eliminate bloating. Using our instructions and tips, you can easily repair the laminate with your own hands and return it to its former appearance. However, the best way to solve problems is to prevent them from appearing.Keep this in mind and strictly follow the manufacturer's recommendations when laying the laminate and its subsequent operation.