This material is about how to lay a substrate under the laminate. This stage precedes the laying of the laminate board and is mandatory, since it largely depends on how long the new floor covering will last you. Laying the substrate under the laminate with your own hands - although responsible work, but not difficult. You will learn how to do it right from our step-by-step instructions.
Content:
- Before proceeding to the substrate, familiarize yourself with the material: Leveling the floor under the laminate depending on the base and nature of the bumps.
The purpose of the substrate, the necessary materials and tools
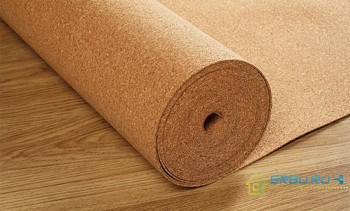
The main functions of the substrate are to smooth out irregularities in the base of the floor, create a barrier that prevents the penetration of water vapor, prevent heat loss, and reduce sound permeability. The substrate is supplied both in the form of rolls and in the form of sheets. Within certain limits, its thickness can also vary.
Laminate manufacturers recommend laying a waterproofing film on the base before laying the substrate. But you need to do this only when your base has a lot of moisture. Often screed, bathed in many months ago and well-dried, does not contain moisture and cannot harm your laminate.
You can verify this in a simple way. On a concrete base you need to put a piece of film at least a meter per meter. All edges of the film must be glued to the base. If after a day no signs of fogging are visible on the film, then the base is quite dry and additional insulation can be omitted.
To lay the substrate under the laminate, you will need the following:
Materials:
- laminate backing;
- Scotch.
Tools:
- roulette;
- cutter / knife;
- elbow; vacuum cleaner.
Tips:
- Do not save on the quality of the substrate. In the long run, your costs will pay off.
- The substrate sheets must be joined together with adhesive tape.
Step-by-step instructions for laying the substrate
The first step in this process is to prepare the floor base. Eliminate all roughnesses of a subfloor and be convinced that its surface is reading and absolutely dry.
- See material for more details: Preparing the base of the floor for laying the laminate.

Preparation of the floor surface for laying the substrate.
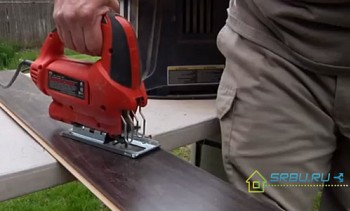
The substrate and the laminate itself should start under the door jamb. With this approach, you are guaranteed no squeak of flooring and a nice looking appearance. With this in mind, you must remove the rest of the mounting foam from under the jamb in advance. If there is no free space between the door frame and the floor surface, do not cut the laminate in the shape of a jamb. We recommend that you file the base with a hacksaw so that the laminate fits perfectly under it.
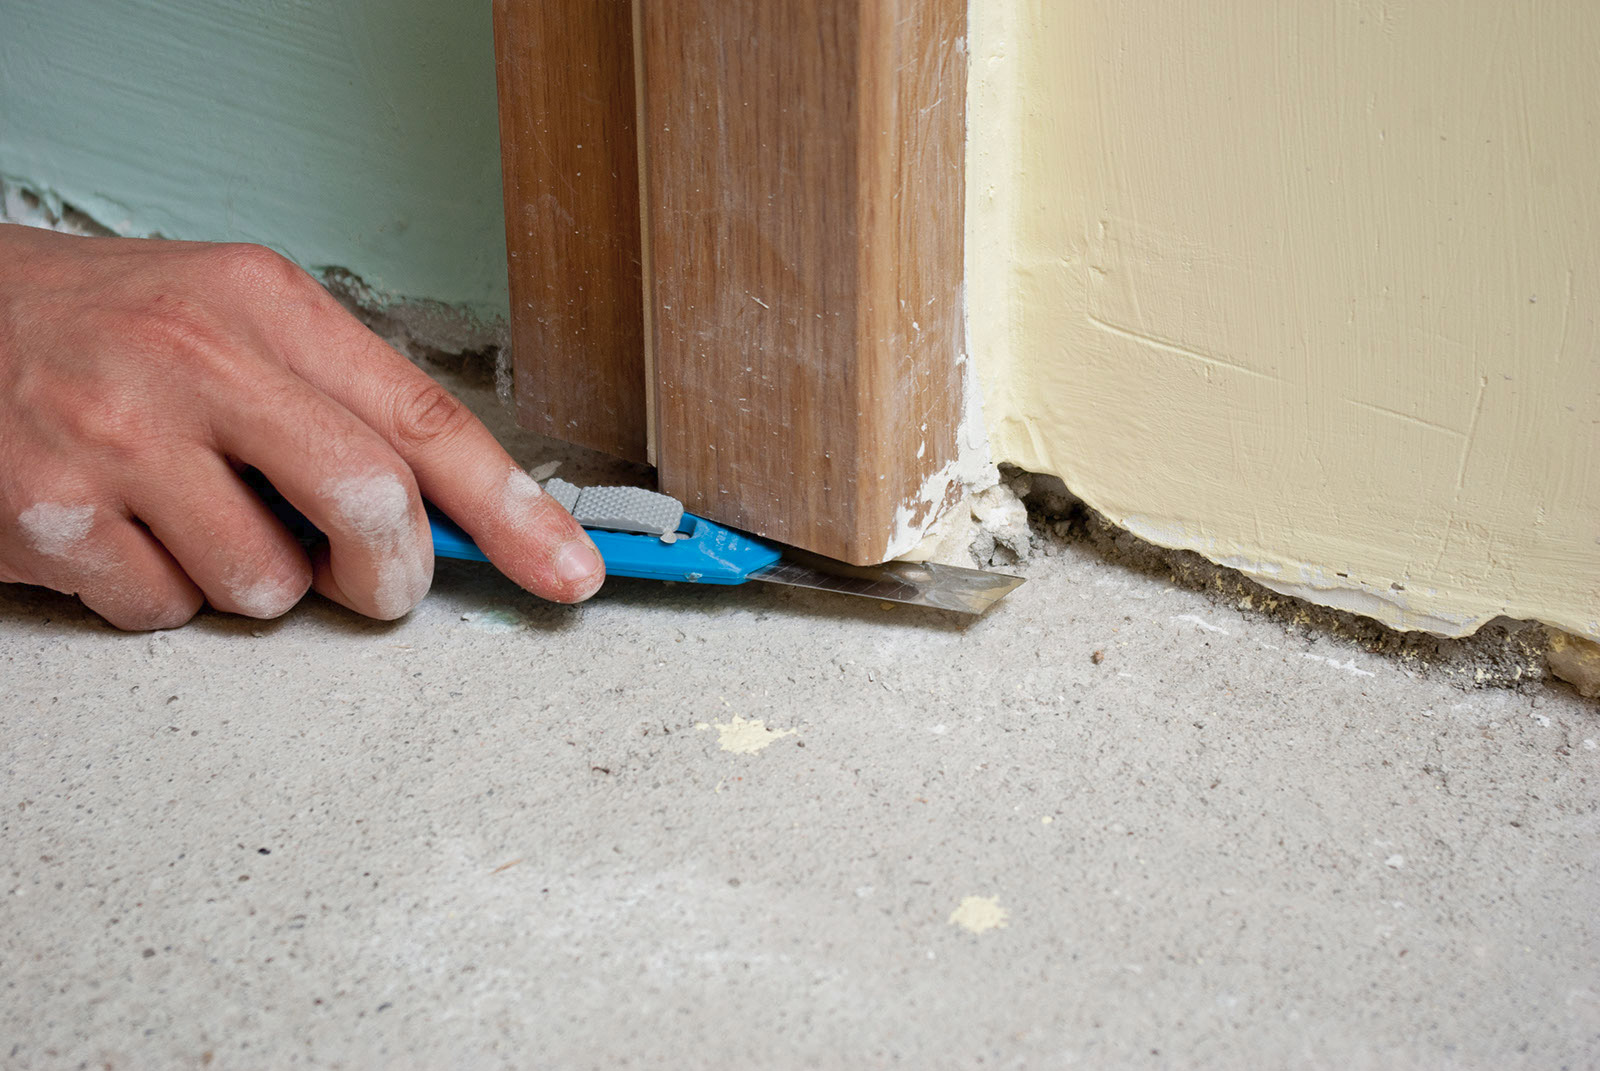
Cleaning the space under the door jamb.
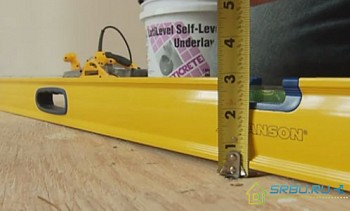
Now the turn has come to the very substrate under the laminate. Measure the length and width of the room to determine the exact area of the material you need to buy. You won’t need complicated mathematical calculations, just multiply the length by the width. To avoid unnecessary visits to your local store, add 10% to the waste when cutting to the resulting figure.
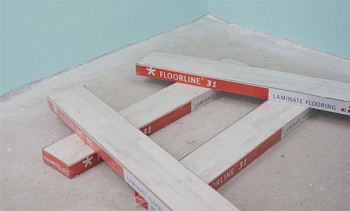
The backing is sold in rolls and sheets. In our project, we used a substrate in the form of a sheet of expanded polystyrene with a size of 50 cm x 100 cm and a thickness of 3 mm, but you can use rolled material if you wish - it is no worse.
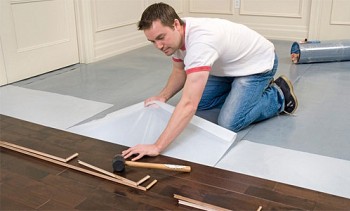
Start the laminate flooring from the corner of the room and continue until you cover the entire surface.
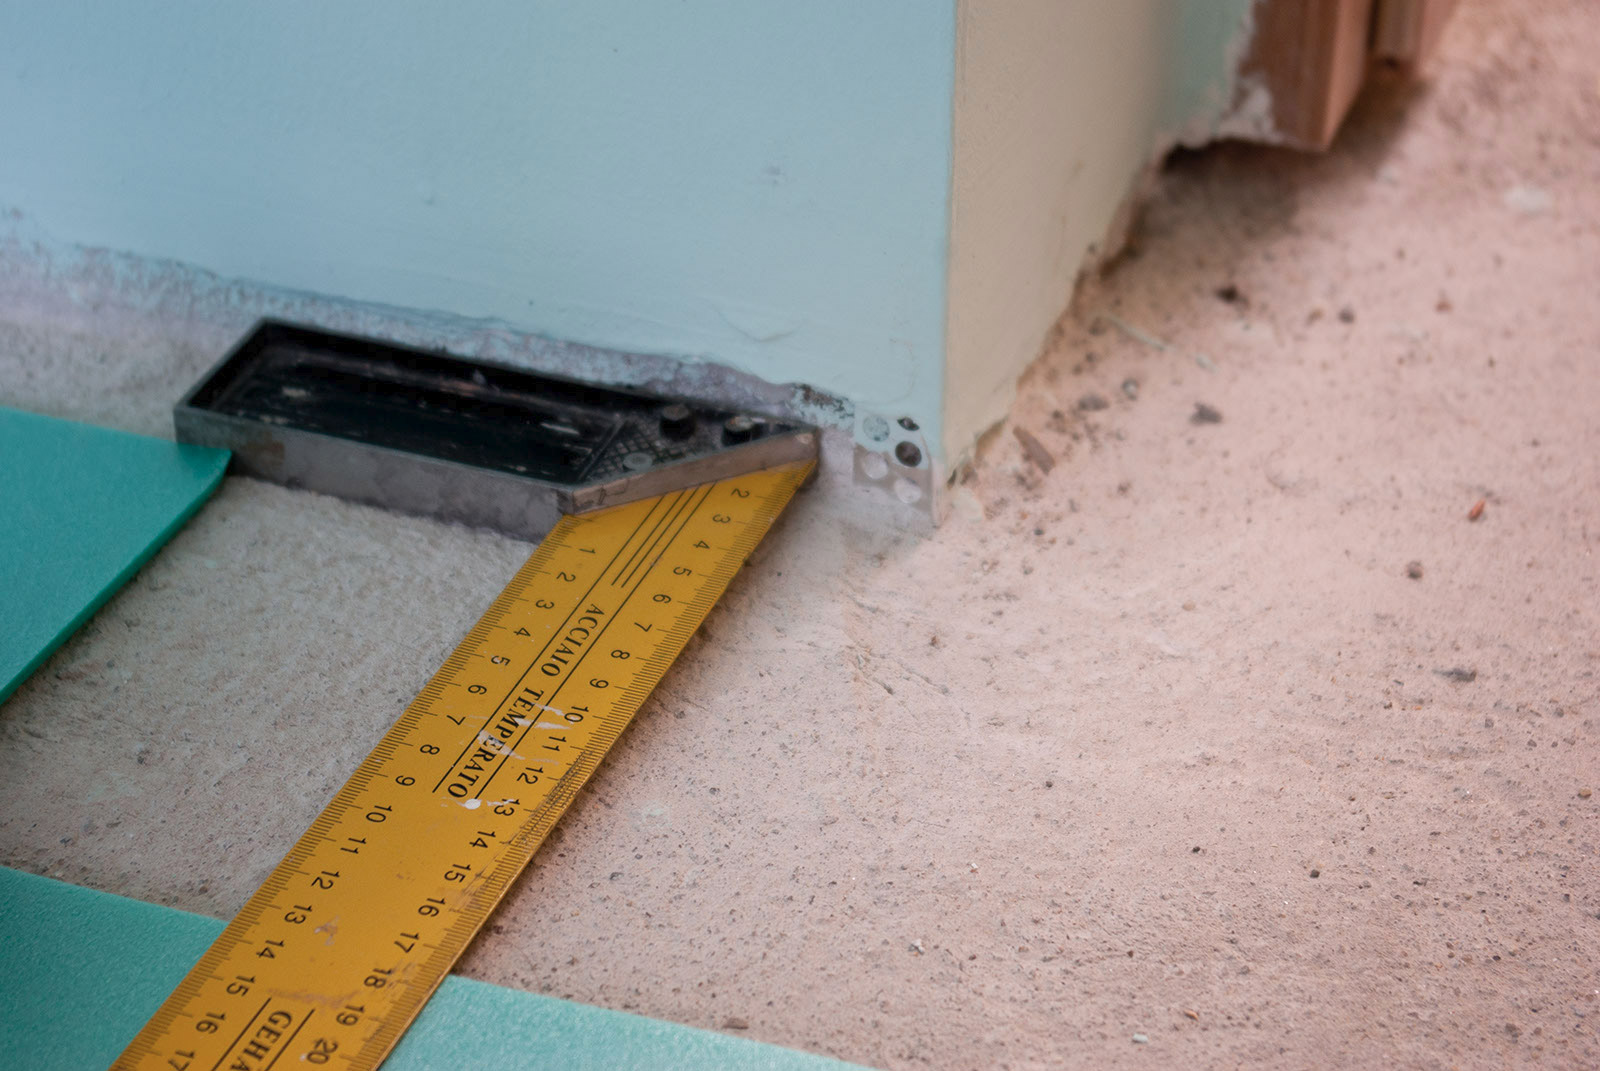
Distance measurement with a joiner square.
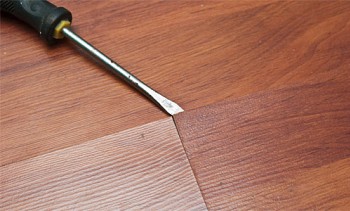
With a high probability, you will have to cut the material to achieve full compliance with the geometry of the room. Please note that before taking the knife, we took measurements and applied the corresponding marks on the substrate.
To make the cutouts flawless, you will need a square (for drawing perfect 90 ° angles) and a cutter. After you cut the backing according to the required shapes and sizes, lay it in its place.
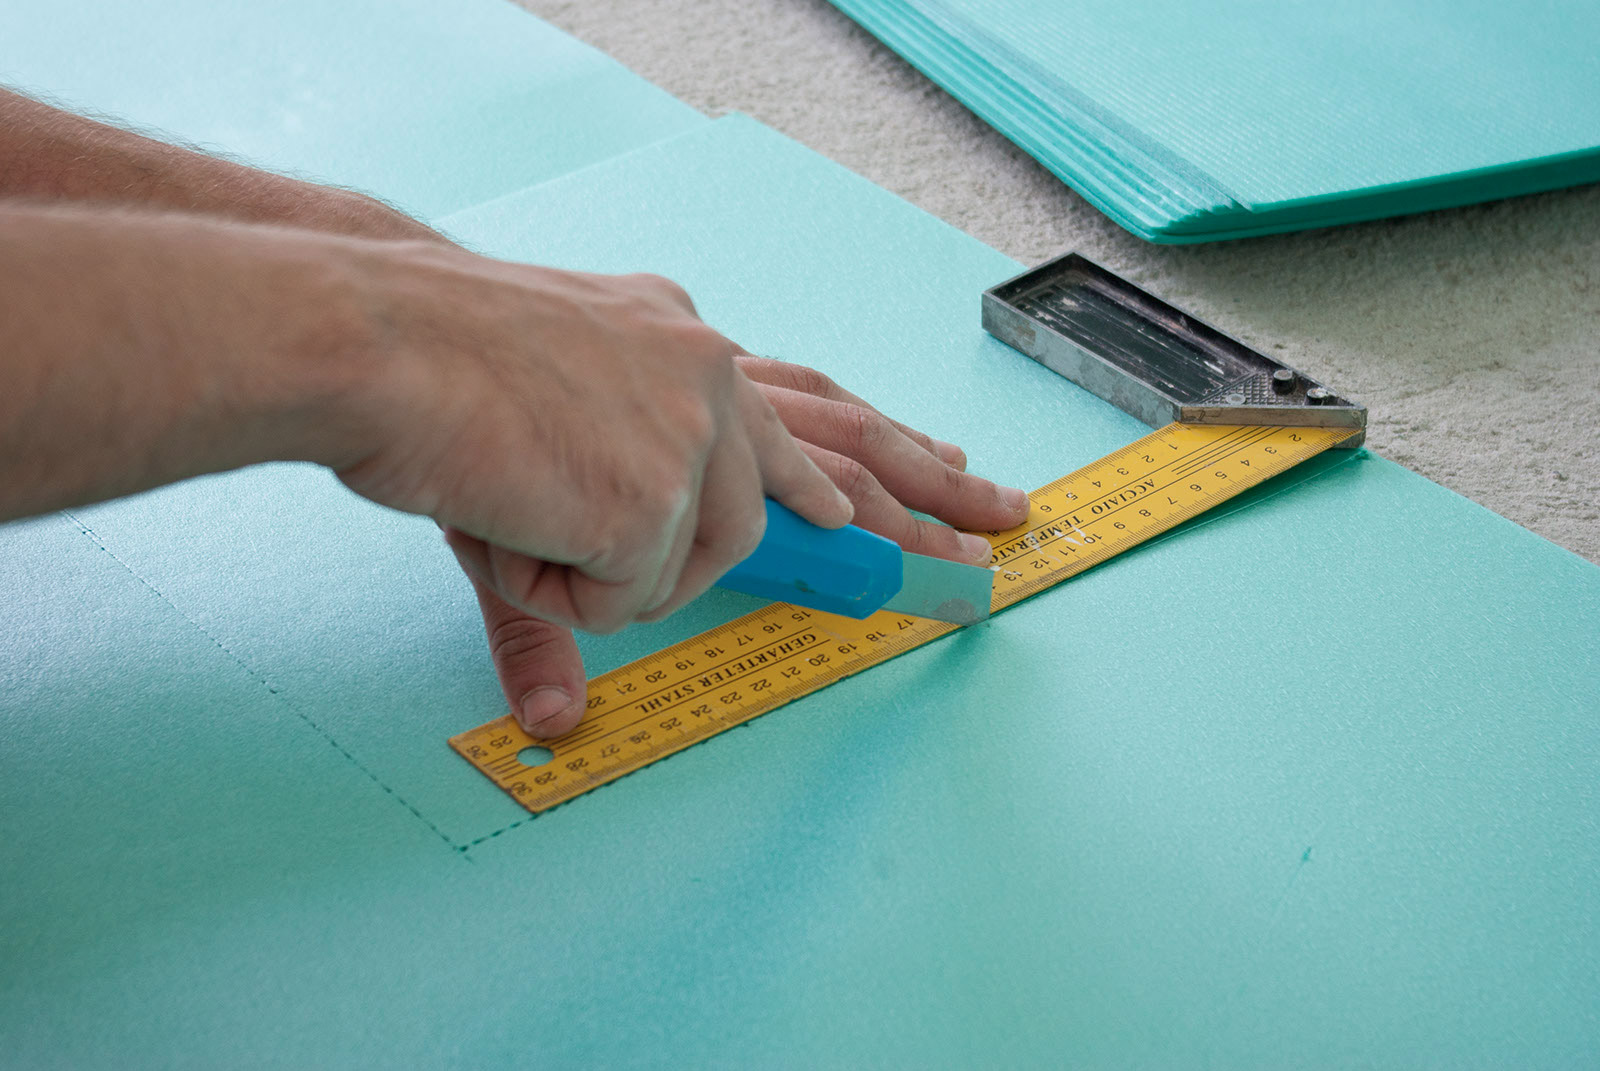
Cutting the substrate under the laminate.
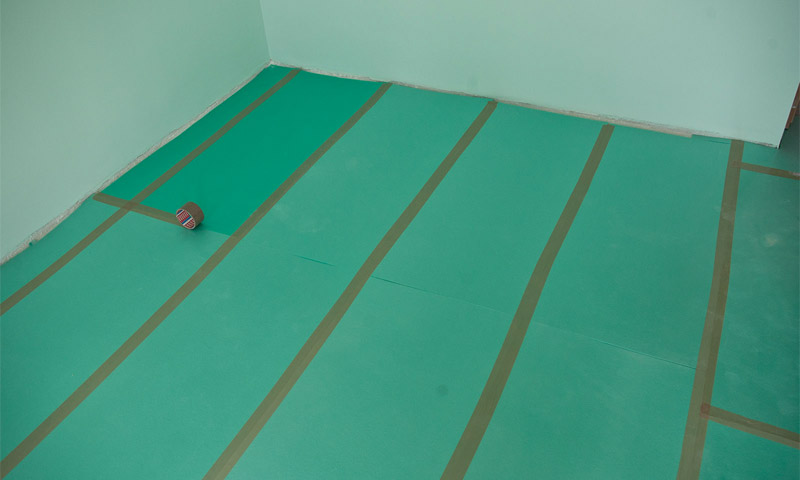
Now you need to glue the substrate sheets together using tape. In this way, you can combine the individual sections into a single whole coating. We recommend that you roll the tape 50 cm (no more!), And then gently press it with your hand to glue it onto the joint of two sheets of the backing. It is impossible to allow that the joined sheets of the substrate overlap each other. In this case, you need to carefully monitor so that the adhesive tape is always well stretched. You can use a special dispenser for adhesive tape, which will greatly facilitate the process of working with adhesive tape.
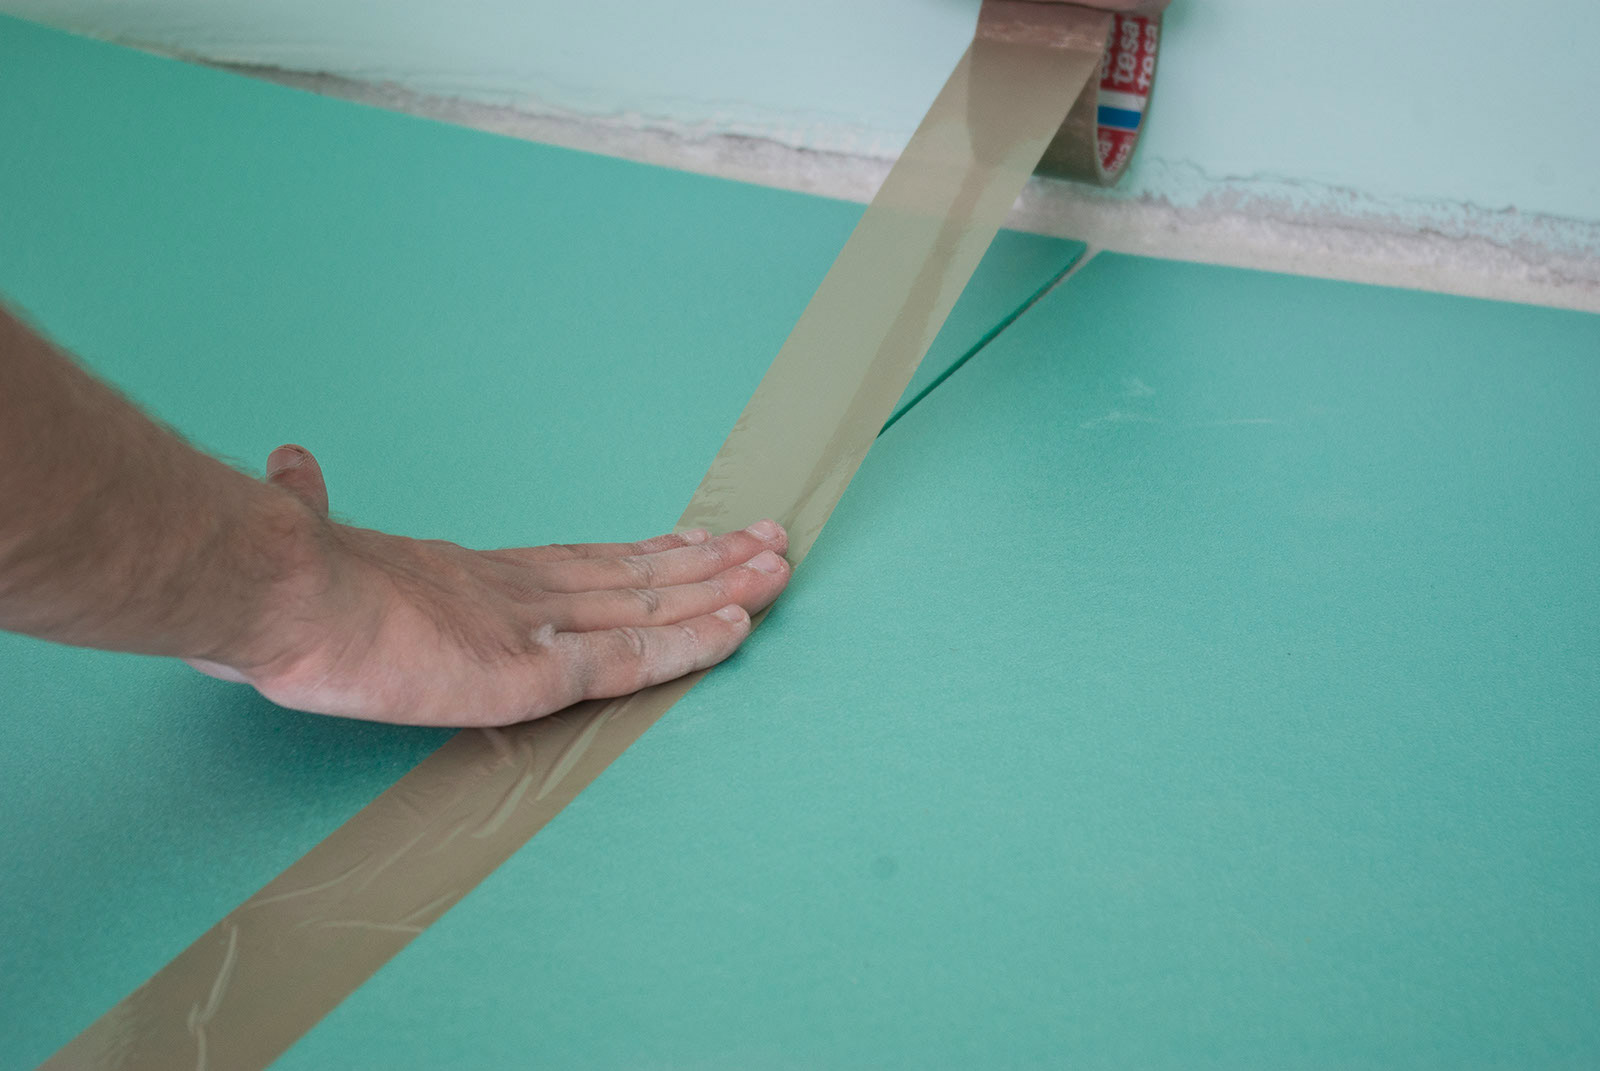
Joining two backing sheets using tape.
Glue all joints of the backing sheets with tape. This stage is very important for creating a waterproofing barrier and, accordingly, protecting the laminate.
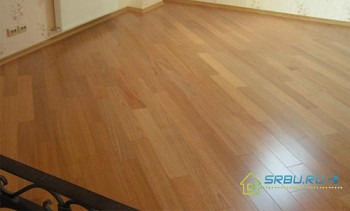
The durability of the floor covering depends on the quality of the work. Laying the substrate under the laminate is no less important than aligning the base of the floor, so be careful and work with special zeal. After completing the substrate flooring, be sure to thoroughly clean its surface with a vacuum cleaner.