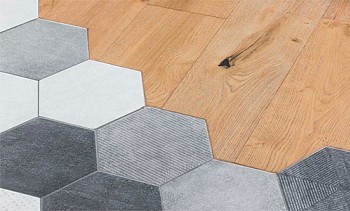
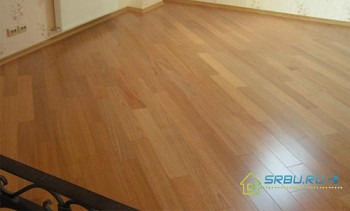
Laminate flooring is one of the most popular flooring today. Many owners of houses and apartments who decided to make a major overhaul of their home prefer this material because of its low price, a wide variety of colors and textures, high quality, durability and ease of maintenance.
Preparing the floor for laying the laminate is a very important and crucial stage of work. We offer detailed step-by-step instructions that will tell you how to do it right. Strange as it may seem, the preparatory phase is very important for the proper installation of the laminate flooring, so do not neglect our advice.
Content:
What you need to consider before starting the preparatory work
#1. If the base of the floor is made of concrete, you should check its evenness and horizontalness. If according to these indicators the concrete base is far from ideal, it is necessary to pour a thin layer of self-leveling screed. Pre-fill the mortar with concrete cracks, carefully remove all dust and grease stains from the surface.
#2. If the base of your floor is wooden, before laying the laminate, you must make sure it is even and not cracked. If the wood is damaged or deformed, we recommend laying a layer of plywood 10-12 mm thick over the entire surface. Fasten the plywood sheets to a wooden base or pre-laid logs using nails or self-tapping screws. We recommend that you mark the location of the lags on the walls in order to use these marks when you begin to mount the skirting boards. If you want to avoid problems in the future, be sure to read the manufacturer's instructions before laying the plywood. In most cases, you should leave a 3 mm expansion joint between the sheets. The gaps between the plywood sheets and the walls of the room should be closed to create a moisture barrier and to improve the heat and sound insulation of the room.
#3. If plywood does not fit into your repair budget, you can use 11 mm OSB boards. However, it should be remembered that OSB should not be used in places subject to moisture, since the material will swell, mold and mildew may appear on it.
- See the material: Leveling the floor under the laminate depending on the base and nature of the bumps.
If you decide to prepare the floor for the laminate with your own hands, you will need the following:
Materials:
- laminate;
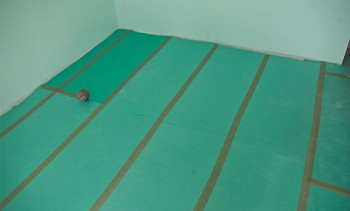
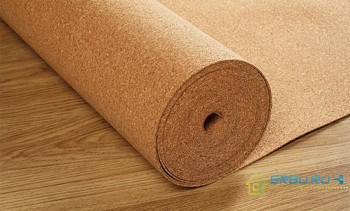
- laminate backing.
Tools:
- level;
- hammer;
- bit;
- roulette;
- putty knife;
- a vacuum cleaner.
Tips:
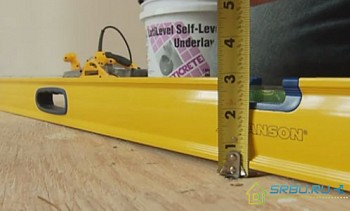
- Using a level, make sure the floor surface is fairly flat.
- Pour a self-leveling screed if the floor is not level enough.
- Properly clean the floor with a vacuum cleaner.
We prepare the base for laying the laminate
Before you start laying the laminate, you must, using the level, make sure that the surface of the subfloor is horizontal. This aspect is very important, because if the surface is uneven, the new laminate will bend and creak, which will lead to its rapid wear.

Concrete floor base.
Thoroughly clean the surface using a vacuum cleaner or a broom, as the remaining small particles can jeopardize the entire project. Pay particular attention to the corners and perimeter of the room. Be prepared to repeat the cleaning process if necessary. To protect your lungs from dust when sweeping, use a respirator. At the end of this step, properly ventilate the room.
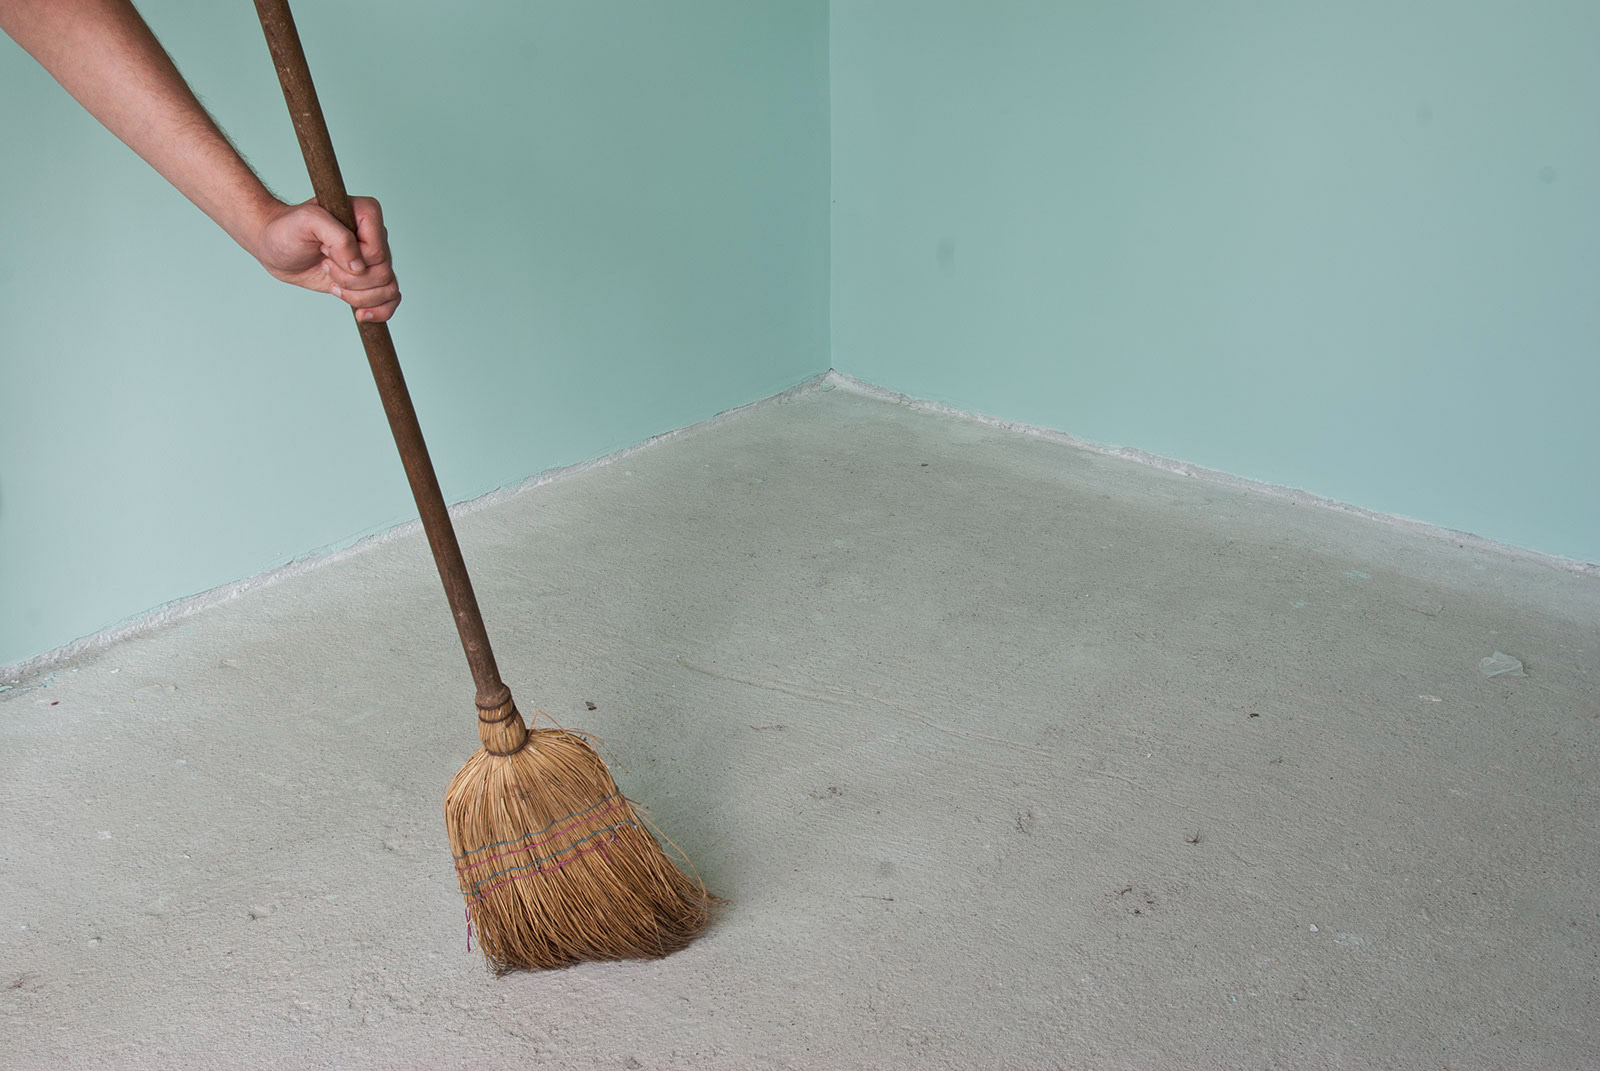
Cleaning the floor surface from dust.
When preparing a concrete floor for a laminate, use a chisel or a large scraper to remove concrete “blotches” or some other roughness of the subfloor. Do not forget, using a broom or vacuum cleaner, to remove all the garbage formed during this. A vacuum cleaner in this case is preferable, since it is less likely to contribute to the spread of dust around.
If you skip this step, the laminate may warp over time or begin to creak. Eliminating microroughnesses is a very important step in preparing the floor before laying the laminate, so carefully check the surface, and more than once.
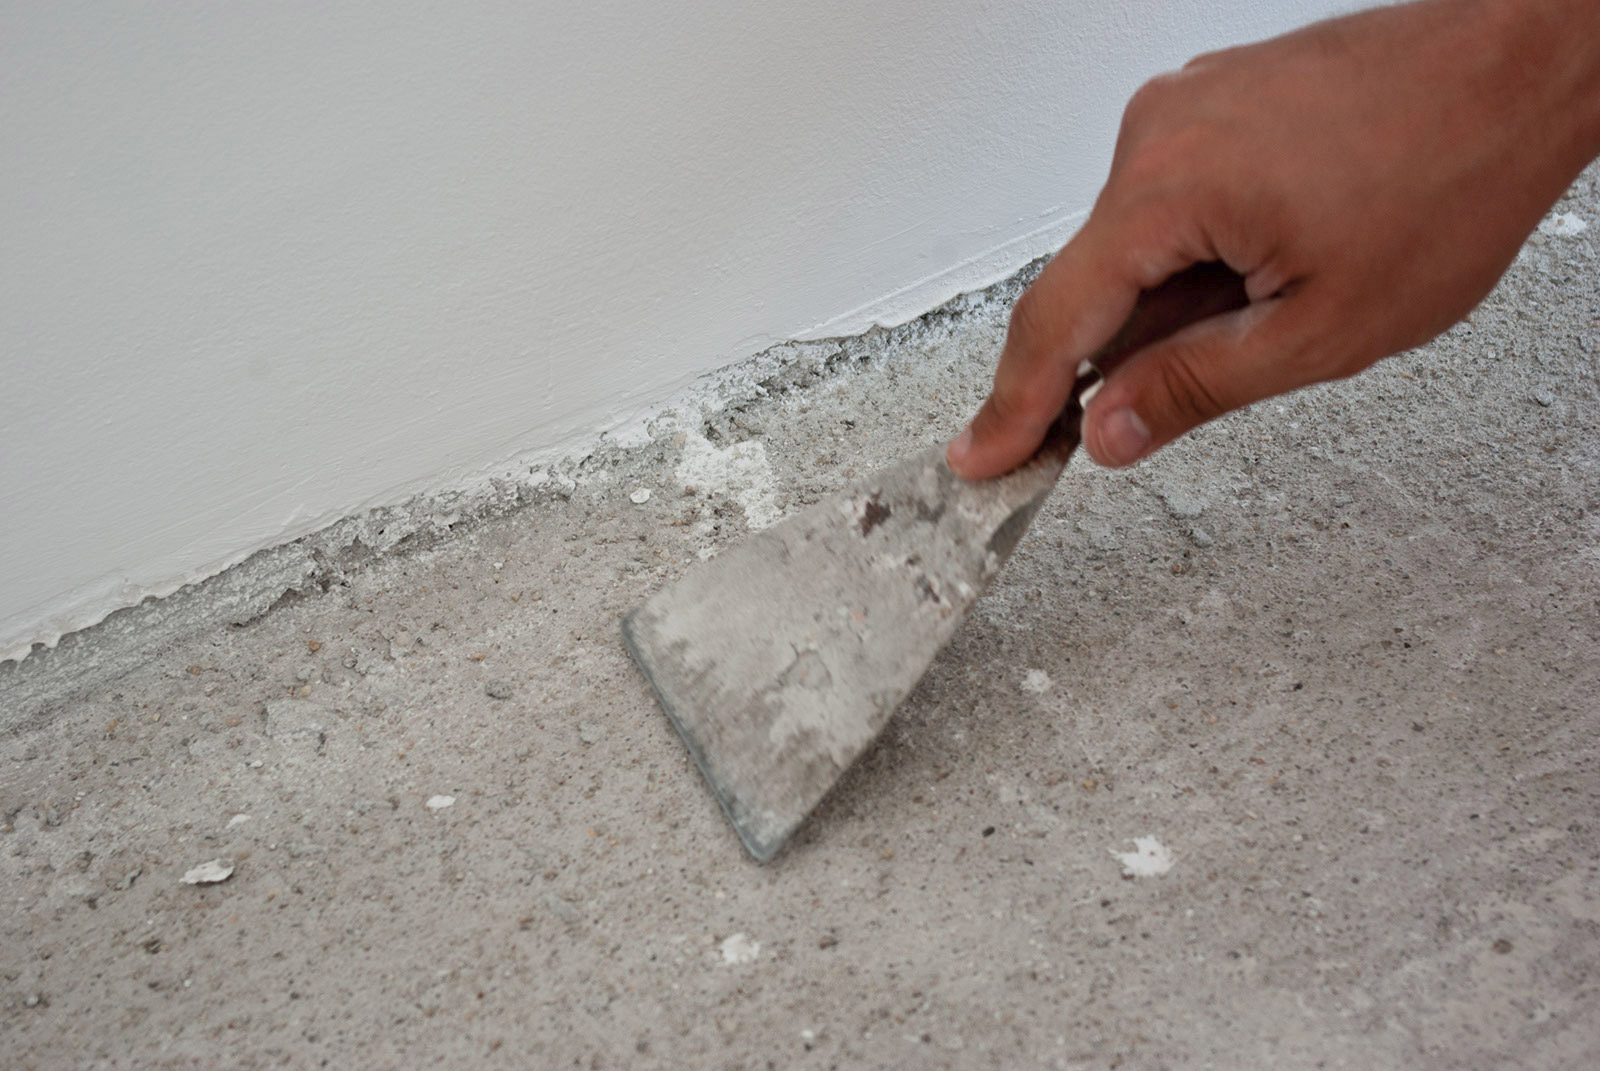
Remove dried cement slurry with a spatula.
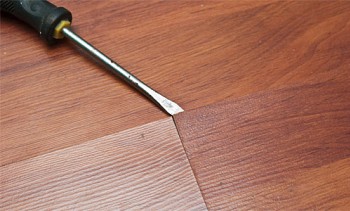
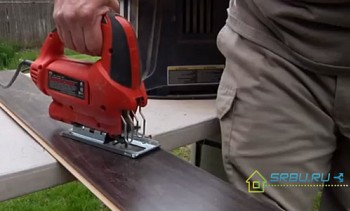
File the door jambs with a special Pull-Saw or a regular hacksaw. Many pseudo-masters make cuts in the laminate board in the form of a jamb, but this method is completely wrong. Not only does this not look aesthetically pleasing, it can also lead to sagging and creaking of the laminate.
The correct way is to carefully file the door jamb from below. In this case, the thickness of the gap formed between the jamb and the subfloor must be equal to the total thickness of the laminate board and the substrate. Having made a file, do not forget to check whether the laminate is placed there.
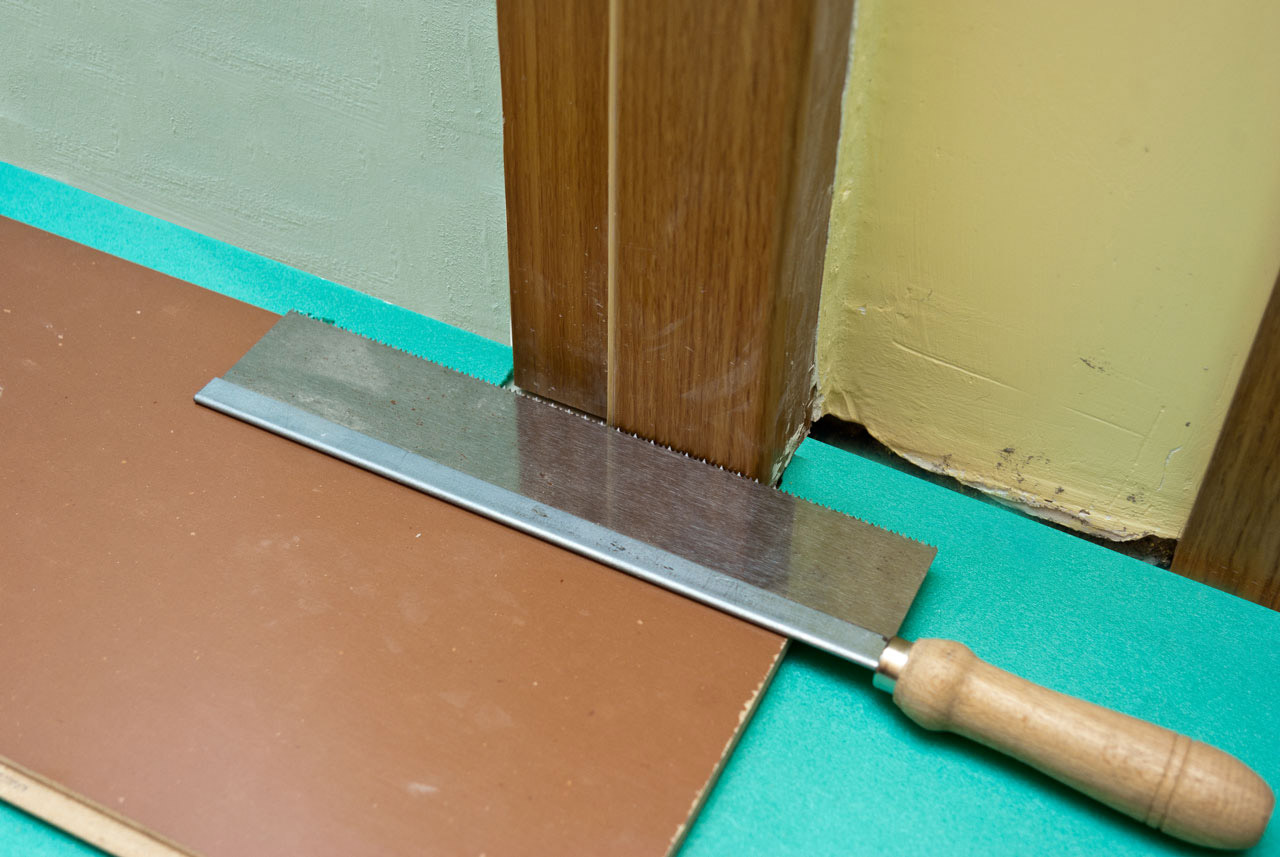
Sawing the door jamb.
Using a knife, remove the remaining foam from under the jamb. Use caution; otherwise, you may scratch the door jamb.
For the last time, check the floor surface for cracks, bumps and oily stains.
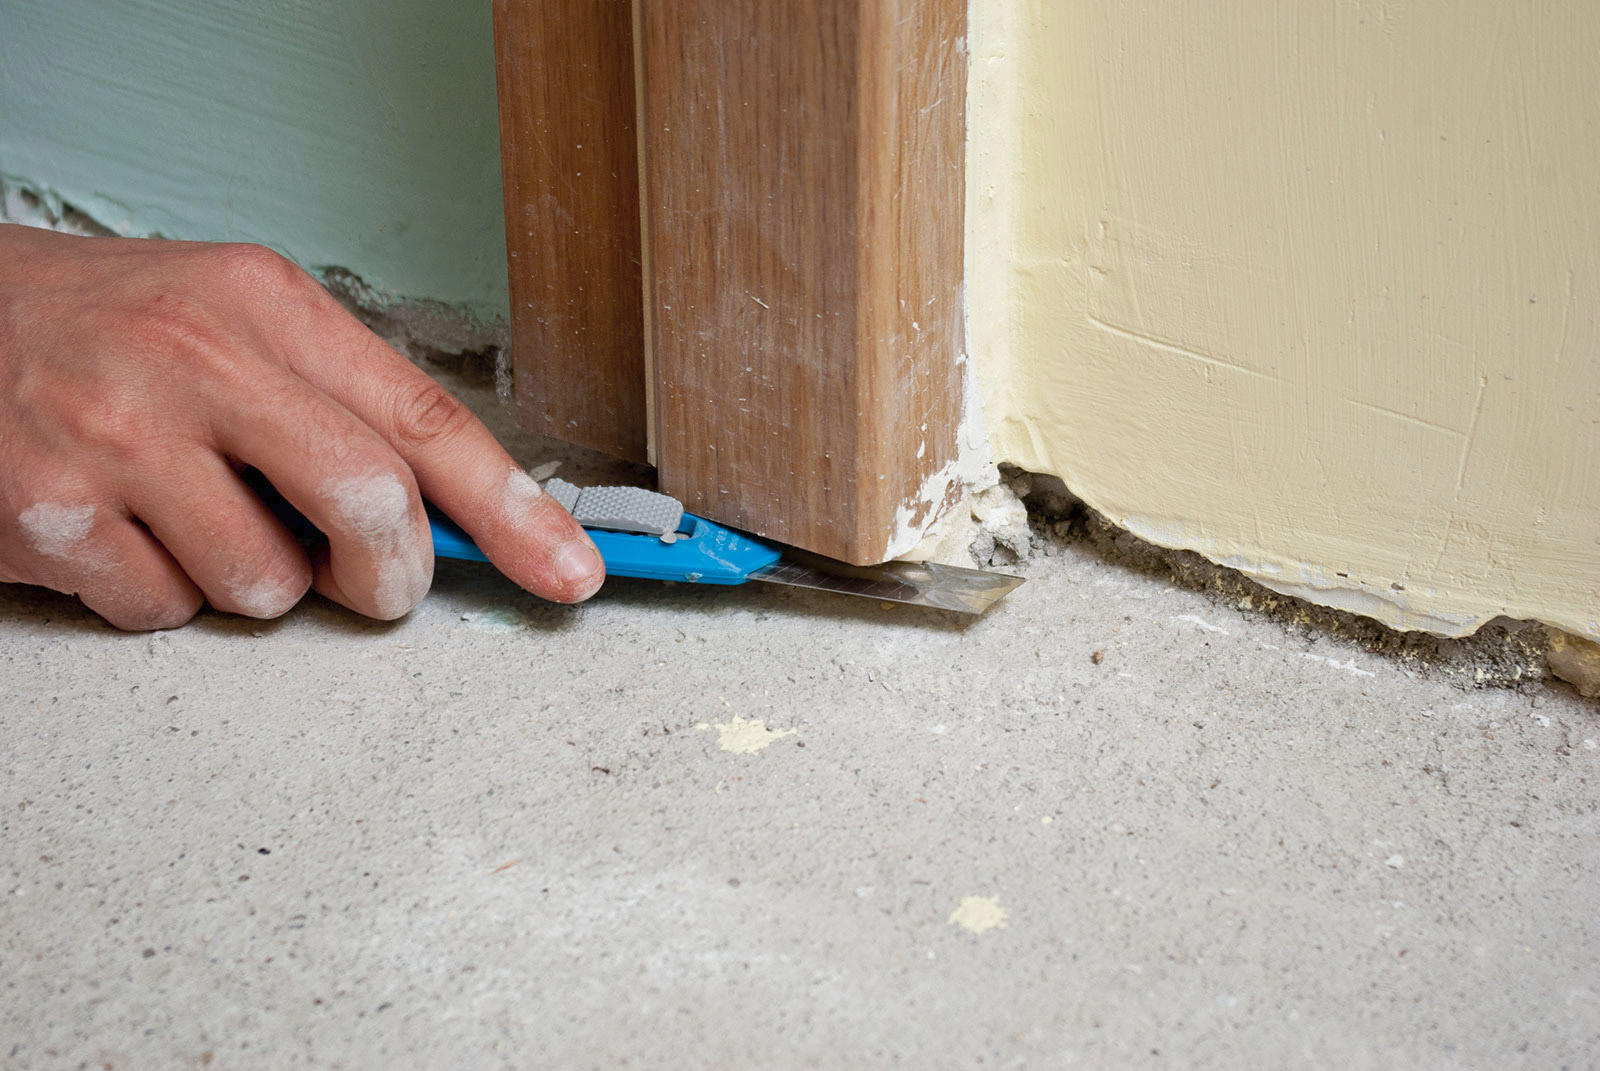
Removing mounting foam and other debris from under the door jamb.
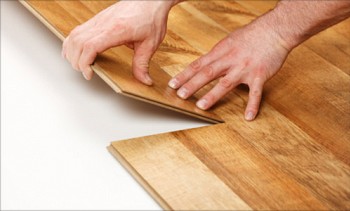
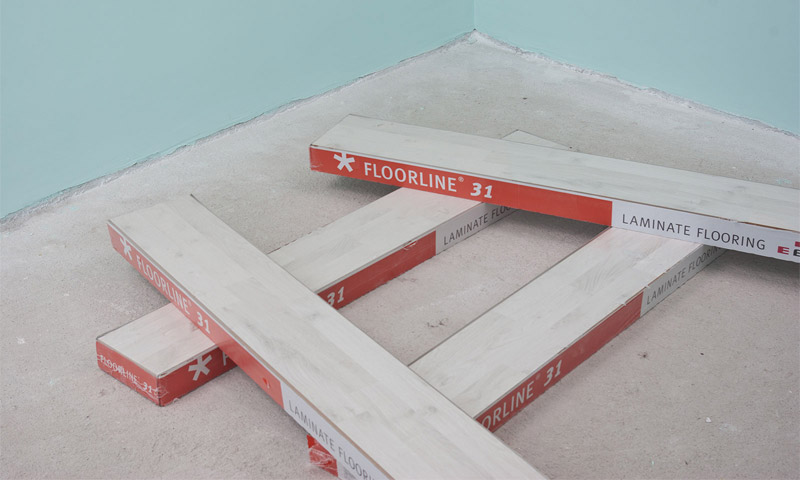
Prepare the materials themselves in advance. Packed laminate boards should be stored horizontally in the room where they will be stacked for at least 48 hours. Room temperature must be at least 18 0C, and the distance between the walls and the laminate packaging is more than 50 cm.
To clarify all these details, read the manufacturer's instructions on the laminate packaging. The preparation of the material is of great importance for achieving a professional result, so follow these recommendations.
Do not forget to buy a substrate for the laminate in advance. The required area can be calculated by simply multiplying the length of the room by the width and adding an additional 5-10% to the waste during cutting.
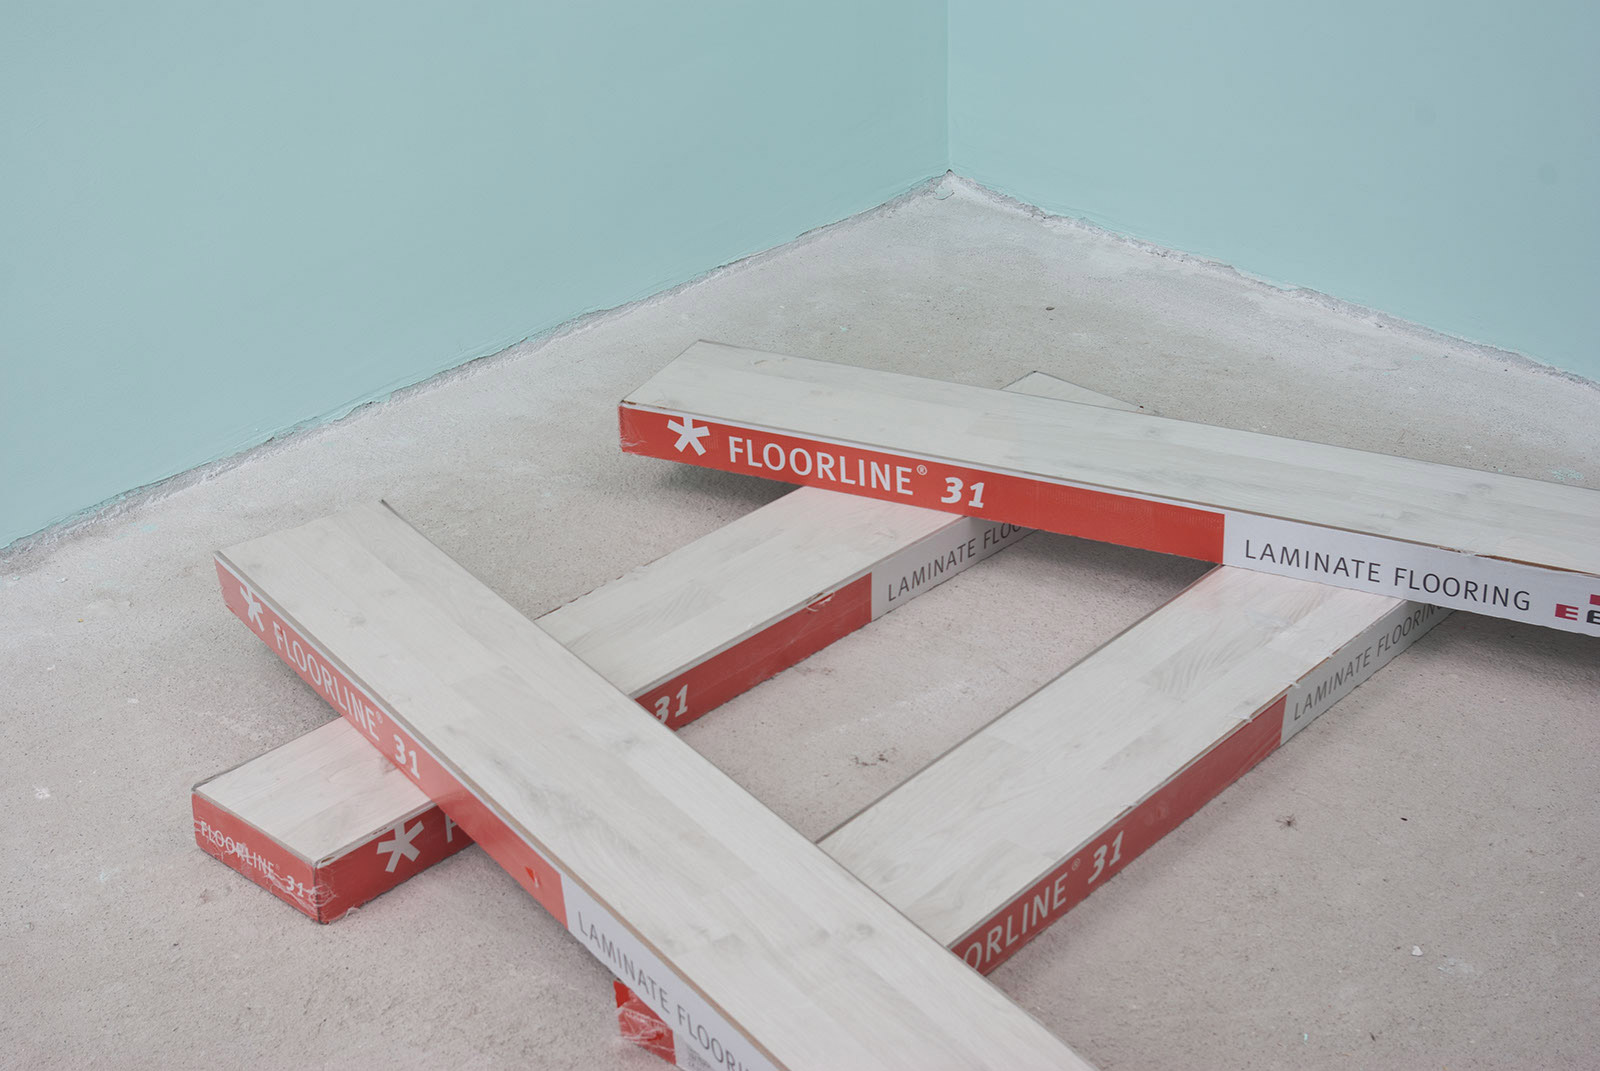
Laminate acclimatization.
The preparation of the floor under the laminate you carried out. Now it’s time to start laying the flooring itself.