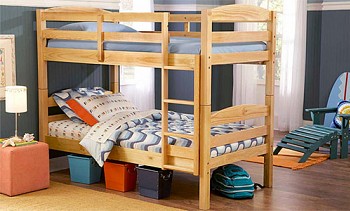
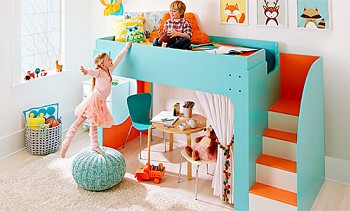
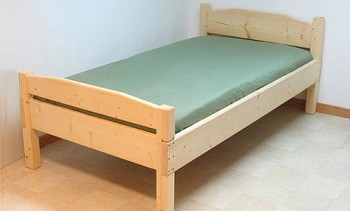
Buying a home is a serious blow to the family budget, which means a reason for saving. So now, if we have a need for new furniture, I try to make it myself. Since relatives will probably come to visit us during the holidays, I was puzzled by the question of how to make a bunk bed with my own hands (such a bed is the best option for a not too spacious guest room).
I decided not to invent anything new, but to reproduce the design that I already did, if my memory serves me, four or five times (and they all turned out great). What I really like about this bunk bed is that absolutely all the hardware is located on the inside. This means that the not too graceful heads of screws or bolts that you usually see on the outer surfaces of such beds are hidden in this model. In addition, the list of materials necessary for the construction of such a bed is limited to 5x10 cm and 5x15 cm boards, which means that the vast majority of people will not have difficulty at the stage of preparation for the project.

Frame assembly
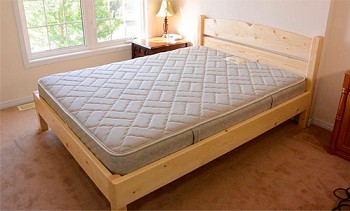
So, now be careful: I am starting to describe the construction process itself. I hope that the photos of the bunk bed accompanying my story will help you understand all the details of this project and make my explanations as clear as possible. I do not give the sizes of berths because they will depend on the sizes of mattresses that you are going to use. At the same time, pay attention to the fact that the mattresses themselves should easily enter into the frames assembled for them, but should not hang out there.
Frames of berths should be made first of all, because their width determines the length of the steps of the stairs. For the manufacture of frames, ordinary pine boards with a section of 5x15 cm are suitable.
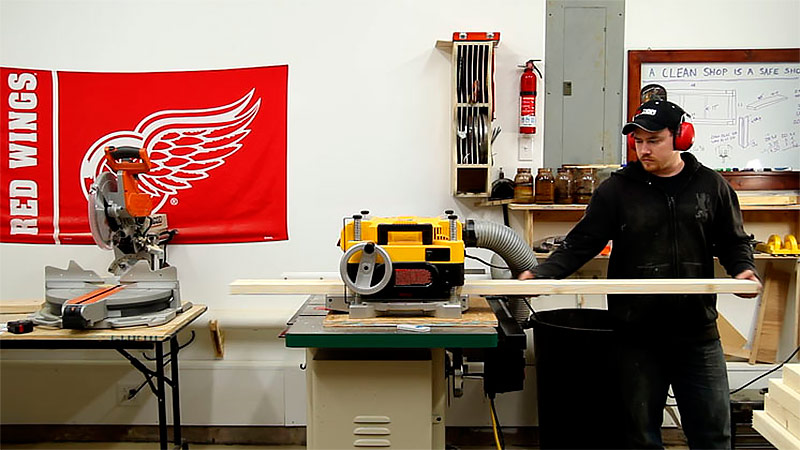
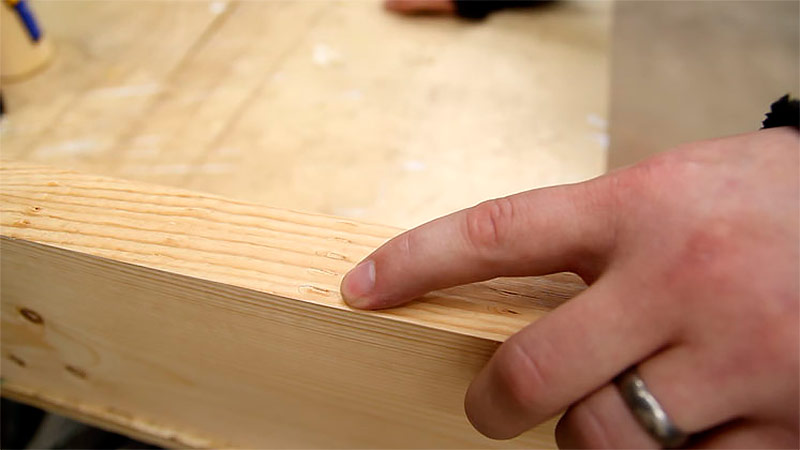
I want my creation to have a somewhat aged look, so do not try too hard when grinding. I don’t need the wooden surfaces to be super smooth, but it’s still worth removing factory marks from the wood.
To speed up the process, I decided not to use a grinder, but a planer. A few passes, and from the factory stamps there is no trace left.
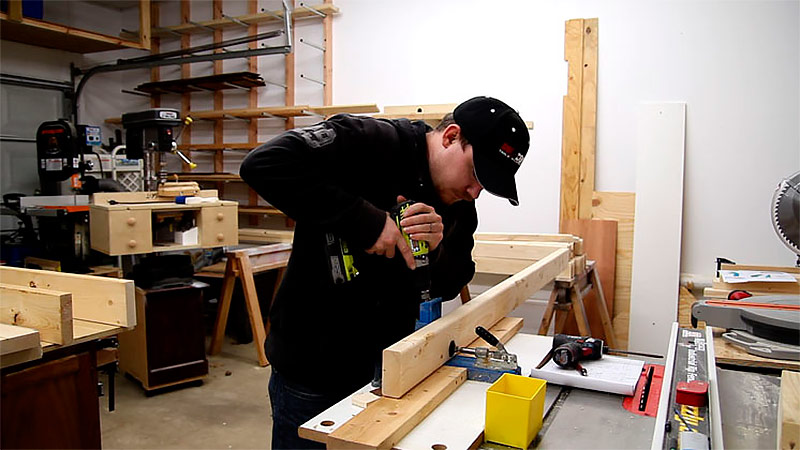
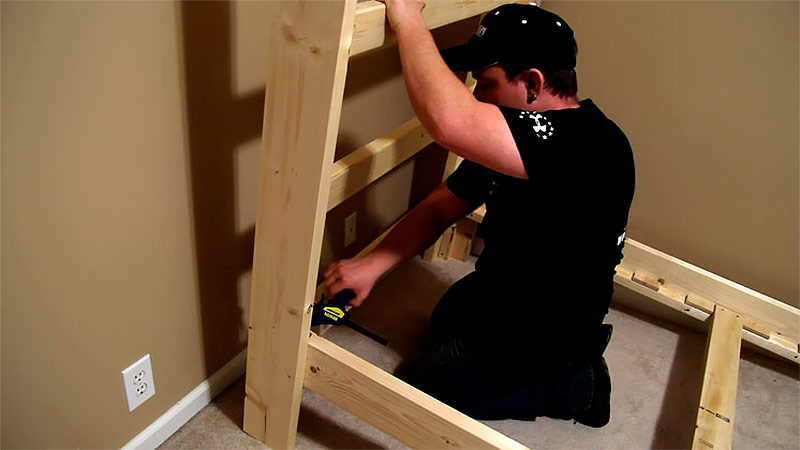
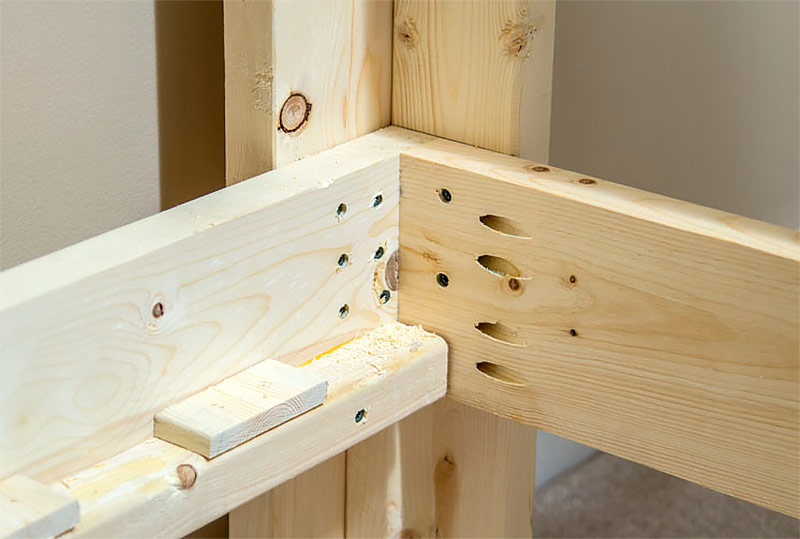
Frame parts are assembled together using wood glue and screws, using an oblique connection to flush. They will be hidden by mattresses and no one will ever see them. A special tool is used to make countersunk holes at an angle. Then a screw is screwed into each hole.
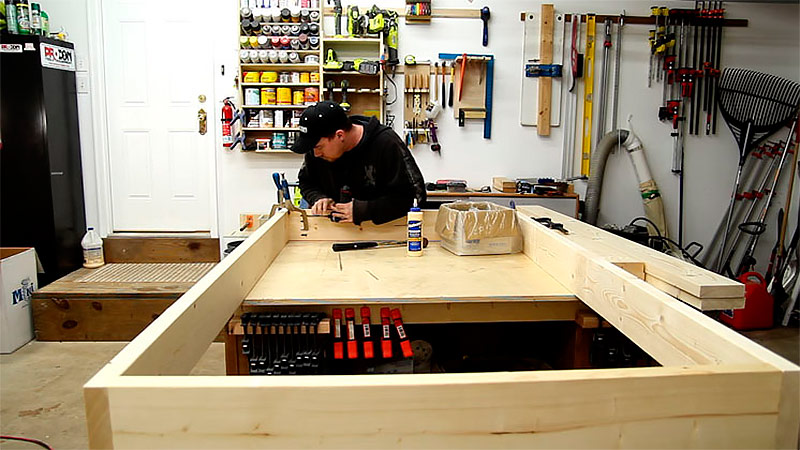
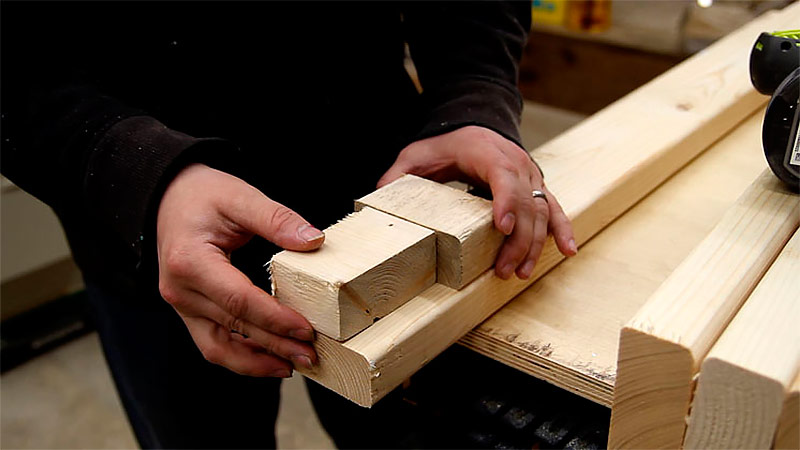
To maintain the river bottom, bars with a cross section of 5 × 5 cm are necessary. However, for me it turned out to be cheaper to buy 5 × 10 cm bars and make 5x5 cm of them from them.
They are glued and bolted to the walls of the frames on the inside.
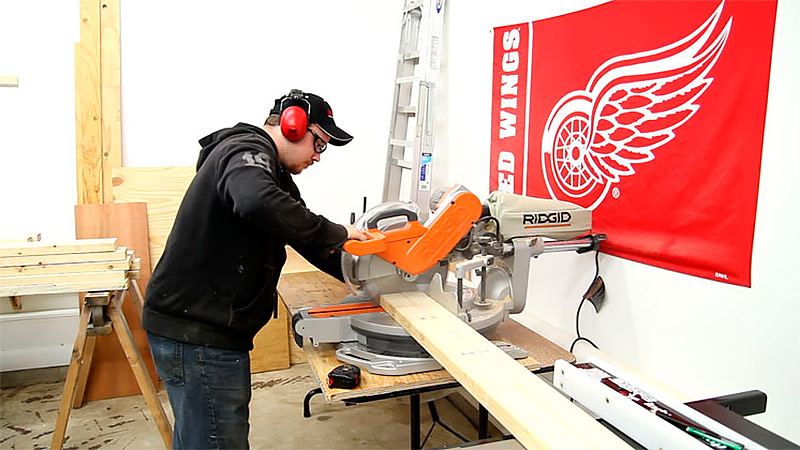
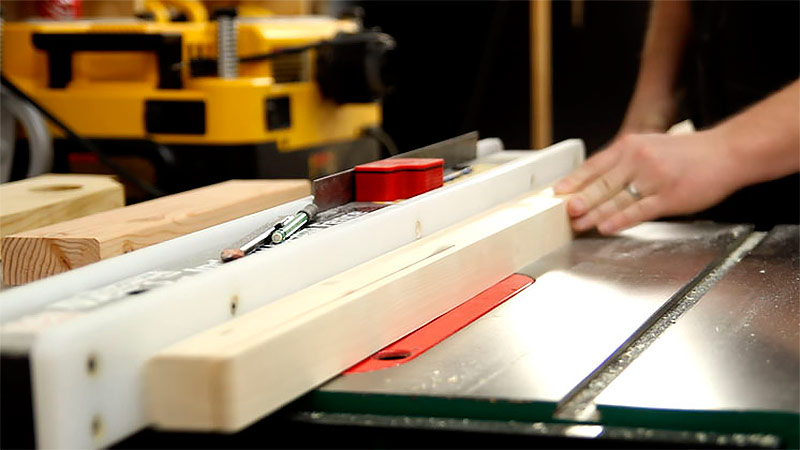
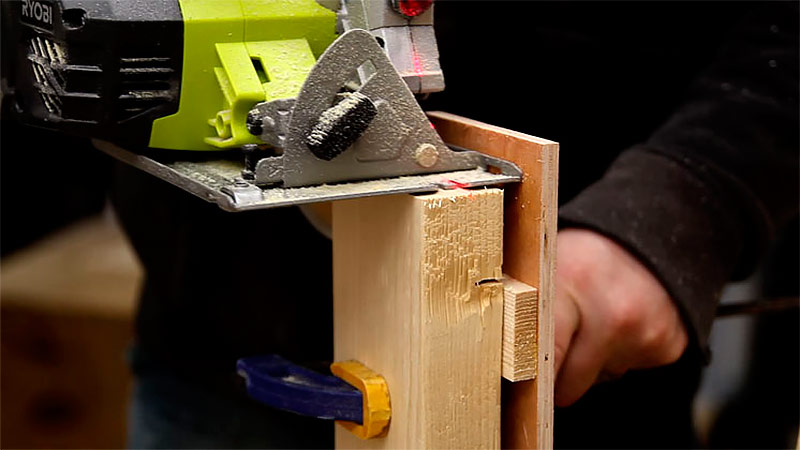
Typically, a removable rack bottom is made of strips 2.5 × 10 cm or 2.5 × 15 cm. For single mattresses, these sizes can be considered optimal. But I managed to buy 5 × 10 cm boards cheaper per linear meter than 2.5 × 10 cm. To slightly reduce the thickness and at the same time increase the stability of the slats, I made cutouts at the ends of each. I made a couple of devices with which you can easily make cuts using only a circular saw. The first device will help to make a cut of 13 mm deep.
The second comes in handy when you make a perpendicular cut. This is just a piece of plywood with a wooden gasket, which is fastened with a clamp to the end of the rail, which allows you to precisely set the position of the saw blade. As a result, you can make accurate and uniform cutouts (and you will need sawn sticks at a later stage).
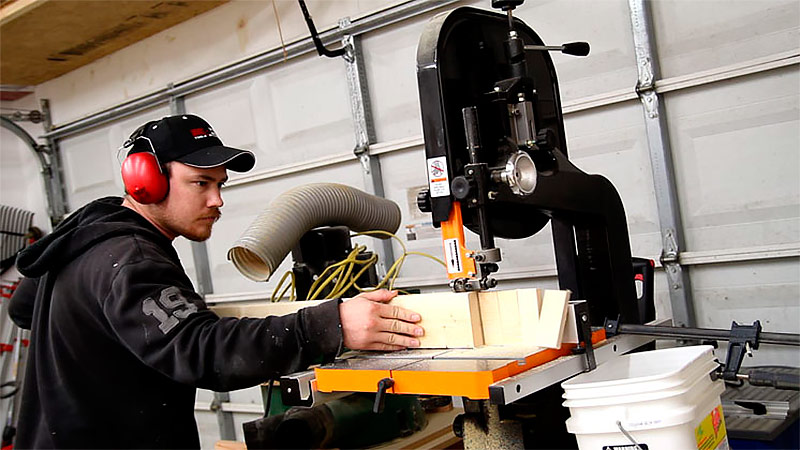
I made these two devices for the sole purpose - to show you that for the implementation of this project there is no need at all to purchase expensive tools (a band saw or a cutting machine with a table). All necessary cuts can be made with a simple circular saw. In fact, it was just a demonstration of the possibilities, I myself made the rest of the cuts at the ends of the planks using my band saw.
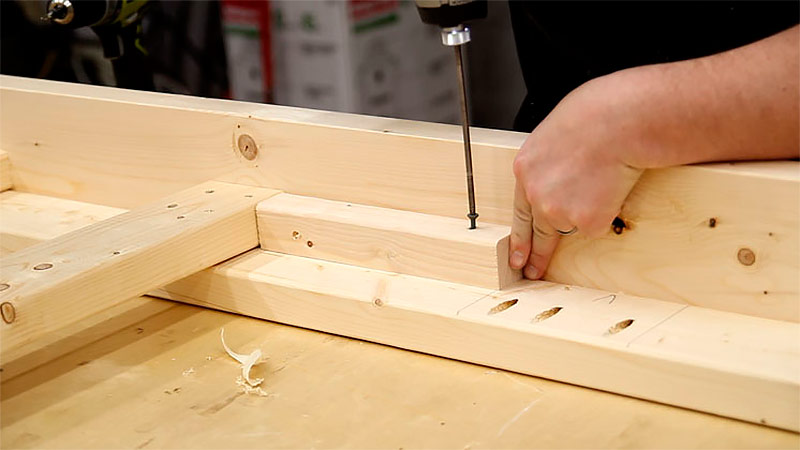
The first stackable bar is central. This is the only bracket that attaches to the frame using self-tapping screws. The rest are not fixed.
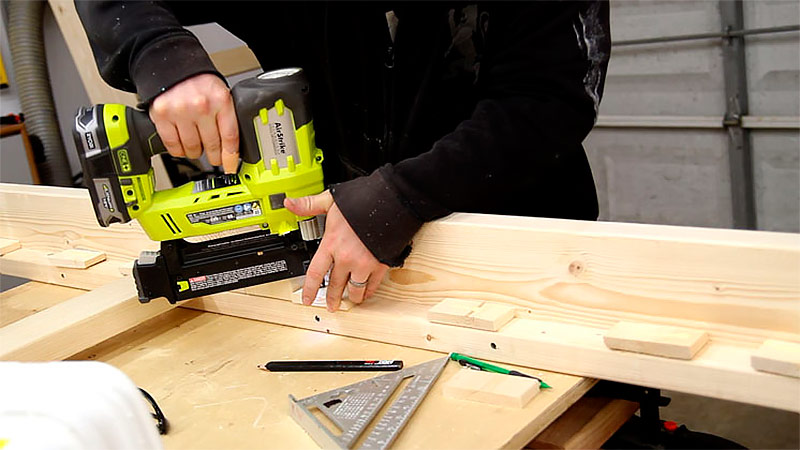
Then, small wooden blocks are glued and nailed to the supporting blocks with parquet cloves - scraps left after the preparation of the planks for the bottom. The purpose of these spacer blocks is to prevent the movement of the slats forming the bottom of the beds.
Making bed legs
Frames are ready, now you can focus on the legs. For the manufacture of each leg, having a L-shaped, 5 × 10 cm and 5 × 15 cm boards are connected at an angle of 90 degrees. The distance between the screws holding them at an angle, is important, although it does not particularly affect the structural strength. You just need to arrange these screws so that later they turn out to be hidden staircase steps.
When the legs were ready, I realized that the 5 x 15 cm boards I bought on the cheap were far from the best quality. Most of them had numerous notches left by the rollers of the mechanisms that move the lumber to the sawmill. To remove them, I used my end planer (though now I realize that you just had to cut the defective side on the cutting machine).
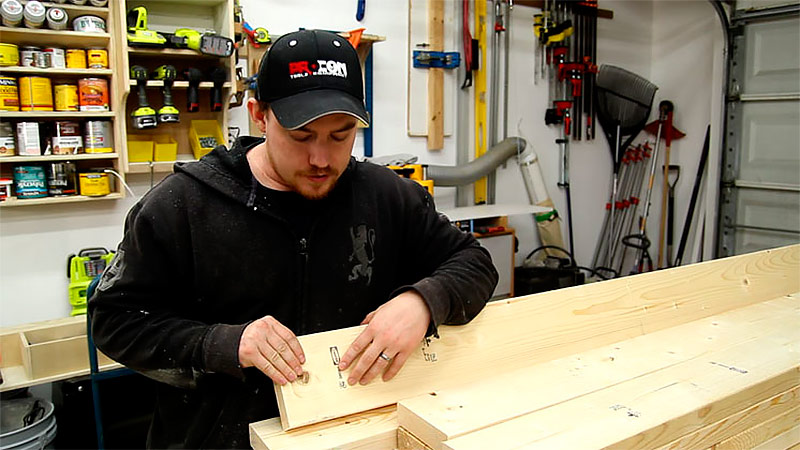
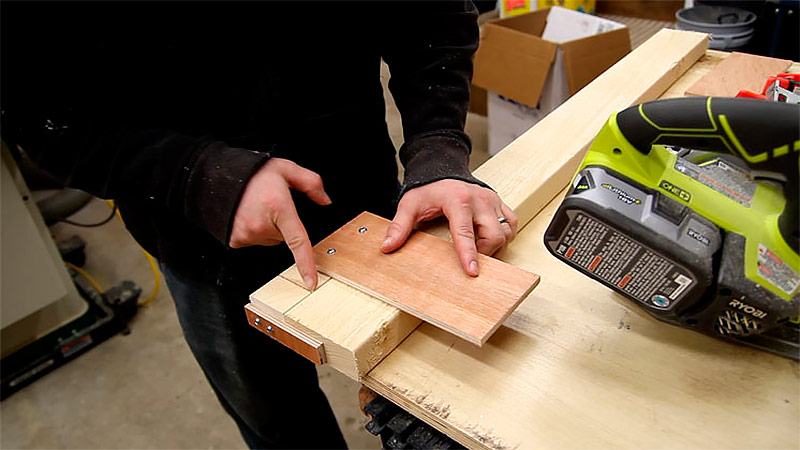
At the next stage, I made blanks for the stairs. By leveling the surfaces of the boards forming the frames of the berths, I actually lost 3 mm of the width of the stairs. The steps will be attached to the wider part of the legs, so as to hide the holes of the screws that fasten the two boards forming the leg. I used a pair of spacer blocks to determine where the guide holes could be drilled.
Steps are fixed to the legs of the bed by means of glue and screws. The main thing at this stage is not to forget to make sure that the steps are located strictly perpendicular to the legs.

Now it is necessary to fix small wooden blocks on the legs, which will support the berths of the berths at the proper height during assembly. At each corner of the frame you need one such bar.
Assembly of all frame elements
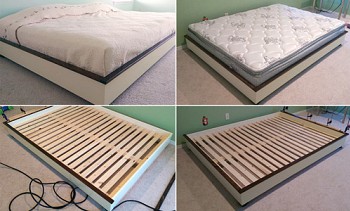
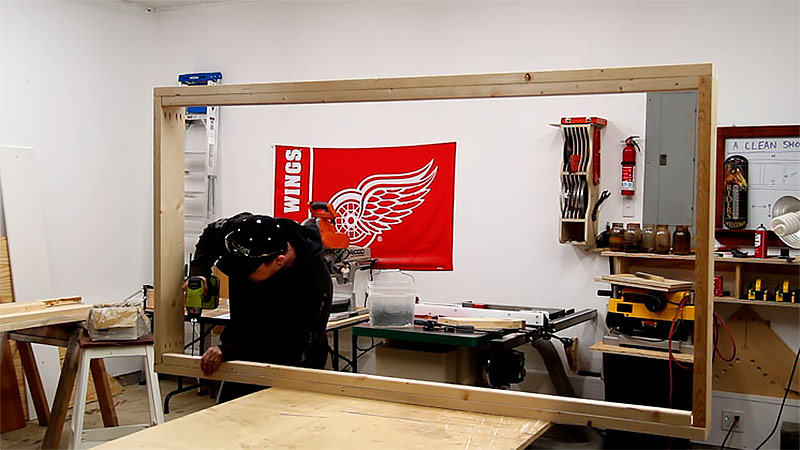
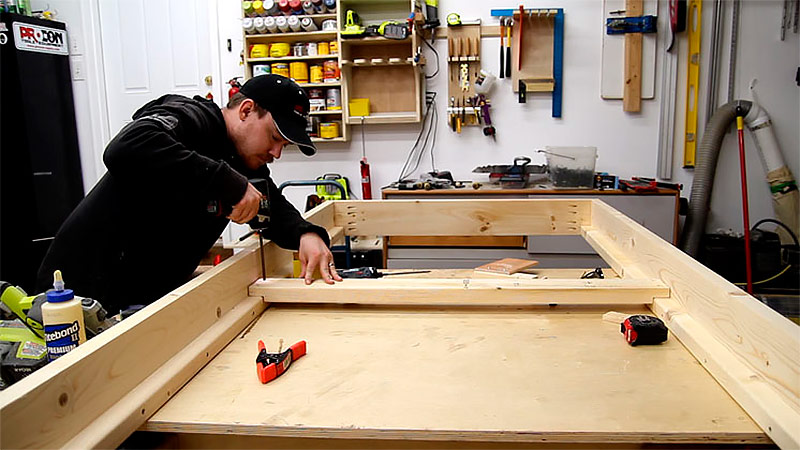
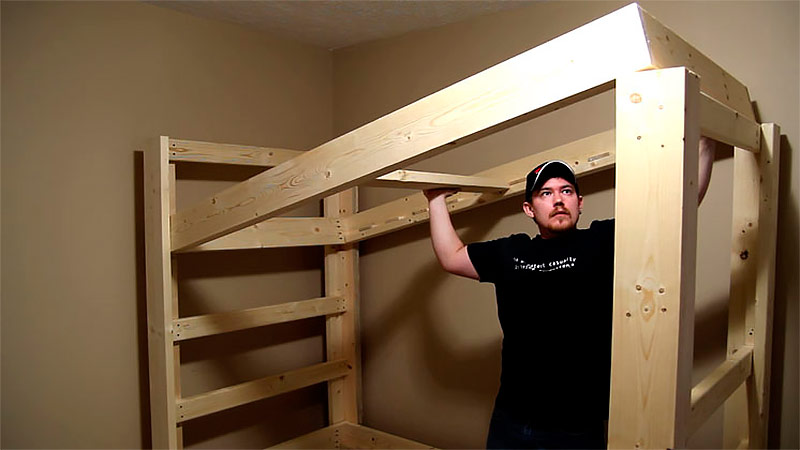
I thought that I would have to puff a lot, collecting the frame, but it turned out that it is very easy. To get started, I inserted one side of the lower frame in its place and secured it with a quick-release clamp to hold it in position. Then he did the same to the other side.
Since at this stage the lower frame of the bed was held only by the clamps, I could easily install the upper frame, alternately loosening one or the other lower clamp. I also temporarily fixed the upper frame in place with clamps.
Each inner corner of the berth frame was attached to the legs with 8 screws - two screwed into a 5 × 10 cm board and six into a 5 × 15 cm board. This may seem a little redundant, but ensures that the frame does not become loose over time. Of course, when dismantling the bed for transportation, all these numerous screws will have to be unscrewed, but since 99.99% of the time the furniture performs its direct function and is not in transit, this is not so scary.
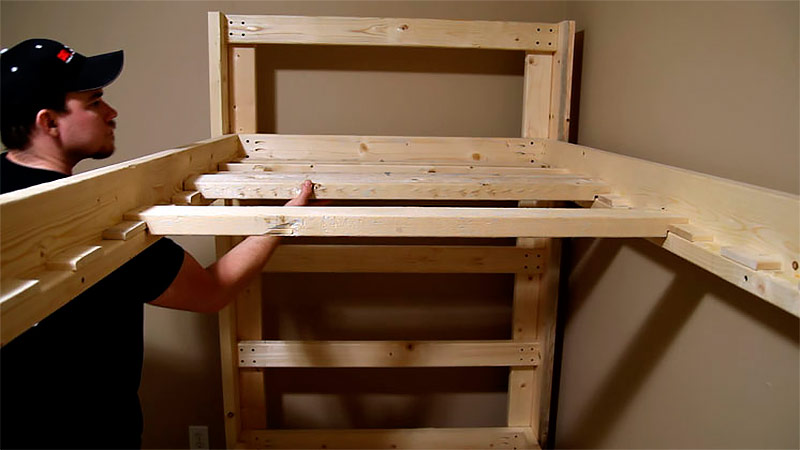
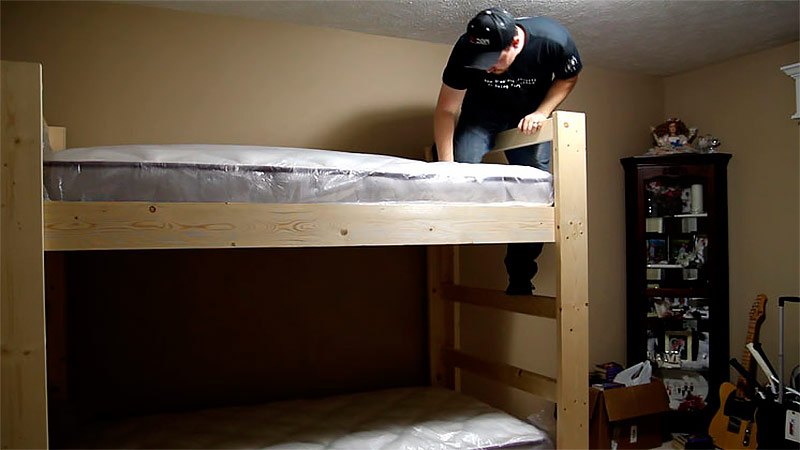
You can start laying bottom rails. I must say, they turned out to be quite durable: each easily withstands my weight of 85 kg. I have no idea what is the maximum permissible load on the bunk bed I made, but it should turn out to be quite large, because the weight of the person lying is distributed evenly between all the slats.
Since both end walls are stairs, it doesn’t matter how you position the bed — you can go to the upper tier from either end.I did not make a fence on the upper bunk, but if you feel the need, you can easily add this element.
I have not yet done the finishing treatment of wooden surfaces. I want to experiment with a metal sponge, vinegar and a composition for tinting wood BRIWAX, but it will be a little later.
I hope that you were able to draw inspiration from my description of the project and are ready to make a bunk bed out of wood with your own hands. Believe me, it’s not difficult to build a reliable structure that will serve you for many years. Making furniture with your own hands will allow you to do exactly what you wanted, and not what the designer intended at the furniture factory, and at the same time save a lot of money. Regardless of whether you decide to build the same bunk bed as mine, or to realize your own ideas, I wish you good luck!