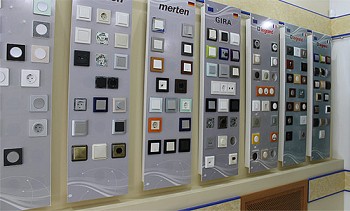
In this article, you will learn how to properly install a light switch. Switches are used to control electrical lighting sources in residential and commercial buildings. In most cases, the switches are mounted on the wall. The location, the height at which they are installed, the shape of the switches vary from country to country. Switches come in various forms: single or multi-key, for installation indoors or outdoors, etc. Installing and connecting the circuit breaker is a simple task, provided that you understand the basic principles of electrical networks and observe safety precautions when conducting electrical work.
In this article, we will show you step by step how to install a switch. To do this, you will need:
Tools:
- voltage indicator;
- pliers;
- screwdriver;
- knife;
- level;
- protective gloves and glasses.
Tips:
- Before starting work, turn off the power in your apartment;
- Before touching the wires, use the voltage indicator on each wire to make sure that the power is turned off;
- if in doubt, if you do not want to take risks, it is better to hire a professional electrician.
Preparatory work
The first thing you should do is turn off the power. Some people believe that it is enough to disconnect only the circuit on which the switch is to be installed, but we strongly recommend that you completely disconnect your apartment.
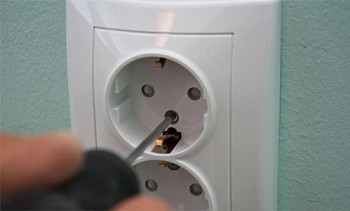
Using the voltage indicator on each wire, make sure that you can safely touch them. It is better to check several times before starting work.
Power outage.
The next step of the project is the cleaning of the undergrowth (installation box) from paint, small fragments of drywall, dust and dirt. This operation is very important, especially when it comes to a newly renovated room or apartment in a new building. But even if you are replacing an old switch, it is better to pre-evaluate the condition of the socket to ensure that the new switch can be installed and aligned properly.
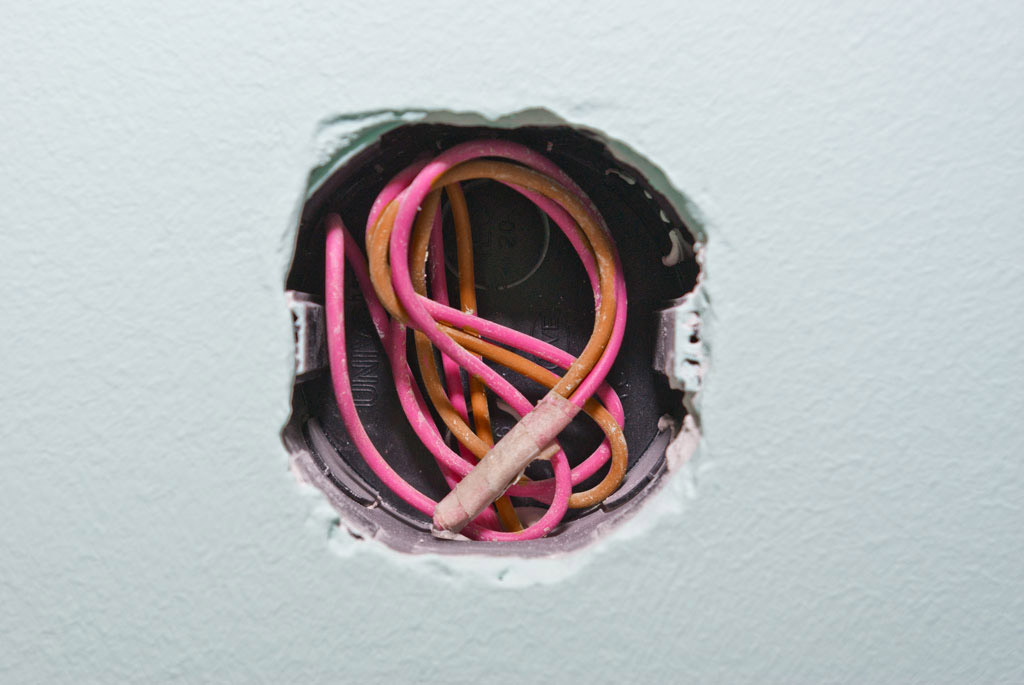
Preparing the socket for installing the switch.
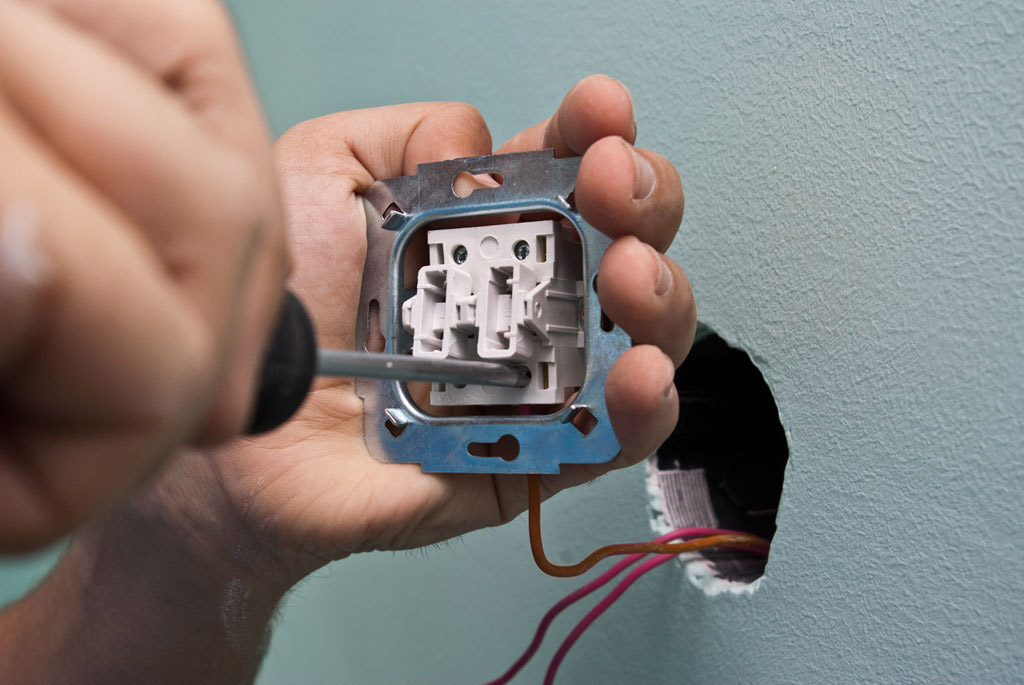
After you bought a new switch, you must disassemble it with a screwdriver or simply with your hands, depending on its type and manufacturer. This operation is indispensable, as you will connect electrical wires to the inside of the switch. It is necessary to remove the switch buttons and the frame.

Disassembled switch.
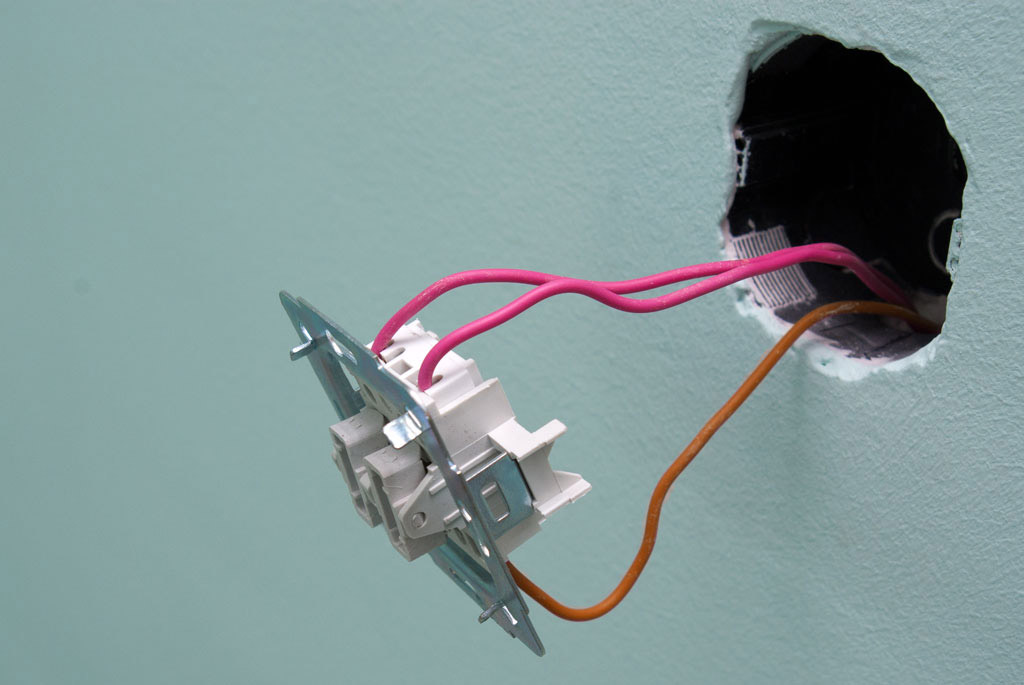
Now you have to connect the wiring. Using pliers, cut off the excess length of the wires - they should protrude from the wall by about 15 cm. This length should be enough to connect the switch without special difficulties. Do not leave the wires too long, otherwise it will be difficult to place them inside the socket.
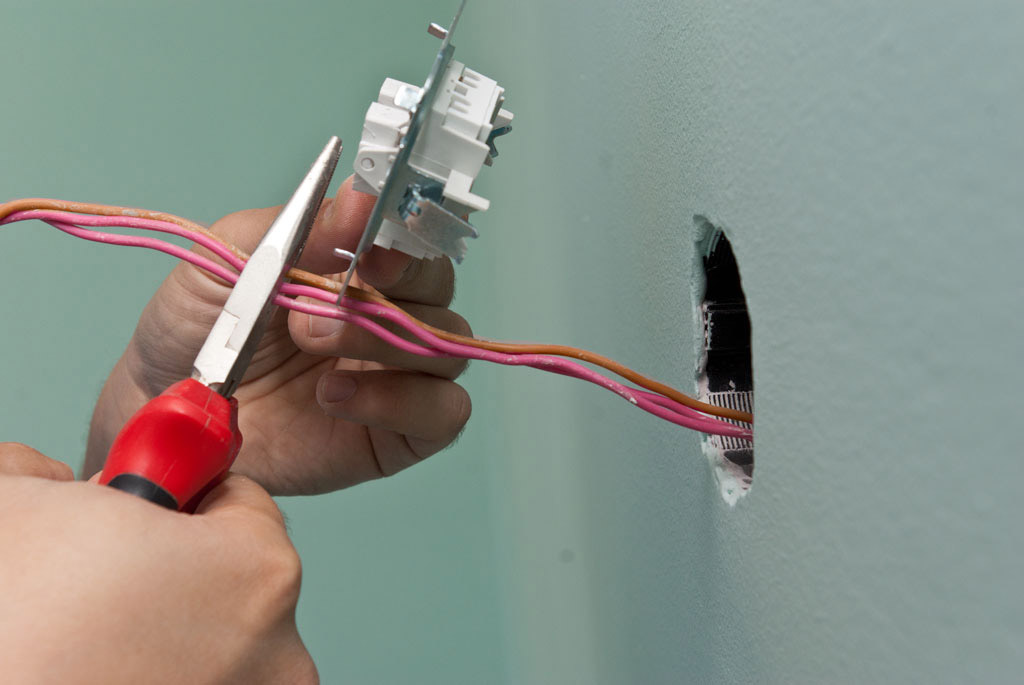
Wire trimming.
Having reduced the wires to the desired length, you can proceed to the next step. Using pliers, clean about 2 cm of each wire from insulation. Stripping a long length is dangerous, since exposed wires may accidentally touch during operation, causing a short circuit.
Using pliers, attach the end of each wire to an L-shape (or C-shape for some switches with side screws).
Tip: The easiest and most effective way to strip the wire is to use special pliers to remove the insulation.
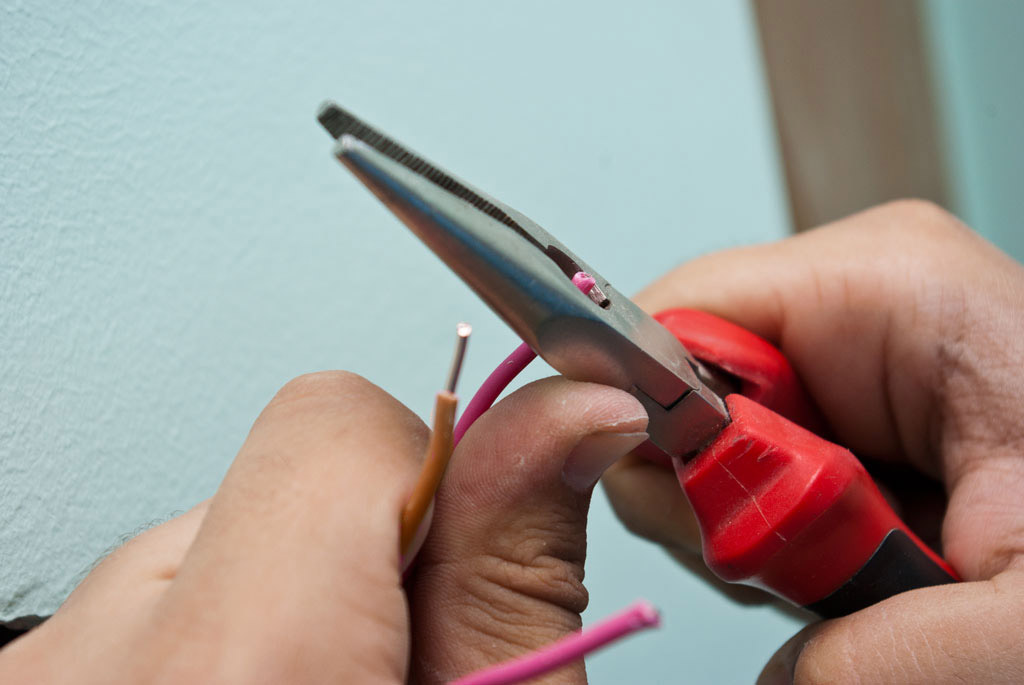
Removing insulation from wires.
Connecting wires to the light switch
You probably noticed that the wires are colored differently: a brown wire is a phase, yellow-green is grounding.(The color coding standards for the insulation of conductors differ from country to country.) Each of these wires must be connected to a specific connector.
How to connect the switch? There are slight differences in connecting one- and two-key switches. The main thing to remember: the phase must open, the phase wire is attached to the connector labeled L (usually at the bottom of the switch).
Connection of wires to the switch.
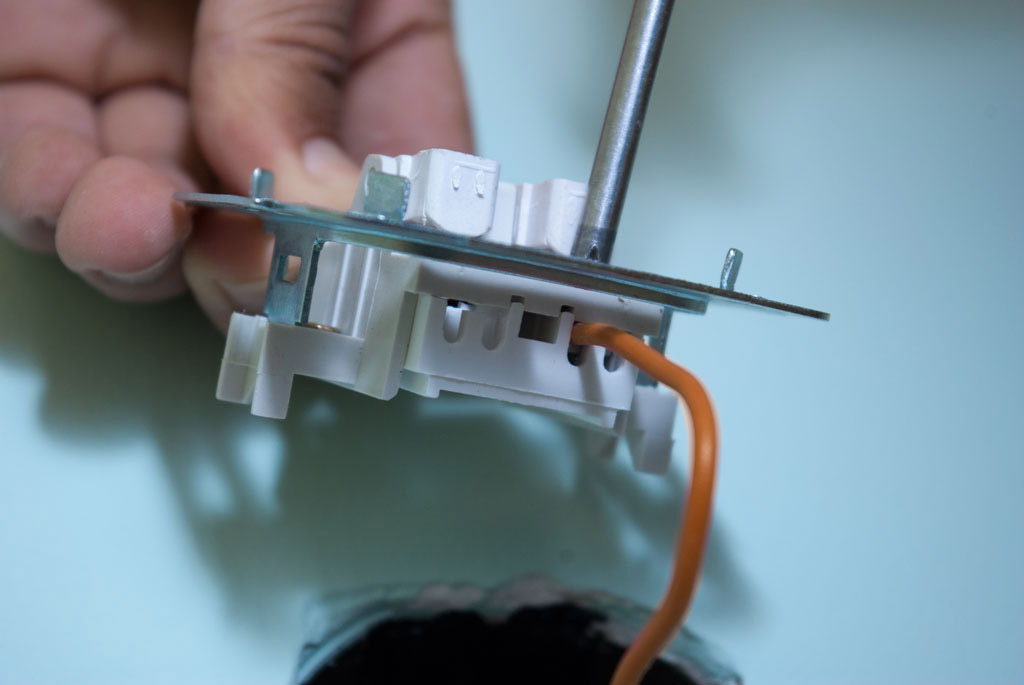
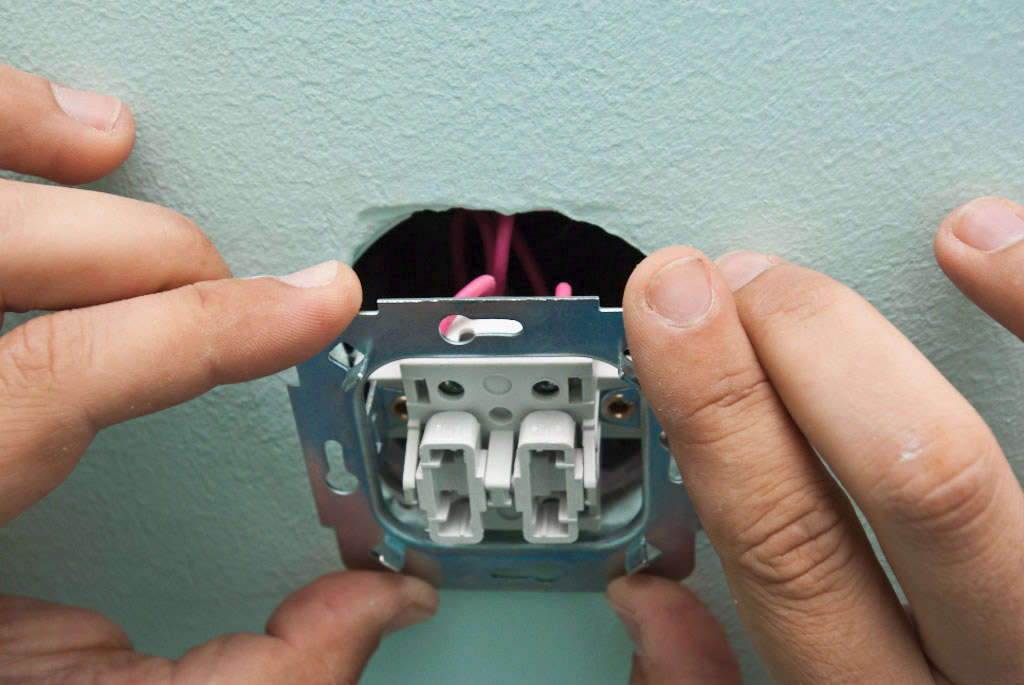
After you put the end of each wire into your connector, fasten them with screws, using a screwdriver for this purpose. Make sure that the wires are securely fastened, otherwise the switch will not work properly.
Connection of wires to the switch.
Once again, verify that the wires are connected correctly and that they are securely fastened. In the figure below, you can see how to connect a two-key light switch.
How to connect a switch with two keys.
After connecting the wires you must bend them to “hide” in the box. Make sure that there is enough space left to accommodate the switch. If there is no problem, you can fix the switch in the box with screws. Do not rush to tighten the screws, first check how well the switch is aligned.
Placing a switch in a box.
To level the switch, use a level, laser or spirit. In the figure below you can see the technique of this operation.
If you notice a horizontal deviation, loosen the screws and adjust the position of the switch.

Leveling switch.
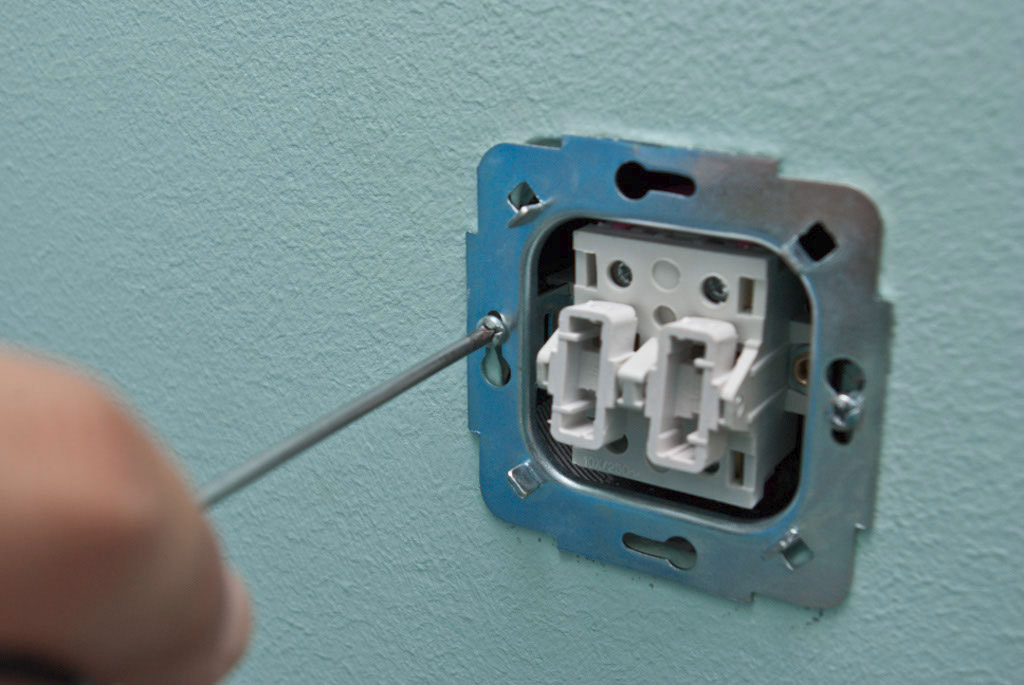
Mounting switch.
The next step is to fix the frame and buttons of the switch in place. For this you do not need tools, just fingers. A small press, and the elements removed at the very beginning again appear in their places.
This operation is perhaps the easiest. In addition, it portends the imminent completion of work.
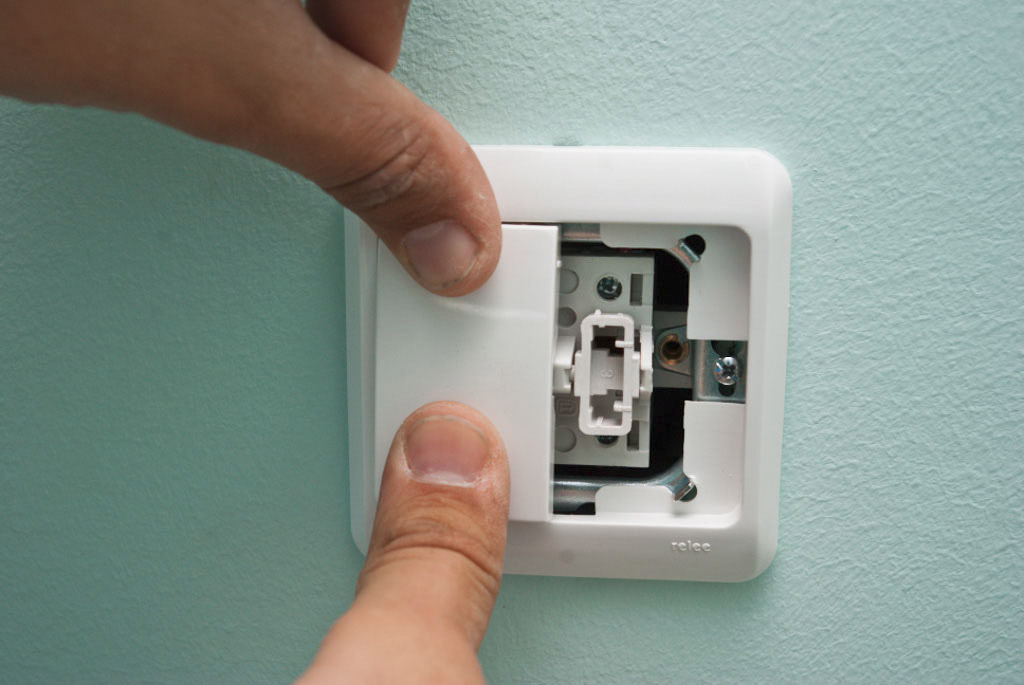
Setting the switch buttons.
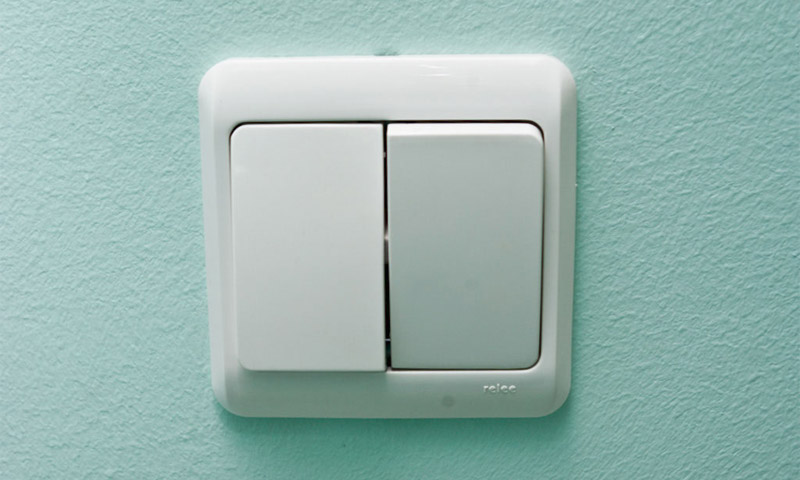
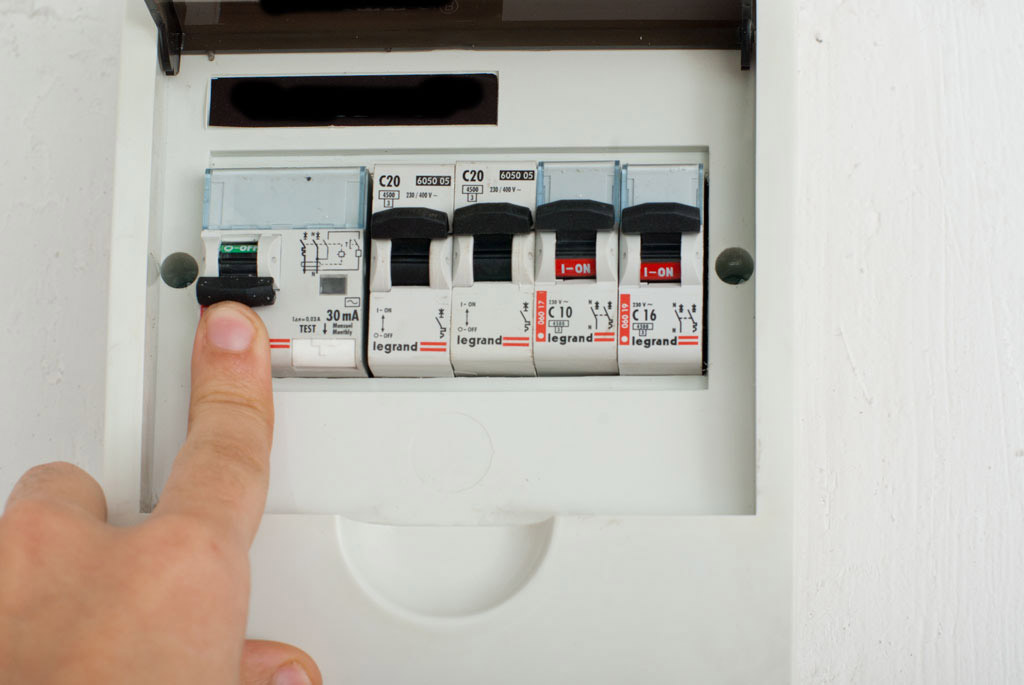
It remains to turn on the power on the electrical panel. Turn on the light with the new, just installed switch to make sure that your work was not in vain, and that everything functions as it should. Did the light come on? So now you know how to connect the light switch.
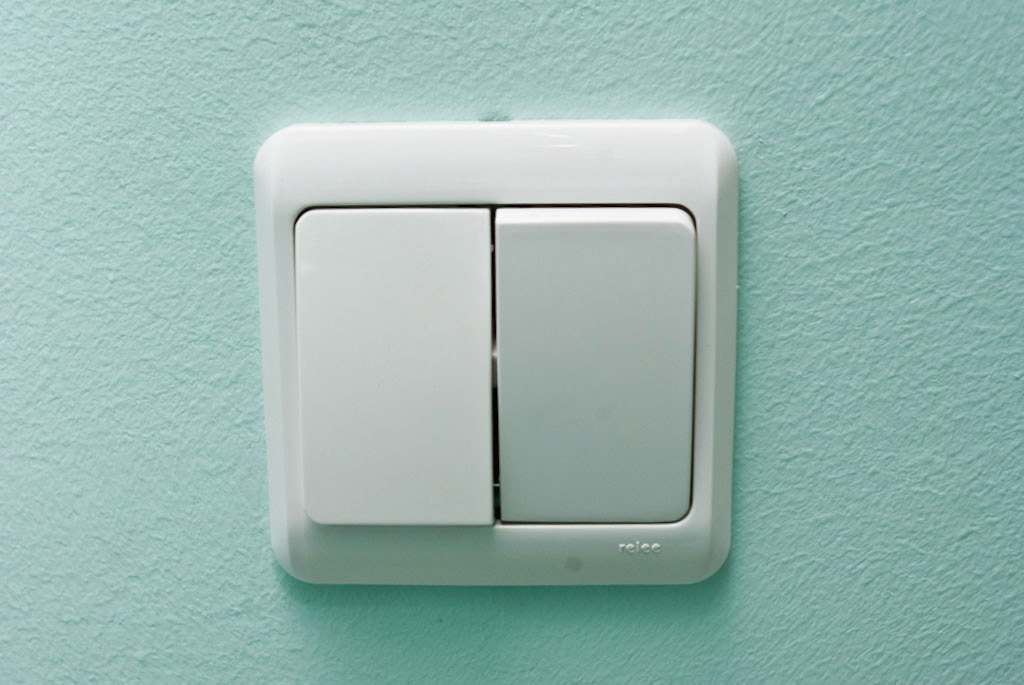
Installed switch.