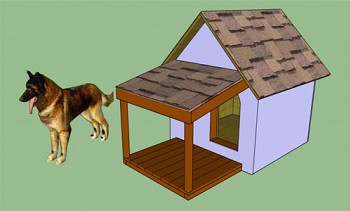
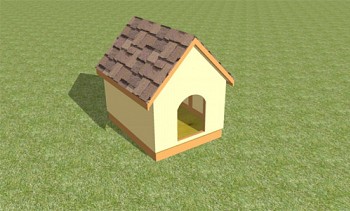
Protection from wind and rain is necessary for all dogs living not in the house, but in the yard. This article is a step-by-step instruction for building a dog house with your own hands from plywood and standard lumber.
Remember that the booth must be proportionate to the size of your dog. In a very small kennel, the animal will be crowded. But large does mean that it’s good, because dogs, as a rule, feel more protected in a limited-sized dwelling. In addition, a properly sized booth will help your pet use the heat of his body to warm the air inside, and in cold weather will make your stay there comfortable.
Content:
Drawings and necessary materials
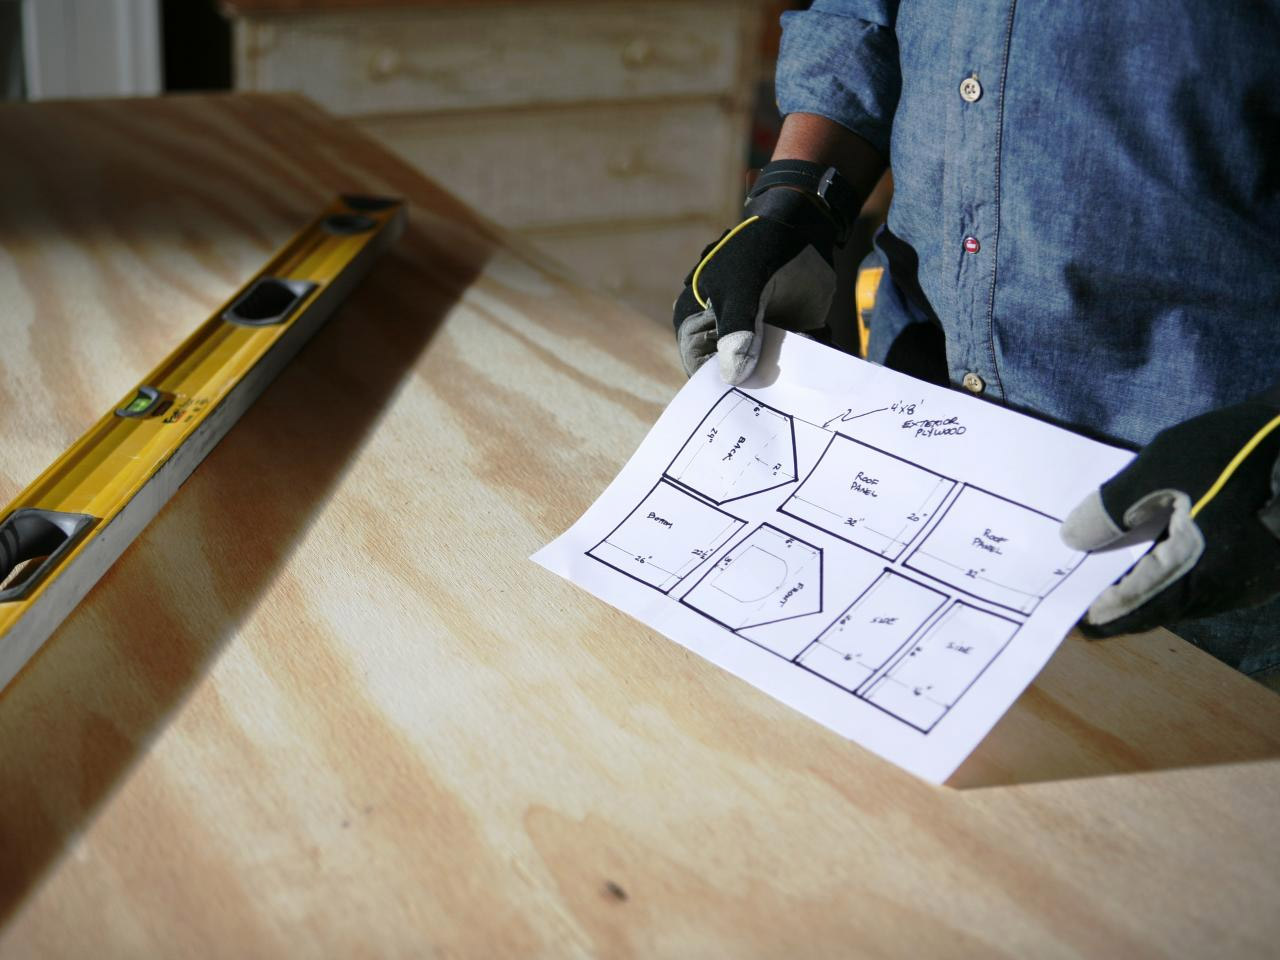
Doghouse drawing:
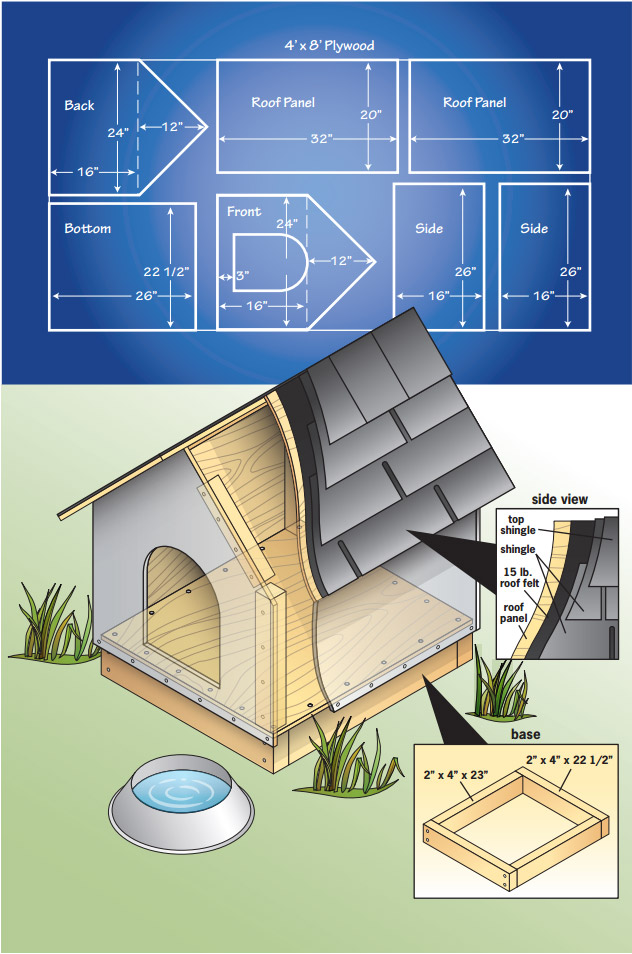
Attention! All dimensions on the plan are in inches (1 inch = 2.5 cm).
This project is designed for small and medium dogs, whose weight does not exceed 20-25 kilograms. For the manufacture of basic structural elements, one sheet of 18 mm plywood is enough for you.
Wood is a natural heat insulator, thanks to which the booth will be cool in hot summers and warm in winter. Your dog’s safety is a priority, so try to choose high-quality lumber. Use wood treated with preservatives under pressure only to create a foundation that your pet will not be able to gnaw, because pressed wood (CPD) contains harmful chemicals that can harm the animal.
Preparation of lumber:
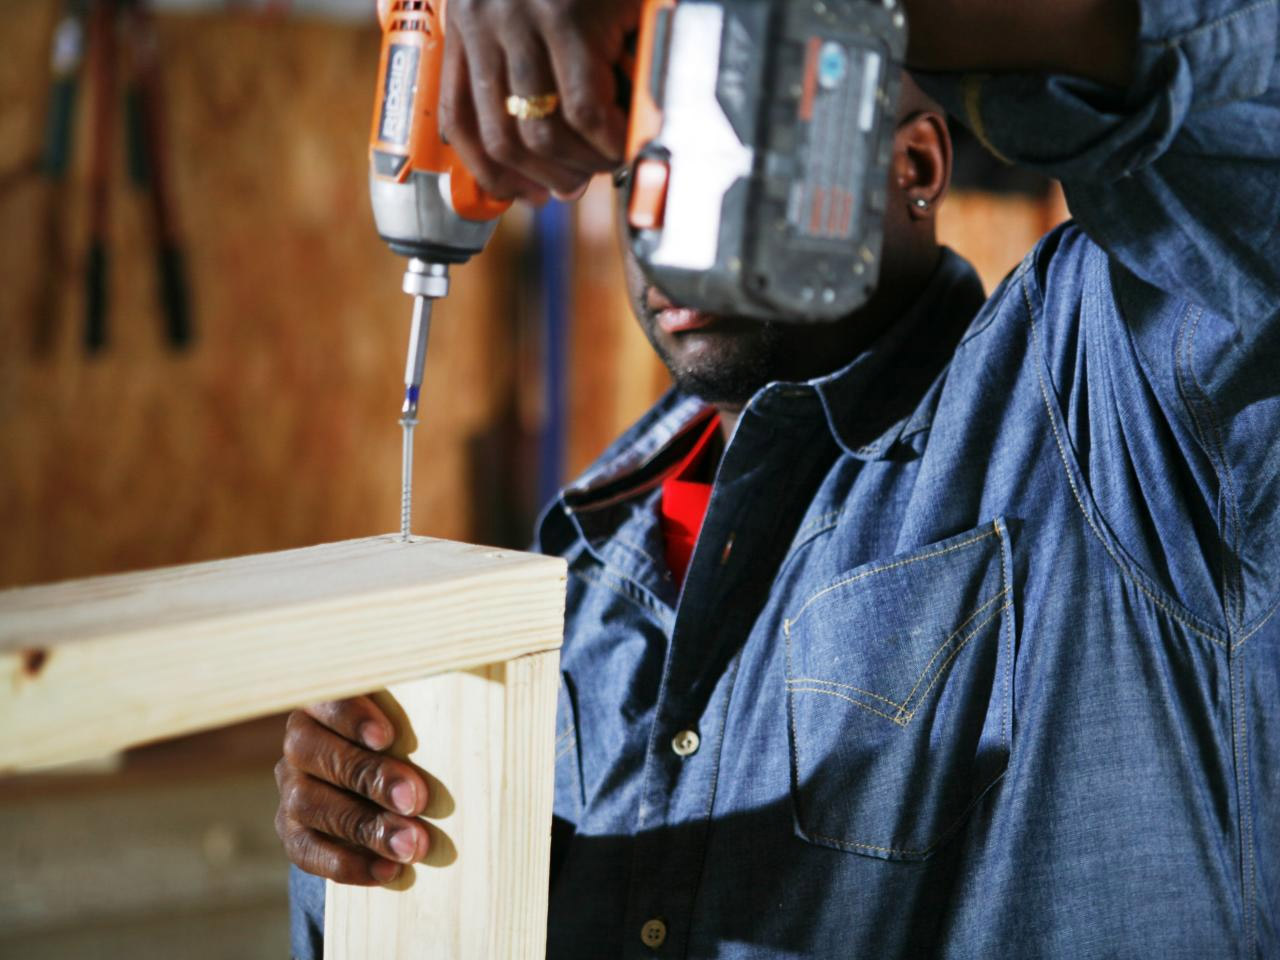
- Saw four bars with a cross section of 5x10 cm to create a base: two 55 cm long and two 56.2 cm long.
- Saw eight spruce or pine blocks with a cross section of 5x5 cm to create a frame: four 37.5 cm long for uprights in the corners of the booth and four 32.5 cm long for a roof frame.
Step 1 - Markup
At the beginning of our article there is an image containing a drawing of a booth, which we will build in the framework of this project. Once again, we draw your attention to the fact that all dimensions on this plan are given in inches. We strongly recommend that you do not just download the file and print the ready-made diagram, but do it yourself with your own drawings of the dog box with the dimensions that your pet needs, and check and double-check everything several times.
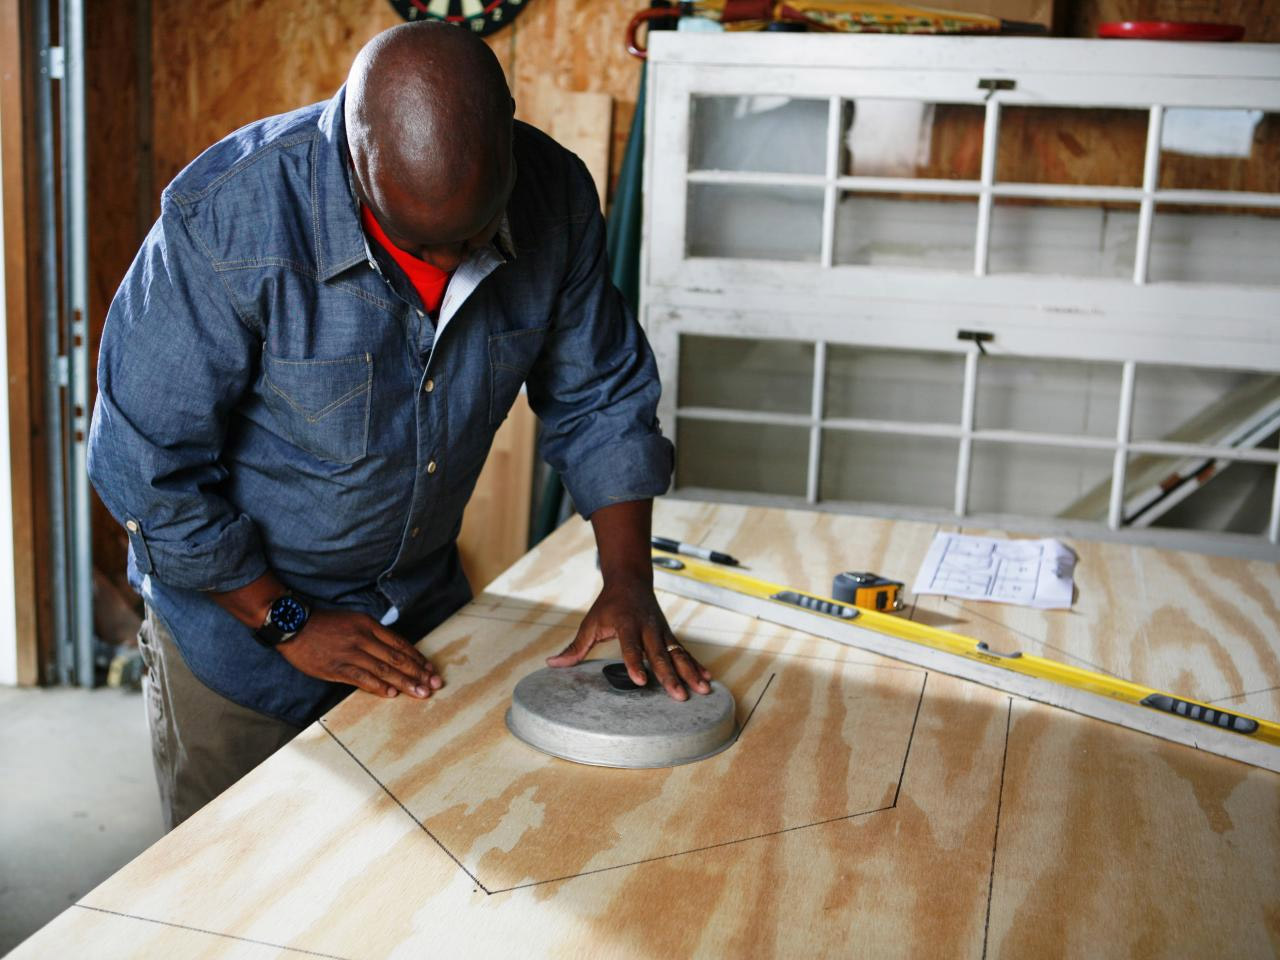
First you need to transfer the dimensions from the drawing to the plywood sheet. Use a ruler and a square to reproduce the circuit accurately. Please note that on the plywood, individual fragments should not be in close contact with each other: you should consider the width of the cut of the saw blade.
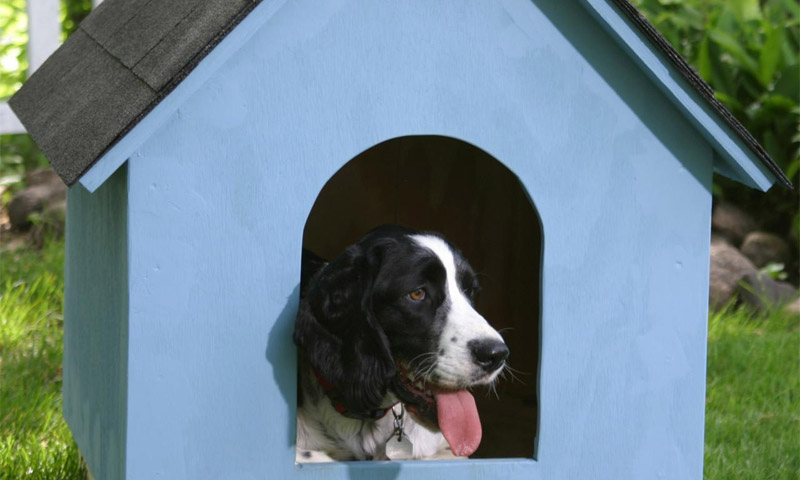
Make an entrance opening about 25 cm wide and 33 cm high. The bottom edge (threshold) should be 7.5 cm to cover the bottom and partially the bottom panel of the base. The height of the entrance opening should be about 3/4 of the dog’s height. A large opening is not needed, since dogs prefer to enter the booth, bending their heads, this helps them to feel that their home is a cozy and protected place. In addition, a small opening allows you to keep warm in winter. Use any object of a round shape and a suitable size to draw the arched top of the entrance aperture - a plate, frisbee or pan cover is perfect.

Step 2 - sawing out plywood fragments of the structure
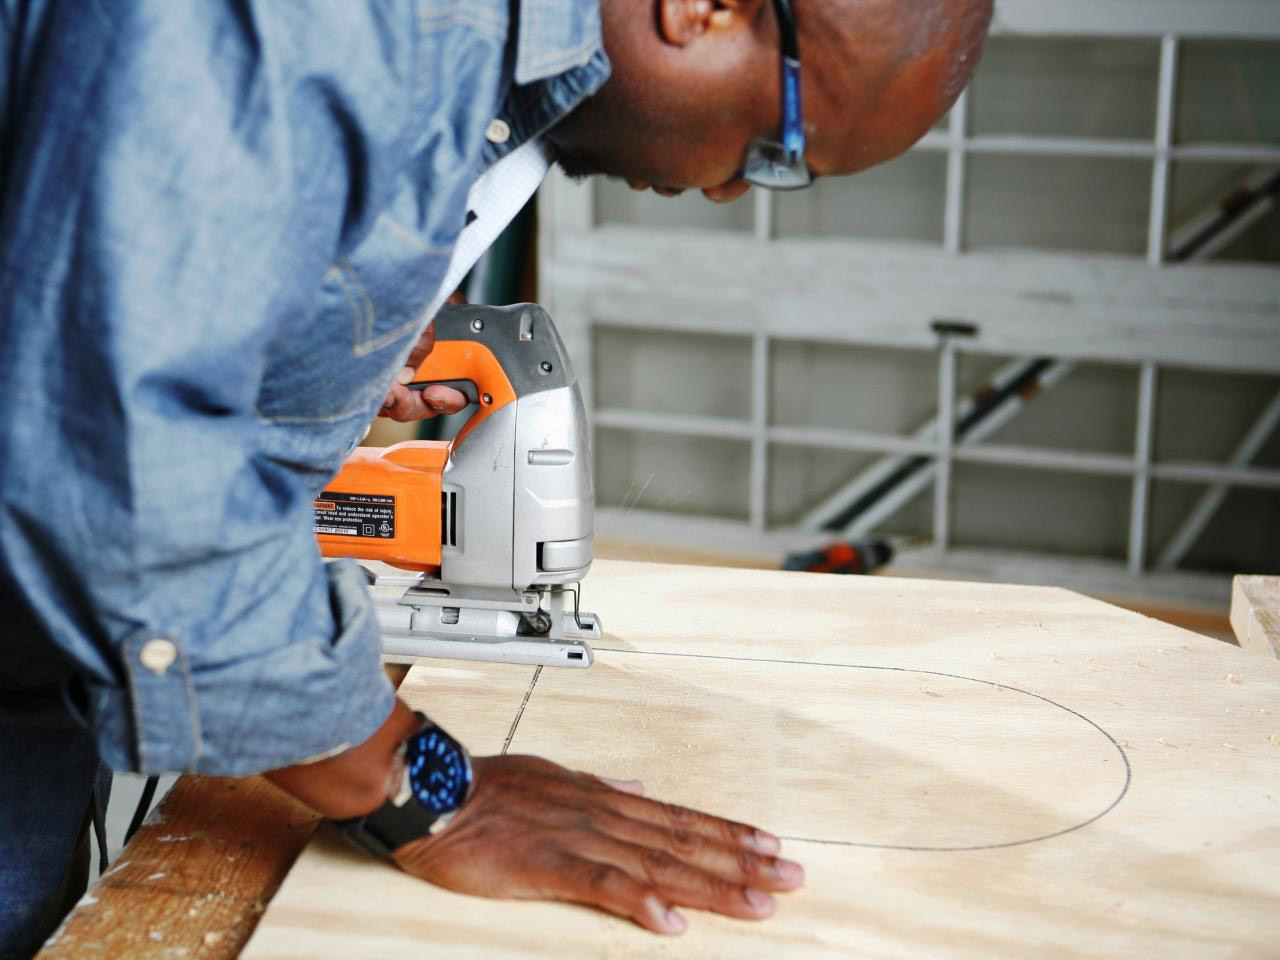
Saw out all the marked fragments from the plywood. Before doing this, firmly fix the sheet, this will provide a direct saw without splitting. In addition, be sure to use a sharp cloth to reduce chipping and splitting.It does not matter whether you will be sawing directly along the drawn line, to the right or to the left of it, but only on condition that throughout the entire process you will adhere to the chosen strategy, i.e. all cuts will be done in the same way.
When cutting roof panels, cut one long edge of each panel at an angle of 45 degrees. This will ensure their snug fit at the junction of the two slopes. Before changing the cutting angle of your circular saw, be sure to turn it off, however, this must be done with any adjustments to the tool mode. When cutting, make sure that you see both the blade and the cut line.
Use a jigsaw with a blade to cut plywood to saw out the entrance opening. Pre-drill 1 cm of the hole - the starting point - in each lower corner of the opening. Carefully follow the drawn line. When the cutting process is nearing the end, support the cut piece to prevent plywood from breaking off.
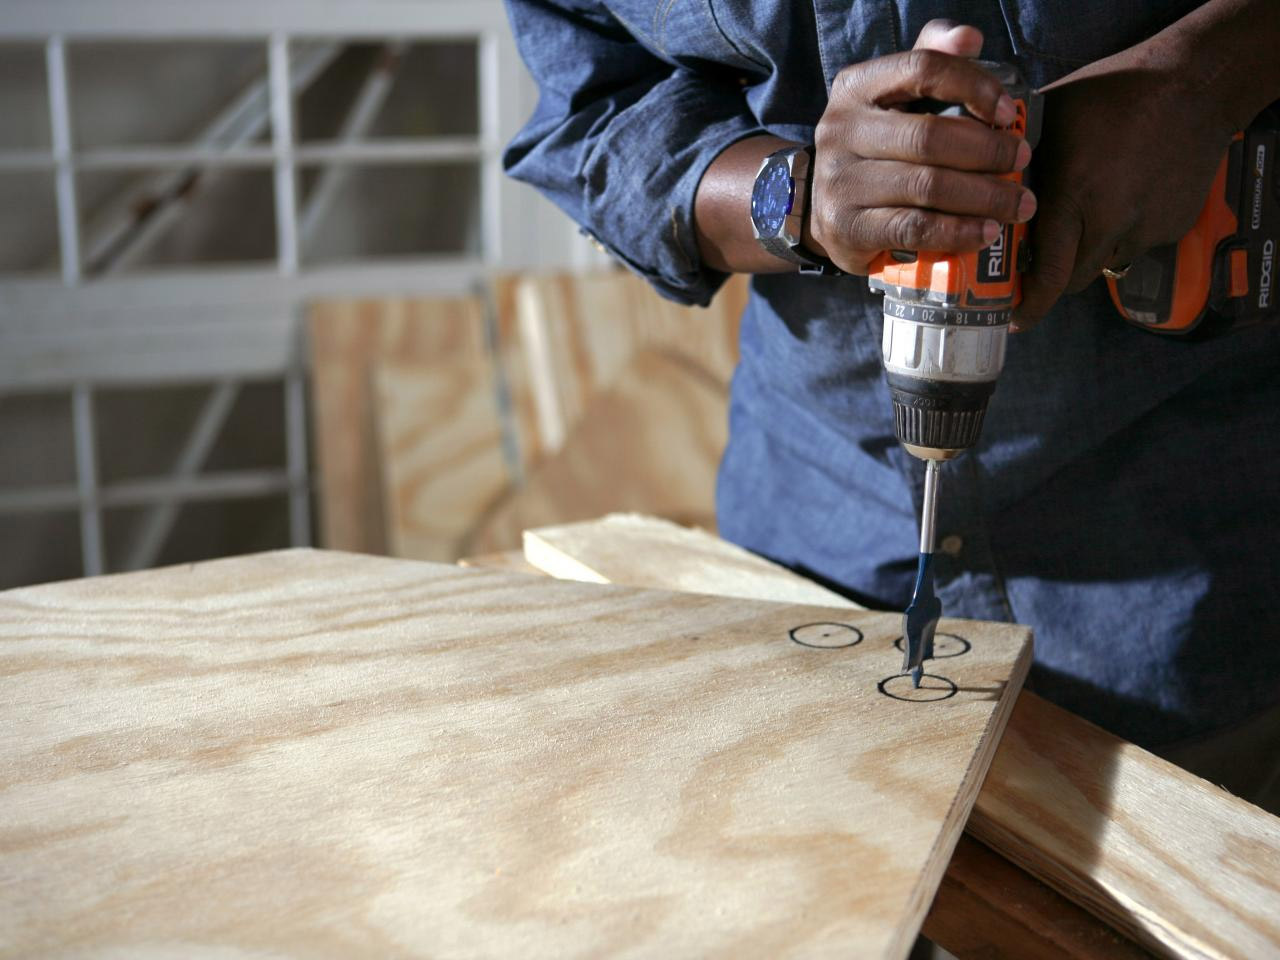
If the booth has poor ventilation, the air in it in the summer will be excessively warm and stuffy, which means that your pet will experience discomfort. Several holes in the rear panel near the ridge of the roof will ensure good air circulation. Drill three evenly spaced 35 mm holes. Directly beneath the drilling site, place a piece of board or bar under the plywood to reduce the likelihood of material splitting.
When you finish cutting all the plywood blanks, sand their edges with a hand grinder or sanding pad and then with medium-sized sandpaper to eliminate any bumps and nicks.

Step 3 - building the foundation
Assemble the base frame of 5x10 cm bars. The base raises the floor of the booth a few centimeters above the ground. An air cushion under the floor will help keep it dry and will retain heat. Using a circular saw, saw out two bars 55 cm long and two 56.2 cm long. When cutting pressure-treated wood, always wear a mask to protect your eyes and face from dust.
Longer bars should overlap the ends of the shorter ones. Countersink the pre-drilled guide holes and fasten the base elements of the box together with 75 mm galvanized screws (two on each end).
Place the bottom plywood panel on the assembled base and make sure its edges are flush with the edges of the bars. Fix the floor of the booth to the base with 30 mm galvanized screws, drowning their heads just below the surface plane.

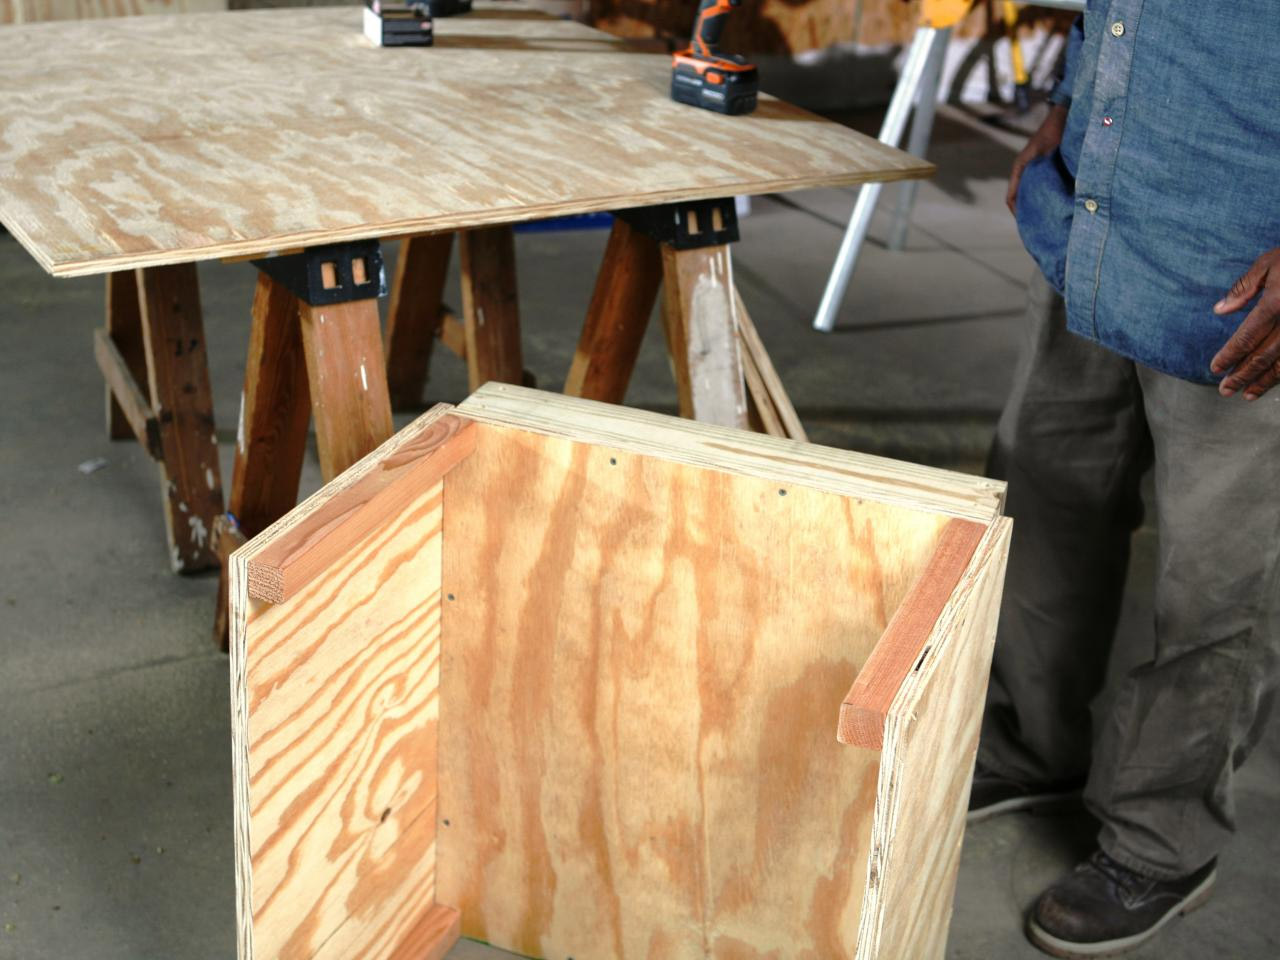
Step 4 - Assembling the Side Walls
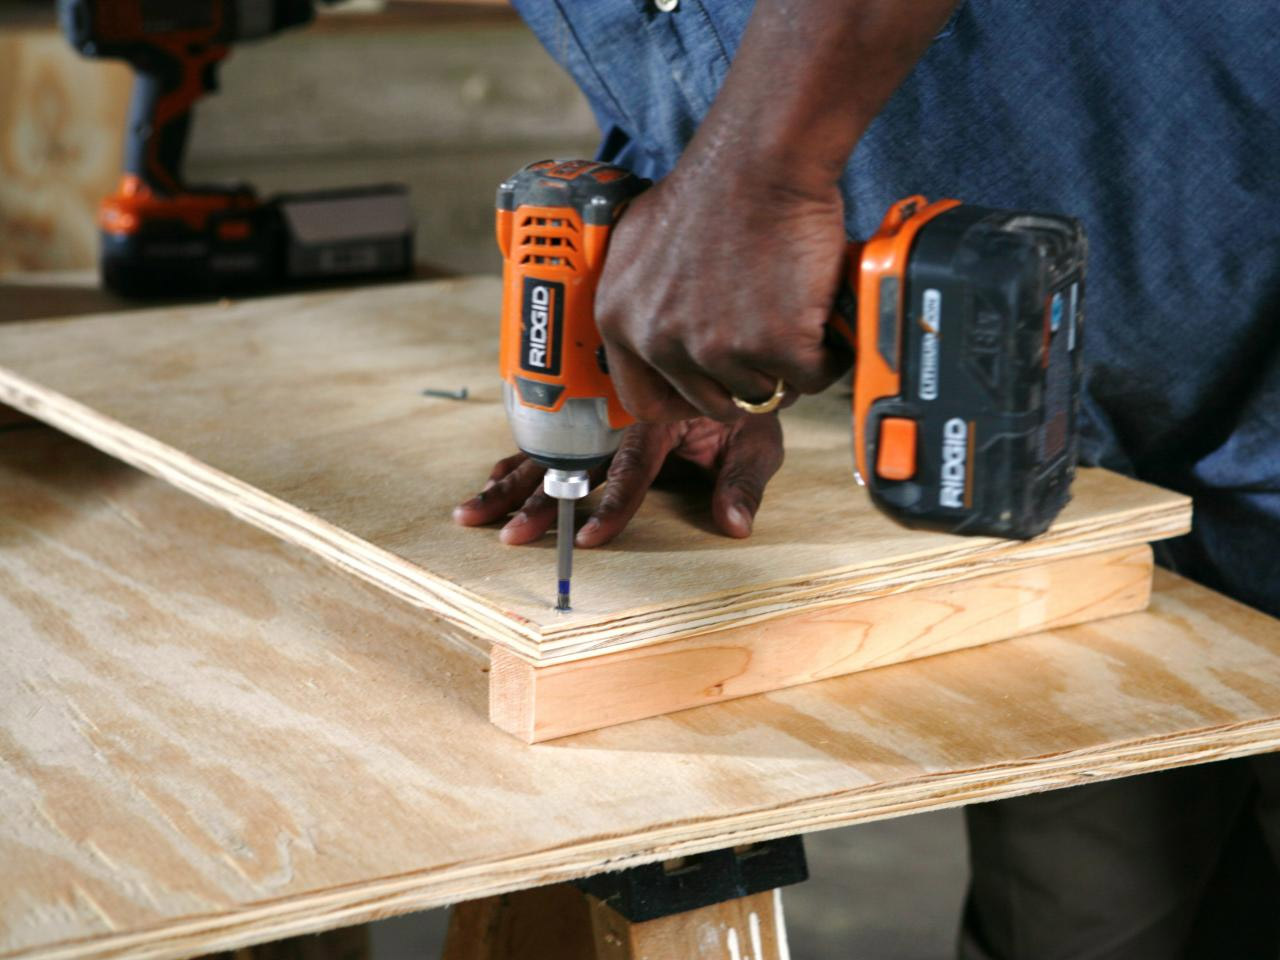
Saw out the frame elements from the 5x5 cm cross-sections. Assemble the side walls, securing the 37.5 cm-long bars along the edges of the plywood fragments, which will serve as racks. The upper end of each bar should be flush with the upper edge of the plywood, while the lower edge of the plywood wall will be 2.5 cm longer than the bar-stand. Each bar must be fixed with three 30 mm galvanized screws. Install the side walls on the base of the booth and fasten it with self-tapping screws along the entire length of the lower edge every 10-12 cm.
Now attach the back wall so that its bottom edge is flush with the bottom edges of the side walls. Fix it with 30 mm galvanized screws, screwed every 10 cm at the location of the vertical posts. On the bottom edge, attach the back wall to the floor panel, making sure that the ends of the screws do not protrude through the plywood floor.
Fasten the front wall in the same way.
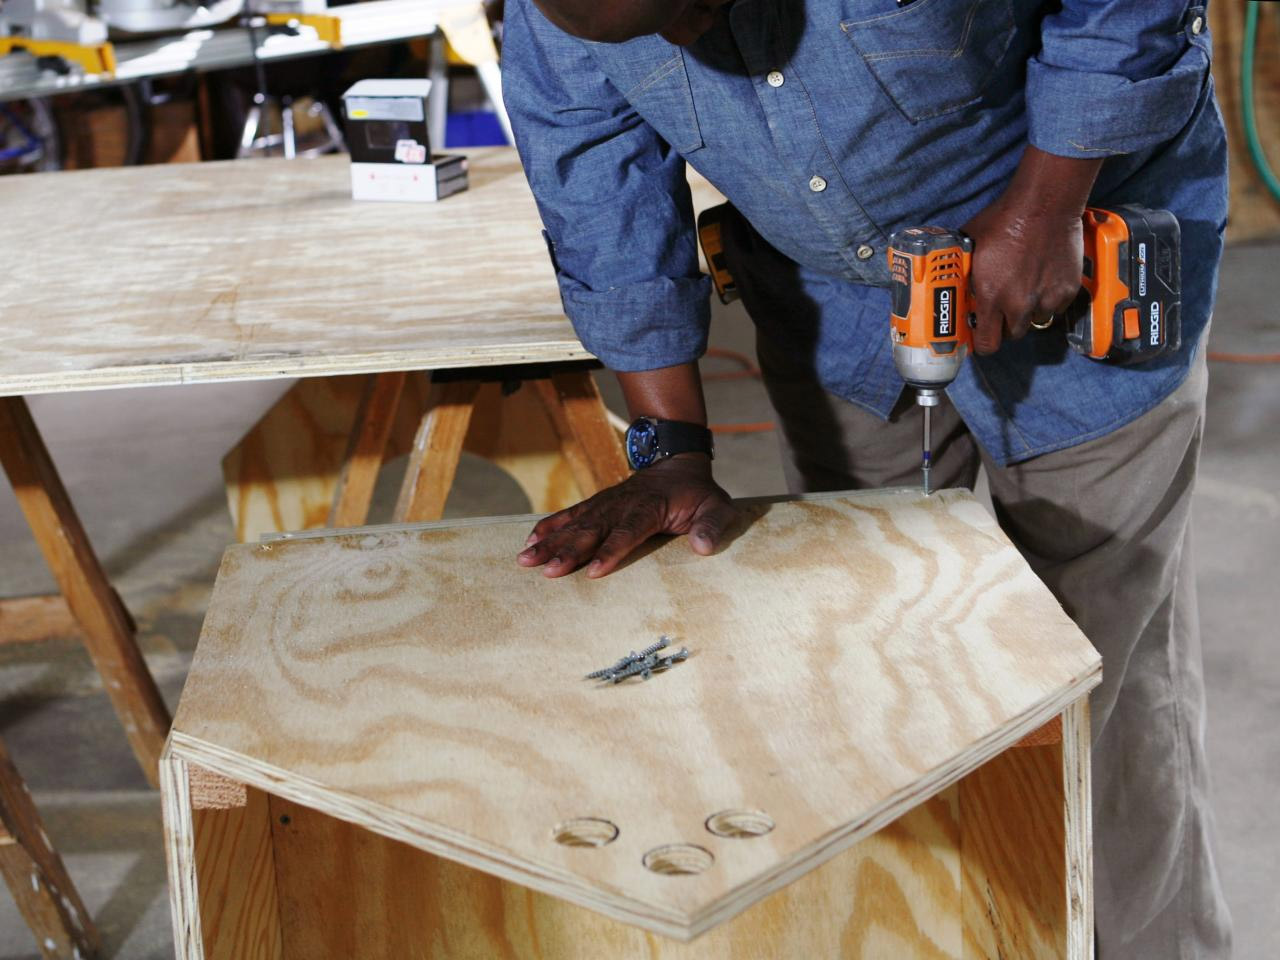
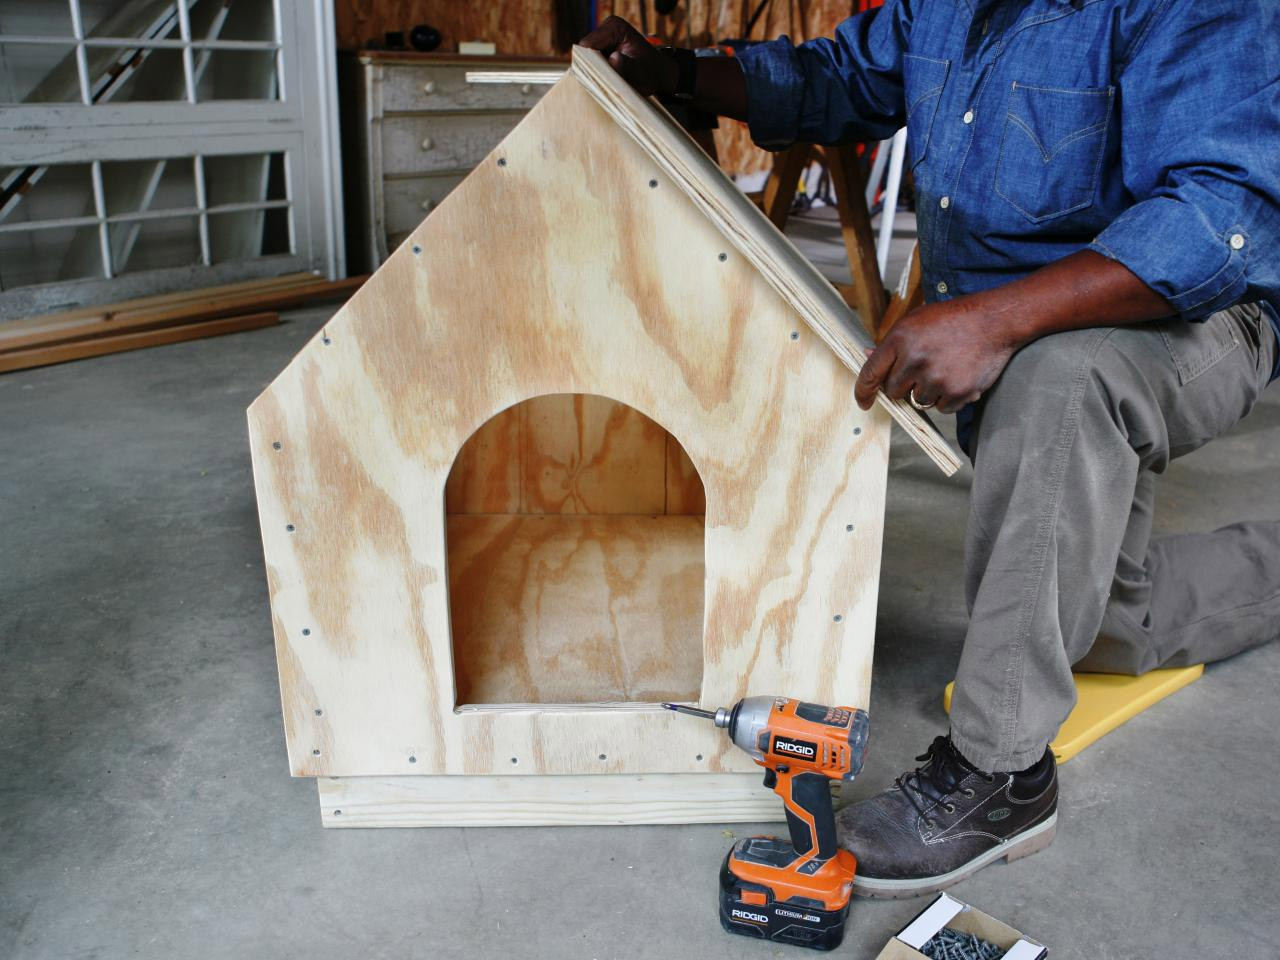
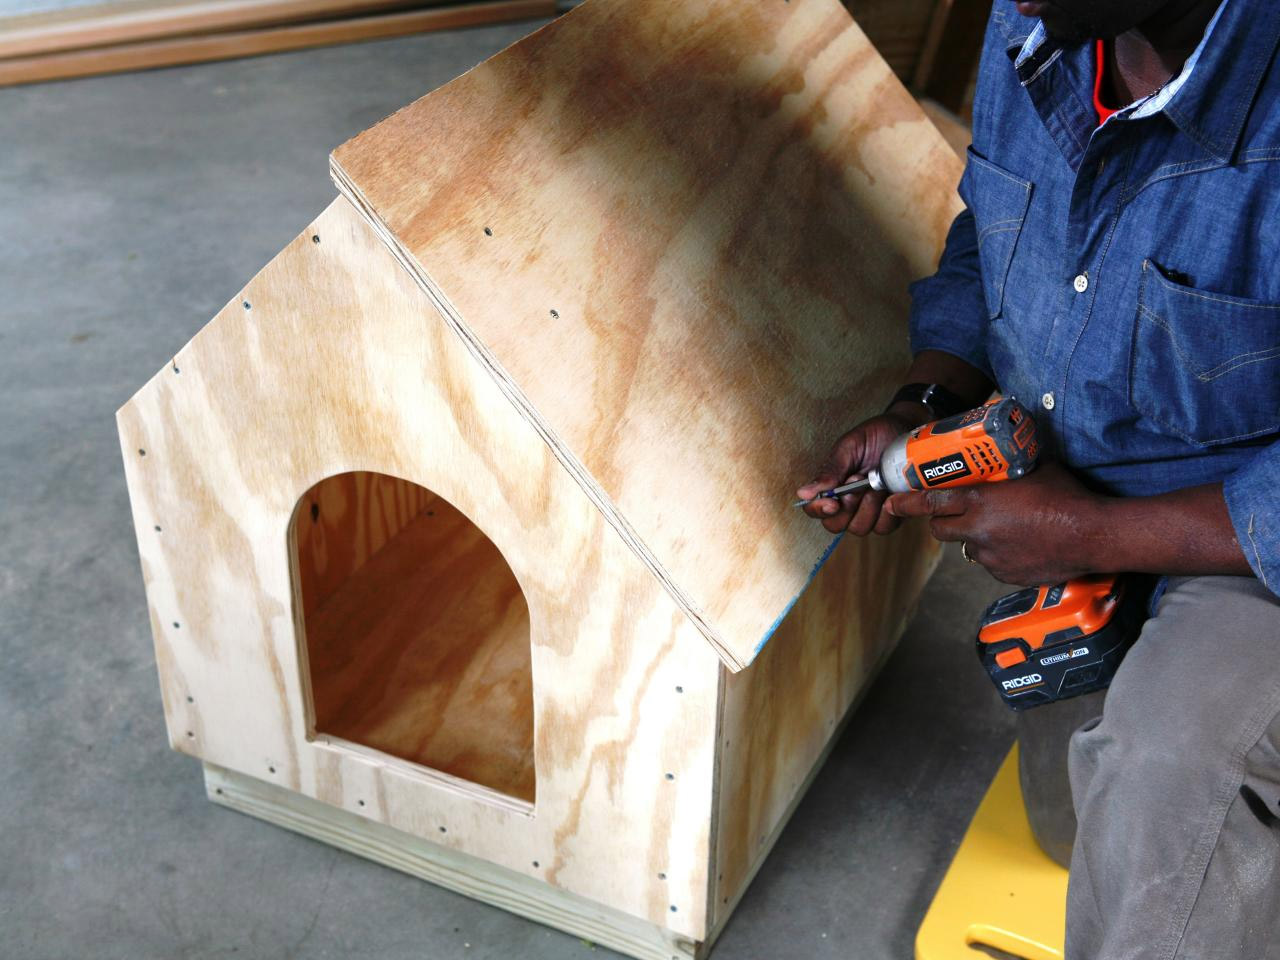
Step 5 - attaching the roof panels
Fix the bars with a section of 5x5 cm and a length of 32.5 cm along the short sides of the roofing panels. Each bar should be located at an equal distance from the upper and lower edges of the plywood fragment. For their fastening, use 30 mm galvanized self-tapping screws (three for each bar).
Place the roof panels on the box, making sure that, firstly, they are evenly distributed relative to the front and rear walls of the booth and, secondly, they are snug against each other at the junction (on the roof ridge). Fasten the roof panels with 30 mm galvanized screws, screwed through the front and rear walls of the booth into the bars of the roof frame.
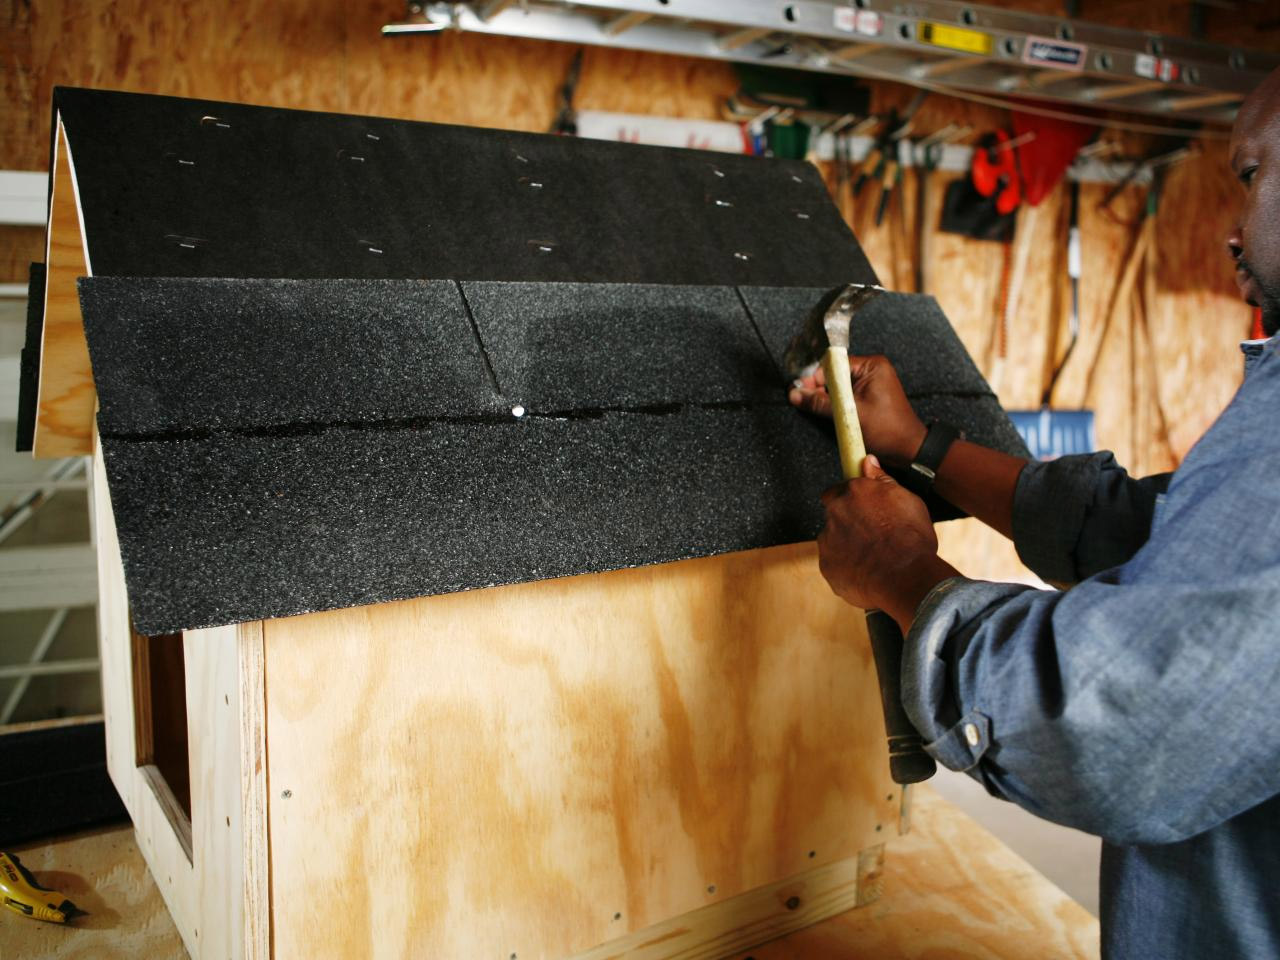
Step 6 - roof sheathing
First, cover the entire roof with one piece of roofing material. This is an additional layer of protection that will provide dryness inside the booth. You can fix the roofing material with 10 mm galvanized brackets using a construction stapler. Using a knife, cut the edges of the roofing material flush with the edges of the plywood roofing panels.
Now you can proceed to covering the roof with roof tiles (soft bituminous tiles). In this case, it is necessary to ensure that the tips of the nails with which you will fasten the tiles do not stick out inside the kennel, passing through the plywood roofing panels, as they can injure the animal. Therefore, at this stage, use galvanized roofing nails with a length of not more than 18 mm.
The first row of roof tiles must be laid along the lower edge of the roof. In this case, the tile should protrude beyond the plywood panels by ~ 2 cm, this will help protect the wood from moisture. Continue to fasten the roofing material, moving from bottom to top. Each next layer should overlap the previous, lower. The nail hats with which you fasten the tiles must be covered with an upper layer of material, because this is the place of potential penetration of rainwater. Repeat the process on another ramp. Do not forget to cover the roof ridge by bending the tile at an angle of 90 degrees.
If there is a need for this, you can cut off excess material after completing work using a knife with a blade for cutting tiles. However, do not forget, however, that the roofing material should protrude ~ 2 cm in all directions outside the plywood slopes.
Step 7 - the final touches
Paint the booth using a low-toxic, low-volatile organic paint for outdoor use. Previously, you can hide the holes for the screws with wood putty.
So we built with our own hands a simple doghouse. Before allowing your pet to go inside the kennel, wait until the paint has completely dried (at least one or two days).